

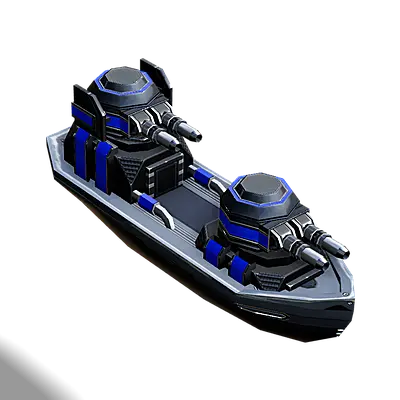
Armada
T3
T2
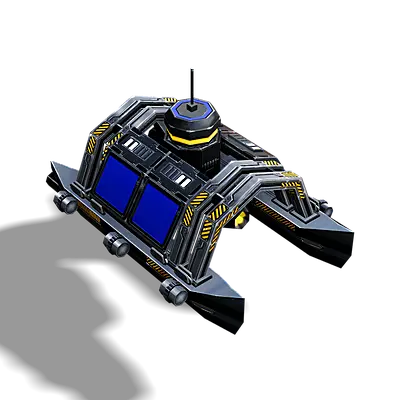
Construction Ship
Tech 1 Constructor
T2
T3
T1
Metal
200
Energy
2000
Energy Make
7
Hitpoints
1040
Sight
400
Radar
Sonar
Jammer Range
Speed
65
DPS
0
Fire Range
0
Buildpower
125
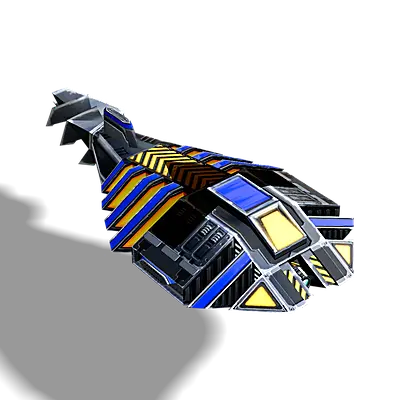
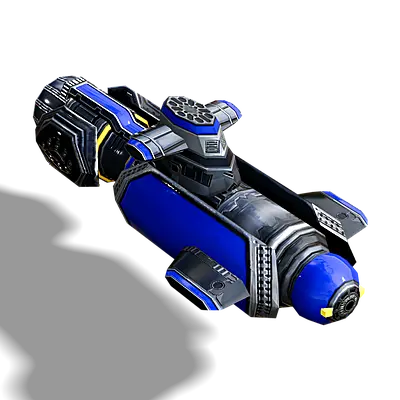
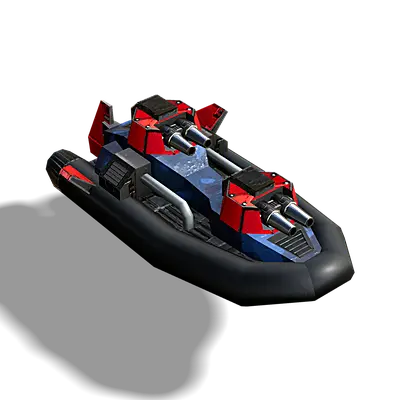
T3
T2
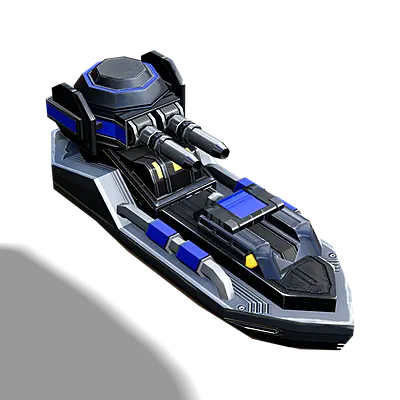
Corsair
Destroyer
T2
T3
T1
Metal
880
Energy
6600
Energy Make
0
Hitpoints
3700
Sight
500
Radar
Sonar
375
Jammer Range
Speed
67
DPS
259
Fire Range
700
Buildpower
0
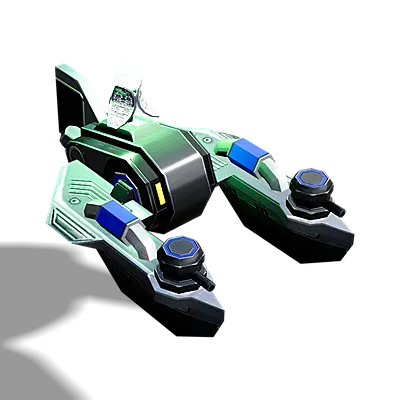
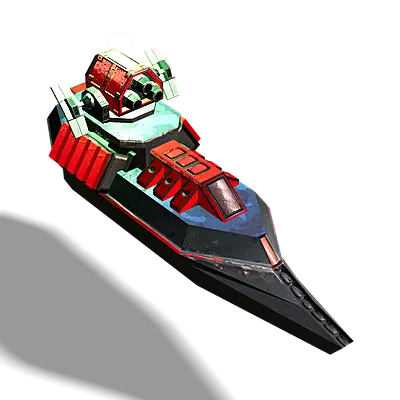
T3
T2
Dolphin
Fast Assault Corvette
T2
T3
T1
Metal
175
Energy
1500
Energy Make
0
Hitpoints
970
Sight
375
Radar
Sonar
Jammer Range
Speed
104
DPS
135
Fire Range
280
Buildpower
0
T3
T2
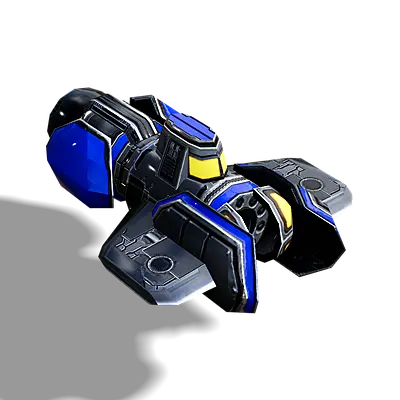
Eel
Submarine
T2
T3
T1
Metal
440
Energy
3100
Energy Make
0
Hitpoints
840
Sight
400
Radar
Sonar
400
Jammer Range
Speed
66
DPS
86
Fire Range
500
Buildpower
0
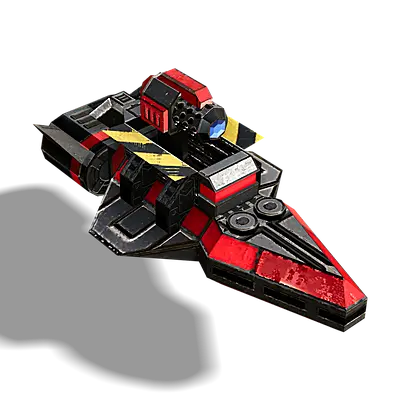
T3
T2
Ellysaw
Assault Frigate
T2
T3
T1
Metal
380
Energy
2550
Energy Make
0
Hitpoints
2150
Sight
500
Radar
Sonar
Jammer Range
Speed
81
DPS
117
Fire Range
470
Buildpower
0
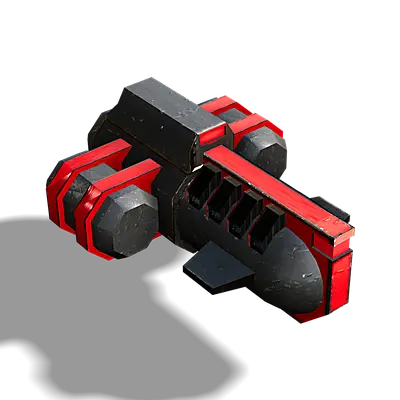
T3
T2
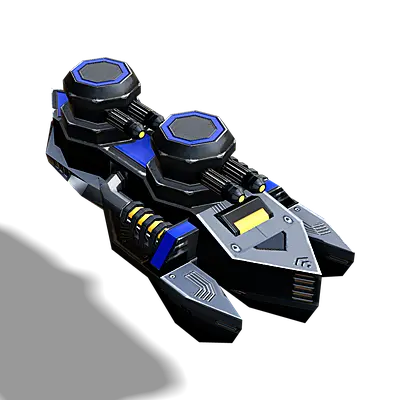
Grim Reaper
Resurrection Sub
T2
T3
T1
Metal
240
Energy
3500
Energy Make
0
Hitpoints
420
Sight
300
Radar
Sonar
150
Jammer Range
Speed
66
DPS
0
Fire Range
0
Buildpower
150
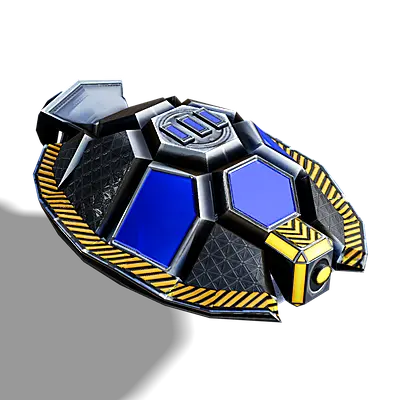
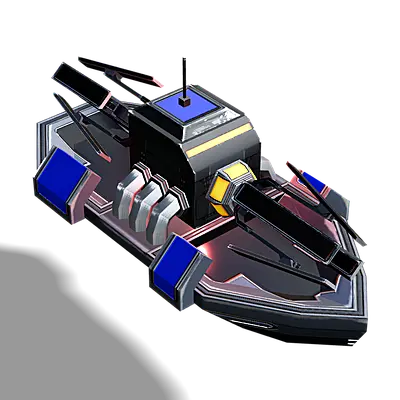
T3
T2
Skater
Stealthy Patrol Boat / Light Anti Air / Sonar
T2
T3
T1
Metal
150
Energy
1000
Energy Make
0
Hitpoints
780
Sight
750
Radar
1000
Sonar
400
Jammer Range
Speed
93
DPS
123
Fire Range
760
Buildpower
0
T3
T2
Advanced Construction Sub
Tech 2 Constructor
T2
T3
T1
Metal
700
Energy
9000
Energy Make
30
Hitpoints
1110
Sight
156
Radar
50
Sonar
Jammer Range
Speed
72
DPS
0
Fire Range
0
Buildpower
350
T3
T2
Barracuda
Fast Assault Submarine
T2
T3
T1
Metal
950
Energy
17000
Energy Make
0
Hitpoints
2350
Sight
390
Radar
Sonar
525
Jammer Range
Speed
81
DPS
175
Fire Range
400
Buildpower
0
T3
T2
Bermuda
Radar Jammer Ship
T2
T3
T1
Metal
310
Energy
5000
Energy Make
0
Hitpoints
1350
Sight
390
Radar
Sonar
Jammer Range
980
Speed
45
DPS
0
Fire Range
0
Buildpower
0

Cortex
T3
T2
Construction Ship
T2
T1
T3
Tech 1 Constructor
200
Metal
2000
Energy
7
Energy Make
1080
Hitpoints
400
Sight
Radar
Sonar
Jammer Range
60
Speed
0
DPS
0
Fire Range
125
Buildpower
T3
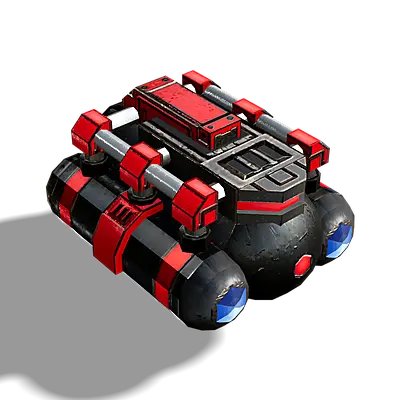
T2
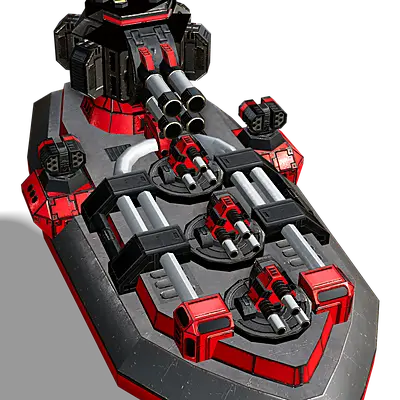
Death Cavalry
T2
T1
T3
Resurrection Sub
240
Metal
3500
Energy
0
Energy Make
420
Hitpoints
300
Sight
Radar
150
Sonar
Jammer Range
66
Speed
0
DPS
0
Fire Range
150
Buildpower
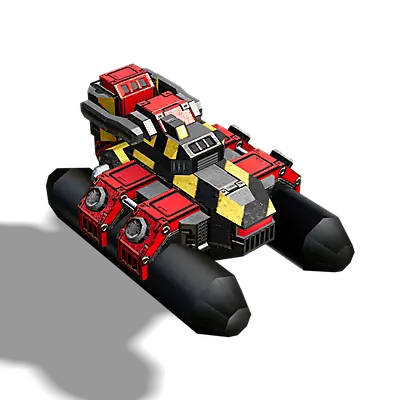
T3
T2
Herring
T2
T1
T3
Missile Corvette / Light Anti Air / Sonar
210
Metal
1400
Energy
0
Energy Make
890
Hitpoints
670
Sight
1000
Radar
400
Sonar
Jammer Range
69
Speed
84
DPS
750
Fire Range
0
Buildpower

T3
T2
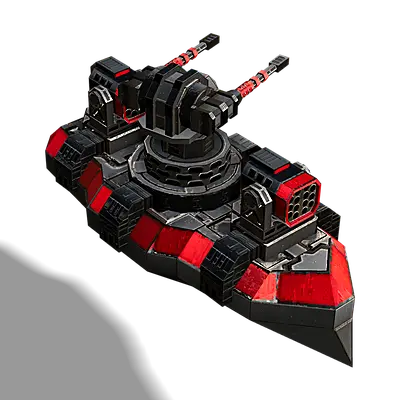
Oppressor
T2
T1
T3
Destroyer
960
Metal
7200
Energy
0
Energy Make
3950
Hitpoints
500
Sight
Radar
400
Sonar
Jammer Range
62
Speed
272
DPS
710
Fire Range
0
Buildpower
T3
T2
Orca
T2
T1
T3
Submarine
580
Metal
4000
Energy
0
Energy Make
1060
Hitpoints
400
Sight
Radar
400
Sonar
Jammer Range
57
Speed
137
DPS
500
Fire Range
0
Buildpower

T3
T2
Riptide
T2
T1
T3
Assault Frigate
420
Metal
2800
Energy
0
Energy Make
2350
Hitpoints
500
Sight
Radar
Sonar
Jammer Range
82
Speed
120
DPS
480
Fire Range
0
Buildpower
T3
T2
Supporter
T2
T1
T3
Light Gun Boat
100
Metal
1000
Energy
0
Energy Make
480
Hitpoints
600
Sight
Radar
Sonar
Jammer Range
109
Speed
88
DPS
280
Fire Range
0
Buildpower
T3
T2
Advanced Construction Sub
T2
T1
T3
Tech 2 Constructor
700
Metal
9000
Energy
30
Energy Make
1110
Hitpoints
156
Sight
50
Radar
Sonar
Jammer Range
64
Speed
0
DPS
0
Fire Range
350
Buildpower
T3
T2
Arrow Storm
T2
T1
T3
Anti-Air Ship
1000
Metal
12000
Energy
0
Energy Make
3900
Hitpoints
465
Sight
Radar
Sonar
Jammer Range
60
Speed
429
DPS
870
Fire Range
0
Buildpower
T3
T2
Black Hydra
T2
T1
T3
Flagship
21000
Metal
190000
Energy
0
Energy Make
53000
Hitpoints
650
Sight
1510
Radar
Sonar
Jammer Range
49
Speed
1642
DPS
2550
Fire Range
0
Buildpower
