

Armada
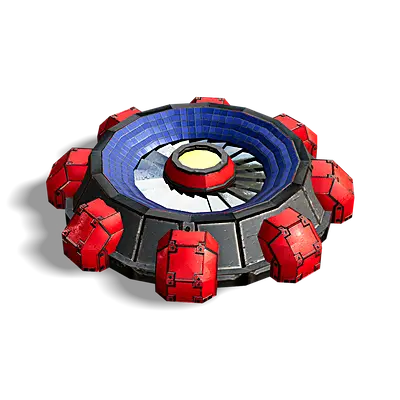
T3
T2
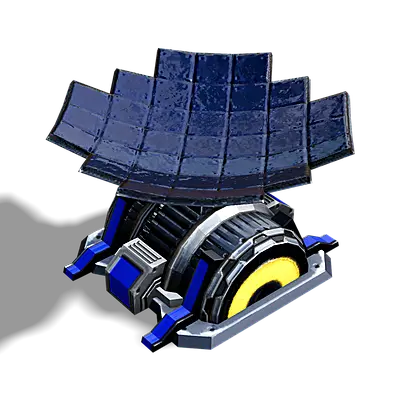
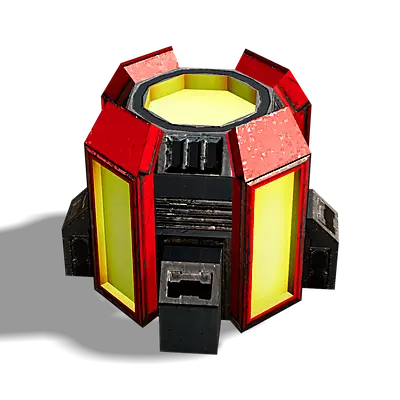
Advanced Solar Collector
Produces 80 Energy
T2
T3
T1
Metal
350
Energy
5000
Energy Make
80
Hitpoints
1130
Sight
260
Radar
Sonar
Jammer Range
Speed
0
DPS
0
Fire Range
0
Buildpower
0
T3
T2
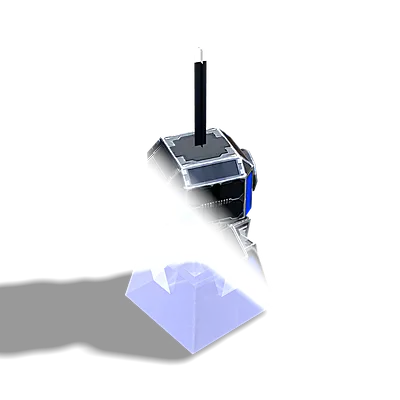
Beholder
Perimeter Camera
T2
T3
T1
Metal
32
Energy
850
Energy Make
0
Hitpoints
280
Sight
560
Radar
Sonar
Jammer Range
Speed
0
DPS
0
Fire Range
0
Buildpower
0
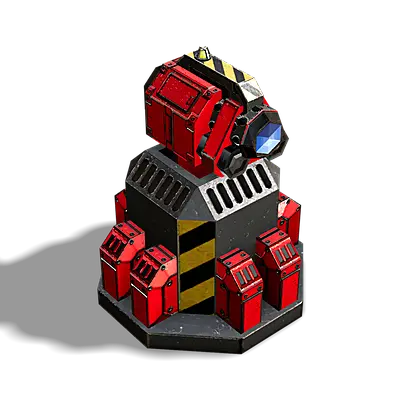
T3
T2

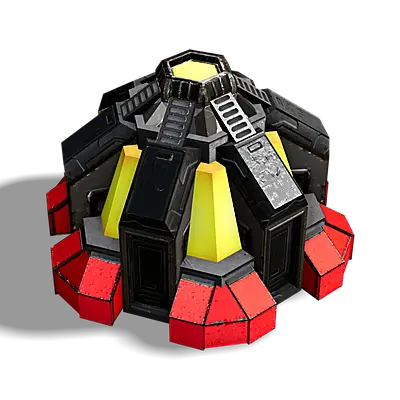
Construction Turret
Assist & Repair in large radius
T2
T3
T1
Metal
230
Energy
3200
Energy Make
0
Hitpoints
560
Sight
380
Radar
Sonar
Jammer Range
Speed
0
DPS
0
Fire Range
0
Buildpower
200
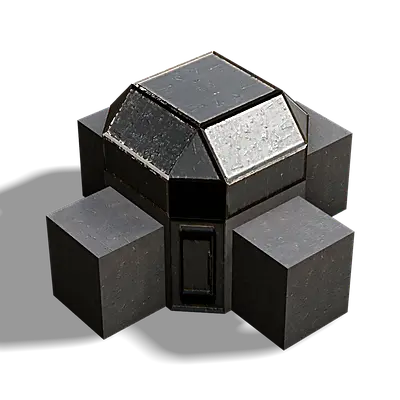
T3
T2
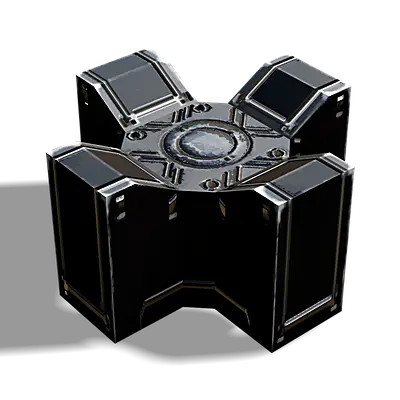
Dragon's Teeth
Fortification
T2
T3
T1
Metal
8
Energy
0
Energy Make
0
Hitpoints
2800
Sight
1
Radar
Sonar
Jammer Range
Speed
0
DPS
0
Fire Range
0
Buildpower
0
T3
T2

Energy Converter
Converts 70 energy into 1 metal per sec
T2
T3
T1
Metal
1
Energy
1150
Energy Make
0
Hitpoints
167
Sight
273
Radar
Sonar
Jammer Range
Speed
0
DPS
0
Fire Range
0
Buildpower
0
T3
T2

Energy Storage
Increases Energy Storage (6000)
T2
T3
T1
Metal
170
Energy
1700
Energy Make
0
Hitpoints
1890
Sight
273
Radar
Sonar
Jammer Range
Speed
0
DPS
0
Fire Range
0
Buildpower
0
T3
T2
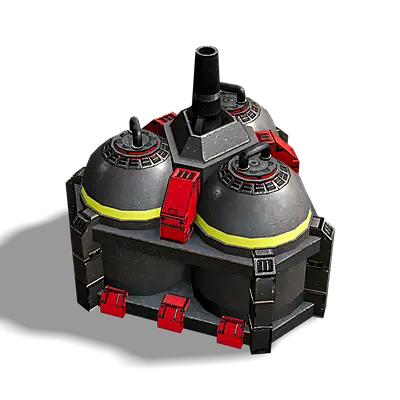
Geothermal Powerplant
Produces 300 Energy
T2
T3
T1
Metal
560
Energy
13000
Energy Make
300
Hitpoints
1940
Sight
273
Radar
Sonar
Jammer Range
Speed
0
DPS
0
Fire Range
0
Buildpower
0
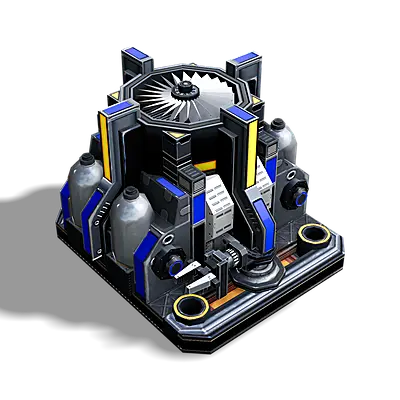
T3
T2

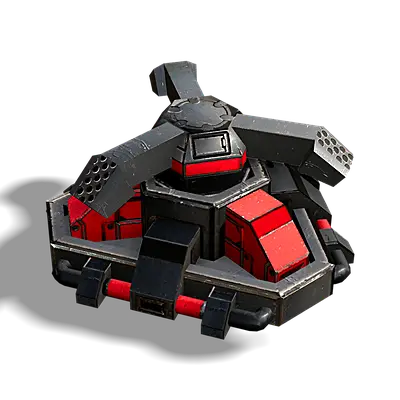
Juno
Anti Radar / Jammer / Minefield / ScoutSpam Weapon
T2
T3
T1
Metal
640
Energy
17000
Energy Make
0
Hitpoints
2350
Sight
494
Radar
Sonar
Jammer Range
Speed
0
DPS
0
Fire Range
0
Buildpower
0
T3
T2

Metal Extractor
Extracts Metal from Metalspots
T2
T3
T1
Metal
50
Energy
500
Energy Make
0
Hitpoints
270
Sight
273
Radar
Sonar
Jammer Range
Speed
0
DPS
0
Fire Range
0
Buildpower
0
T3
T2

Metal Storage
Increases Metal Storage (3000)
T2
T3
T1
Metal
330
Energy
570
Energy Make
0
Hitpoints
2100
Sight
273
Radar
Sonar
Jammer Range
Speed
0
DPS
0
Fire Range
0
Buildpower
0

Cortex
T3
T2
Advanced Solar Collector
T2
T1
T3
Produces 80 Energy
370
Metal
4000
Energy
80
Energy Make
1200
Hitpoints
260
Sight
Radar
Sonar
Jammer Range
0
Speed
0
DPS
0
Fire Range
0
Buildpower

T3
T2
Beholder
T2
T1
T3
Perimeter Camera
32
Metal
850
Energy
0
Energy Make
280
Hitpoints
540
Sight
Radar
Sonar
Jammer Range
0
Speed
0
DPS
0
Fire Range
0
Buildpower
T3
T2
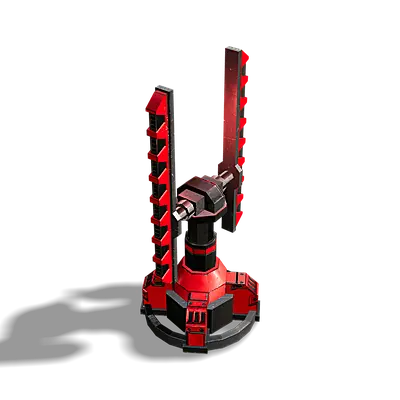
Castro
T2
T1
T3
Short-Range Jamming Device
100
Metal
4500
Energy
0
Energy Make
1070
Hitpoints
104
Sight
Radar
Sonar
360
Jammer Range
0
Speed
0
DPS
0
Fire Range
0
Buildpower
T3
T2
Construction Turret
T2
T1
T3
Assist & Repair in large radius
230
Metal
3200
Energy
0
Energy Make
560
Hitpoints
380
Sight
Radar
Sonar
Jammer Range
0
Speed
0
DPS
0
Fire Range
200
Buildpower
T3
T2
Dragon's Teeth
T2
T1
T3
Fortification
8
Metal
0
Energy
0
Energy Make
2800
Hitpoints
1
Sight
Radar
Sonar
Jammer Range
0
Speed
0
DPS
0
Fire Range
0
Buildpower
T3
T2
Energy Converter
T2
T1
T3
Converts 70 energy into 1 metal per sec
1
Metal
1250
Energy
0
Energy Make
167
Hitpoints
273
Sight
Radar
Sonar
Jammer Range
0
Speed
0
DPS
0
Fire Range
0
Buildpower
T3
T2
Energy Storage
T2
T1
T3
Increases Energy Storage (6000)
175
Metal
1800
Energy
0
Energy Make
2000
Hitpoints
273
Sight
Radar
Sonar
Jammer Range
0
Speed
0
DPS
0
Fire Range
0
Buildpower
T3
T2
Geothermal Powerplant
T2
T1
T3
Produces 300 Energy
540
Metal
13000
Energy
300
Energy Make
2050
Hitpoints
273
Sight
Radar
Sonar
Jammer Range
0
Speed
0
DPS
0
Fire Range
0
Buildpower

T3
T2
Juno
T2
T1
T3
Anti Radar / Jammer / Minefield / ScoutSpam Weapon
660
Metal
16000
Energy
0
Energy Make
2500
Hitpoints
494
Sight
Radar
Sonar
Jammer Range
0
Speed
0
DPS
0
Fire Range
0
Buildpower
T3
T2
Metal Extractor
T2
T1
T3
Extracts Metal from Metalspots
50
Metal
500
Energy
0
Energy Make
275
Hitpoints
273
Sight
Radar
Sonar
Jammer Range
0
Speed
0
DPS
0
Fire Range
0
Buildpower
