

Cortex
Buildings
Switch To


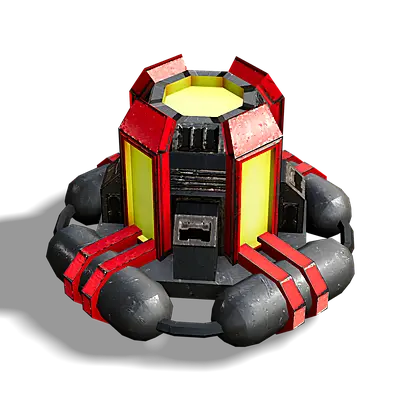
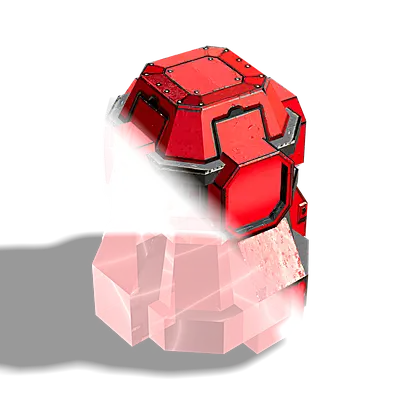
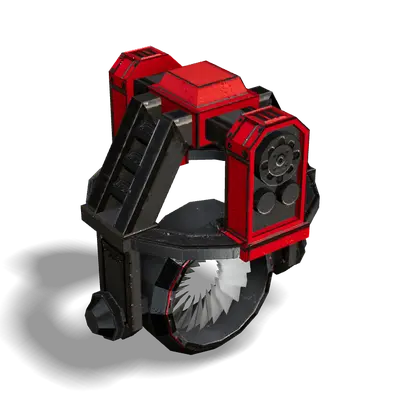
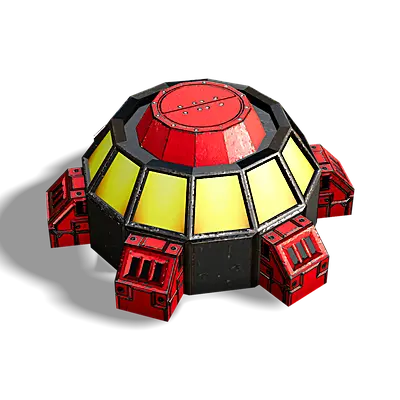
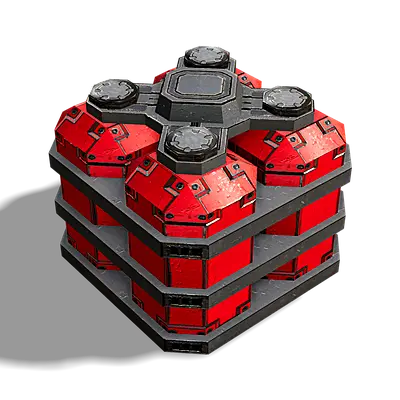
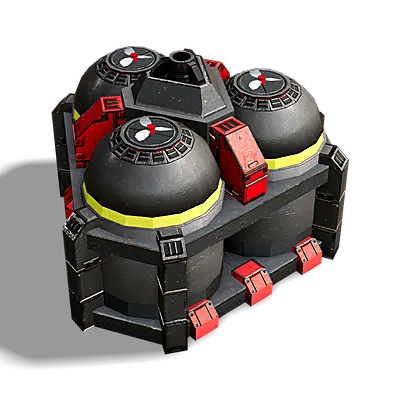
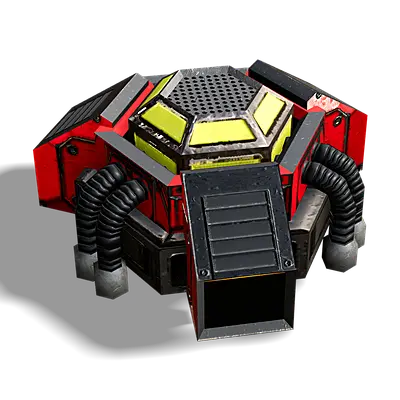
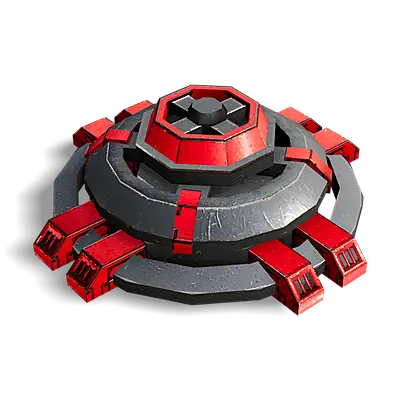
Naval Energy Converter
T1
Converts 70 energy into 1 metal per sec
Cost
Metal
Metal needed to build this unit
energy
Energy needed to build this unit
Build time
Build time needed to build this unit
general stats
health
Starting Hitpoints
sight
Sight range to spot enemy units
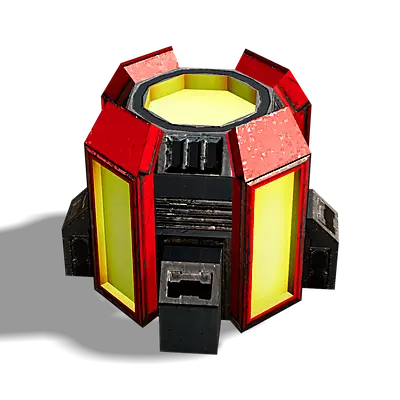
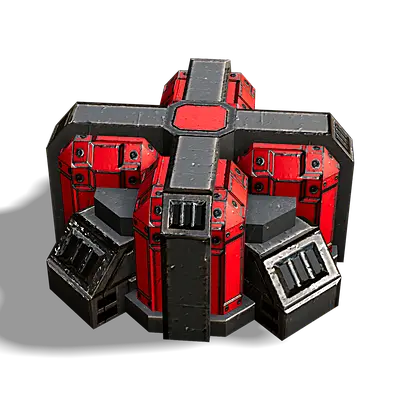
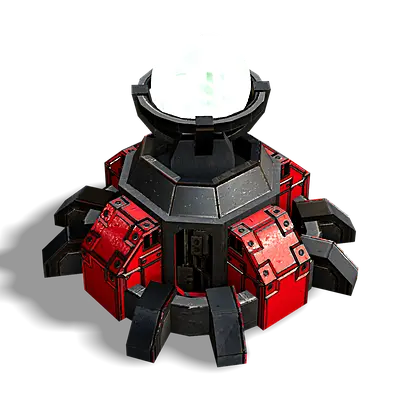
Energy Converter
T1
Converts 70 energy into 1 metal per sec
Cost
Metal
Metal needed to build this unit
energy
Energy needed to build this unit
Build time
Build time needed to build this unit
general stats
health
Starting Hitpoints
sight
Sight range to spot enemy units
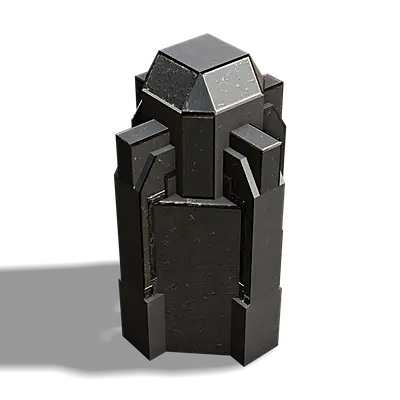
Dragon's Teeth
T1

Paralyze resistance
0
Fortification
Cost
Metal
Metal needed to build this unit
energy
Energy needed to build this unit
Build time
Build time needed to build this unit
general stats
health
Starting Hitpoints
sight
Sight range to spot enemy units
Shark's Teeth
T1
Naval Fortification
Cost
Metal
Metal needed to build this unit
energy
Energy needed to build this unit
Build time
Build time needed to build this unit
general stats
health
Starting Hitpoints
sight
Sight range to spot enemy units
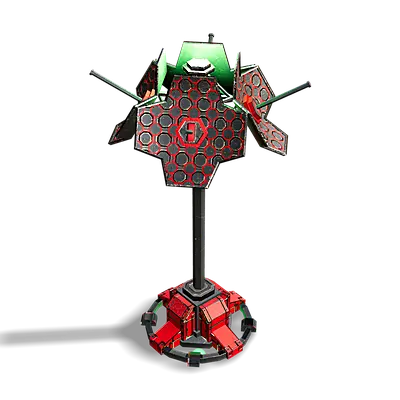
Beholder
T1

Stealth

Cloak
Perimeter Camera
Cost
Metal
Metal needed to build this unit
energy
Energy needed to build this unit
Build time
Build time needed to build this unit
general stats
health
Starting Hitpoints
sight
Sight range to spot enemy units
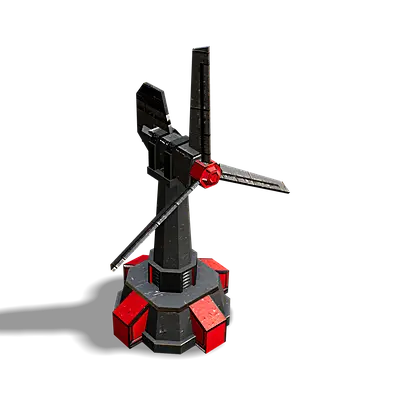
Wind Turbine
T1
Produces Energy. Depends on wind strength.
Cost
Metal
Metal needed to build this unit
energy
Energy needed to build this unit
Build time
Build time needed to build this unit
general stats
health
Starting Hitpoints
sight
Sight range to spot enemy units
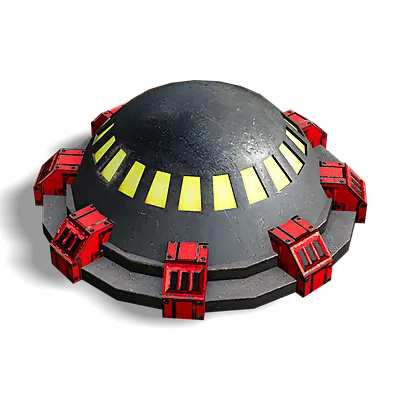
Metal Extractor
T1
Extracts Metal from Metalspots
Cost
Metal
Metal needed to build this unit
energy
Energy needed to build this unit
Build time
Build time needed to build this unit
general stats
health
Starting Hitpoints
sight
Sight range to spot enemy units
Radar Tower
T1
Early Warning System
Cost
Metal
Metal needed to build this unit
energy
Energy needed to build this unit
Build time
Build time needed to build this unit
general stats
health
Starting Hitpoints
sight
Sight range to spot enemy units
Radar
Radar range
Tidal Generator
T1
Produces Energy (depends on map)
Cost
Metal
Metal needed to build this unit
energy
Energy needed to build this unit
Build time
Build time needed to build this unit
general stats
health
Starting Hitpoints
sight
Sight range to spot enemy units
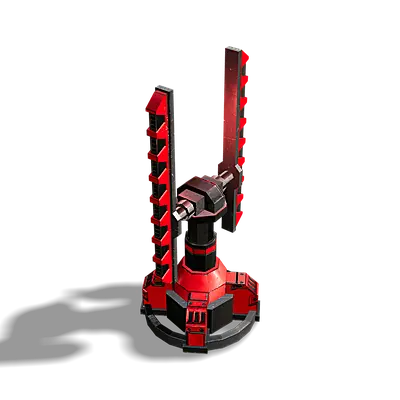
Castro
T1

Jammer
Short-Range Jamming Device
Cost
Metal
Metal needed to build this unit
energy
Energy needed to build this unit
Build time
Build time needed to build this unit
general stats
health
Starting Hitpoints
sight
Sight range to spot enemy units
Jammer
Jammer range
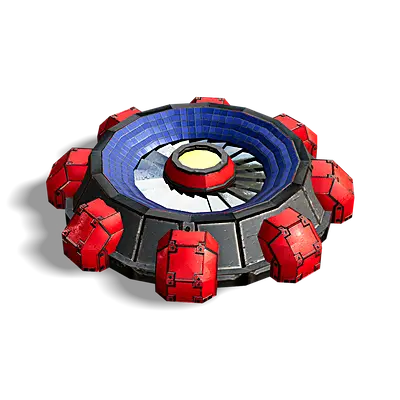
Naval Radar / Sonar Tower
T1
Early Warning System
Cost
Metal
Metal needed to build this unit
energy
Energy needed to build this unit
Build time
Build time needed to build this unit
general stats
health
Starting Hitpoints
sight
Sight range to spot enemy units
Radar
Radar range
Sonar range
Sonar range
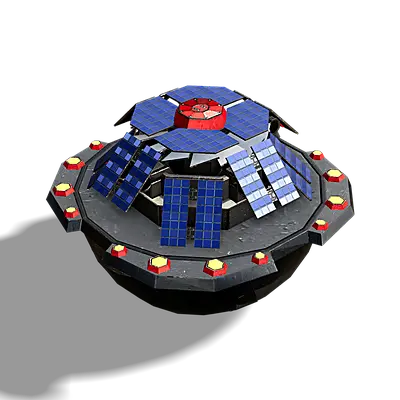
Solar Collector
T1
Produces 20 Energy
Cost
Metal
Metal needed to build this unit
energy
Energy needed to build this unit
Build time
Build time needed to build this unit
general stats
health
Starting Hitpoints
sight
Sight range to spot enemy units
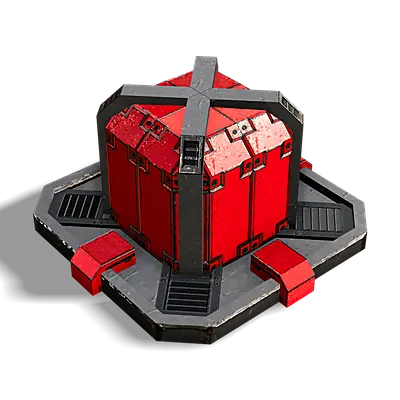
Energy Storage
T1
Increases Energy Storage (6000)
Cost
Metal
Metal needed to build this unit
energy
Energy needed to build this unit
Build time
Build time needed to build this unit
general stats
health
Starting Hitpoints
sight
Sight range to spot enemy units
Naval Energy Storage
T1
Increases Energy Storage (6000)
Cost
Metal
Metal needed to build this unit
energy
Energy needed to build this unit
Build time
Build time needed to build this unit
general stats
health
Starting Hitpoints
sight
Sight range to spot enemy units
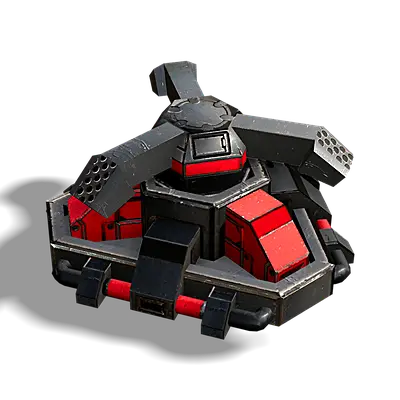
Construction Turret
T1
Assist & Repair in large radius
Cost
Metal
Metal needed to build this unit
energy
Energy needed to build this unit
Build time
Build time needed to build this unit
general stats
health
Starting Hitpoints
sight
Sight range to spot enemy units
Buildpower
How fast this unit can construct and repair
Naval Construction Turret
T1
Assist & Repair in large radius
Cost
Metal
Metal needed to build this unit
energy
Energy needed to build this unit
Build time
Build time needed to build this unit
general stats
health
Starting Hitpoints
sight
Sight range to spot enemy units
Buildpower
How fast this unit can construct and repair
Metal Storage
T1
Increases Metal Storage (3000)
Cost
Metal
Metal needed to build this unit
energy
Energy needed to build this unit
Build time
Build time needed to build this unit
general stats
health
Starting Hitpoints
sight
Sight range to spot enemy units
Naval Metal Storage
T1
Increases Metal Storage (3000)
Cost
Metal
Metal needed to build this unit
energy
Energy needed to build this unit
Build time
Build time needed to build this unit
general stats
health
Starting Hitpoints
sight
Sight range to spot enemy units
Advanced Solar Collector
T1
Produces 80 Energy
Cost
Metal
Metal needed to build this unit
energy
Energy needed to build this unit
Build time
Build time needed to build this unit
general stats
health
Starting Hitpoints
sight
Sight range to spot enemy units
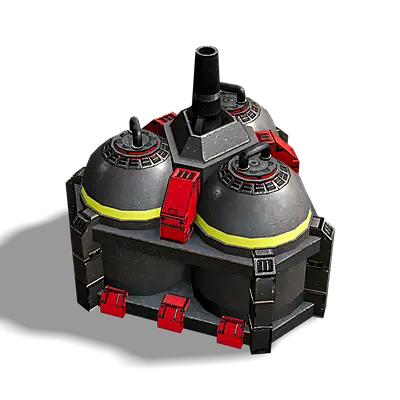
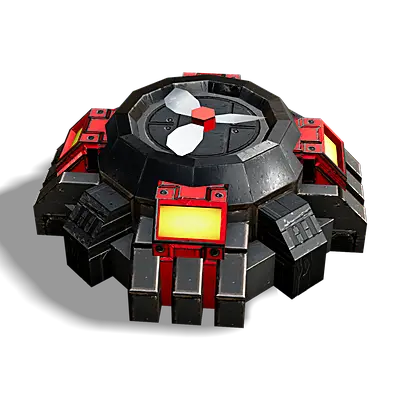
Geothermal Powerplant
T1
Produces 300 Energy
Cost
Metal
Metal needed to build this unit
energy
Energy needed to build this unit
Build time
Build time needed to build this unit
general stats
health
Starting Hitpoints
sight
Sight range to spot enemy units
Offshore Geothermal Powerplant
T1
Produces 300 Energy
Cost
Metal
Metal needed to build this unit
energy
Energy needed to build this unit
Build time
Build time needed to build this unit
general stats
health
Starting Hitpoints
sight
Sight range to spot enemy units

Juno
T1
Stealth
Anti Radar / Jammer / Minefield / ScoutSpam Weapon
Cost
Metal
Metal needed to build this unit
energy
Energy needed to build this unit
Build time
Build time needed to build this unit
general stats
health
Starting Hitpoints
sight
Sight range to spot enemy units
Fortification Wall
T2
Paralyze resistance
0
Advanced Fortification
Cost
Metal
Metal needed to build this unit
energy
Energy needed to build this unit
Build time
Build time needed to build this unit
general stats
health
Starting Hitpoints
sight
Sight range to spot enemy units
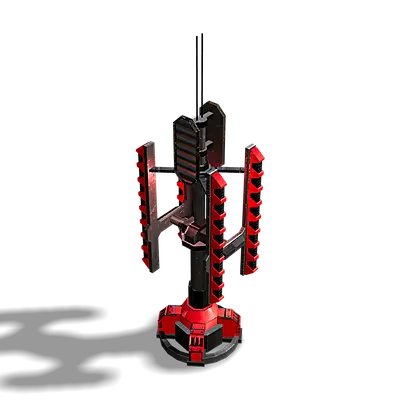
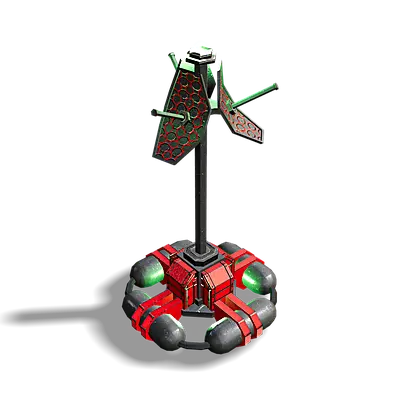
Shroud
T2
Jammer
Long-Range Jamming Tower
Cost
Metal
Metal needed to build this unit
energy
Energy needed to build this unit
Build time
Build time needed to build this unit
general stats
health
Starting Hitpoints
sight
Sight range to spot enemy units
Jammer
Jammer range
Advanced Sonar Station
T2
Extended Sonar
Cost
Metal
Metal needed to build this unit
energy
Energy needed to build this unit
Build time
Build time needed to build this unit
general stats
health
Starting Hitpoints
sight
Sight range to spot enemy units
Sonar range
Sonar range
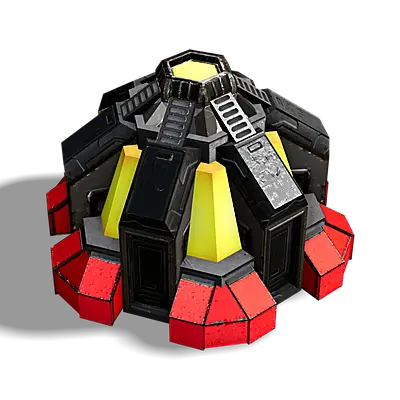
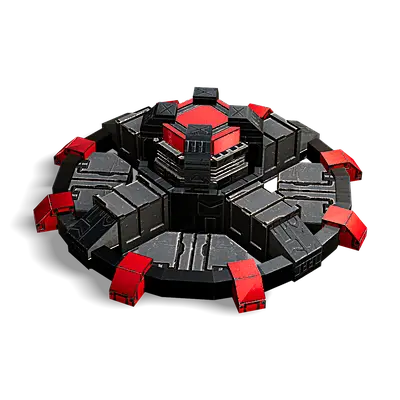
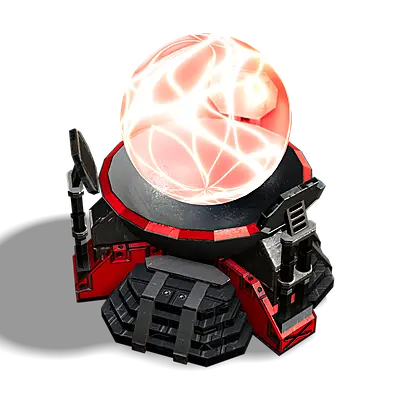
Advanced Energy Converter
T2
Converts 600 energy into 10.3 metal per sec
Cost
Metal
Metal needed to build this unit
energy
Energy needed to build this unit
Build time
Build time needed to build this unit
general stats
health
Starting Hitpoints
sight
Sight range to spot enemy units
Naval Advanced Energy Converter
T2
Converts 600 energy into 10.3 metal per sec
Cost
Metal
Metal needed to build this unit
energy
Energy needed to build this unit
Build time
Build time needed to build this unit
general stats
health
Starting Hitpoints
sight
Sight range to spot enemy units
Advanced Radar Tower
T2
Long-Range Radar
Cost
Metal
Metal needed to build this unit
energy
Energy needed to build this unit
Build time
Build time needed to build this unit
general stats
health
Starting Hitpoints
sight
Sight range to spot enemy units
Radar
Radar range
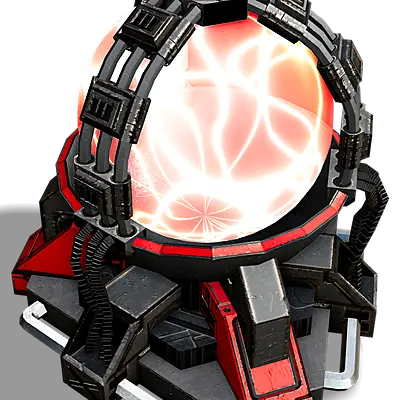
Advanced Metal Extractor
T2
Advanced Metal Extractor / Storage
Cost
Metal
Metal needed to build this unit
energy
Energy needed to build this unit
Build time
Build time needed to build this unit
general stats
health
Starting Hitpoints
sight
Sight range to spot enemy units
Naval Advanced Metal Extractor
T2
Advanced Metal Extractor / Storage
Cost
Metal
Metal needed to build this unit
energy
Energy needed to build this unit
Build time
Build time needed to build this unit
general stats
health
Starting Hitpoints
sight
Sight range to spot enemy units
Nemesis
T2
Stealth
Intrusion Countermeasure System
Cost
Metal
Metal needed to build this unit
energy
Energy needed to build this unit
Build time
Build time needed to build this unit
general stats
health
Starting Hitpoints
sight
Sight range to spot enemy units
ICS range
Intrusion Countermeasure System Detector Range
Hardened Metal Storage
T2
Increases Metal Storage (10000)
Cost
Metal
Metal needed to build this unit
energy
Energy needed to build this unit
Build time
Build time needed to build this unit
general stats
health
Starting Hitpoints
sight
Sight range to spot enemy units

Naval Pinpointer
T2
Enhanced Radar Targeting
Cost
Metal
Metal needed to build this unit
energy
Energy needed to build this unit
Build time
Build time needed to build this unit
general stats
health
Starting Hitpoints
sight
Sight range to spot enemy units
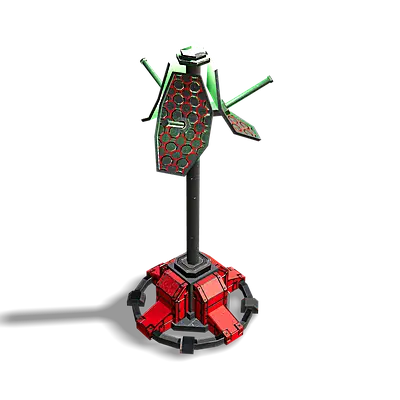
Pinpointer
T2
Enhanced Radar Targeting, more facilities enhance accuracy
Cost
Metal
Metal needed to build this unit
energy
Energy needed to build this unit
Build time
Build time needed to build this unit
general stats
health
Starting Hitpoints
sight
Sight range to spot enemy units
Hardened Energy Storage
T2
Increases Energy Storage (40000)
Cost
Metal
Metal needed to build this unit
energy
Energy needed to build this unit
Build time
Build time needed to build this unit
general stats
health
Starting Hitpoints
sight
Sight range to spot enemy units
Advanced Geothermal Powerplant
T2
Produces 1250 Energy (Hazardous)
Cost
Metal
Metal needed to build this unit
energy
Energy needed to build this unit
Build time
Build time needed to build this unit
general stats
health
Starting Hitpoints
sight
Sight range to spot enemy units
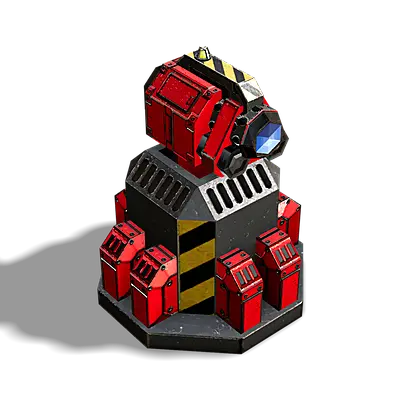
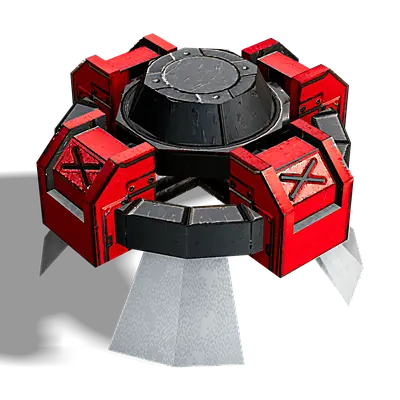
Prevailer
T2
Anti-Nuke System
Cost
Metal
Metal needed to build this unit
energy
Energy needed to build this unit
Build time
Build time needed to build this unit
general stats
health
Starting Hitpoints
sight
Sight range to spot enemy units
Radar
Radar range
stockpile
Stockpile limit
Advanced Geothermal Powerplant
T2
Produces 1250 Energy (Hazardous)
Cost
Metal
Metal needed to build this unit
energy
Energy needed to build this unit
Build time
Build time needed to build this unit
general stats
health
Starting Hitpoints
sight
Sight range to spot enemy units
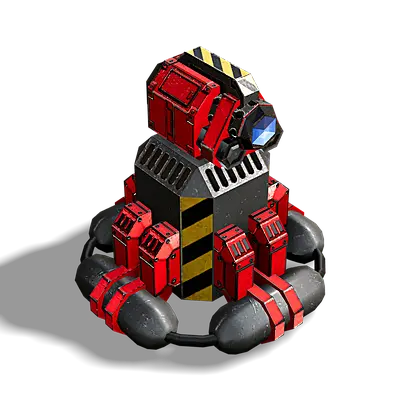
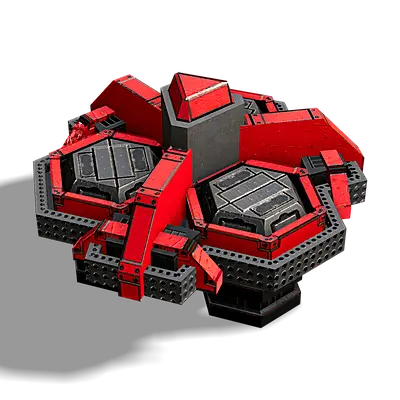
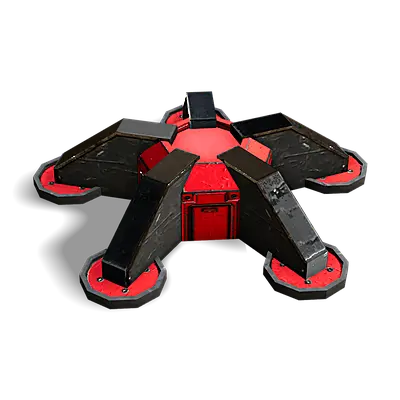
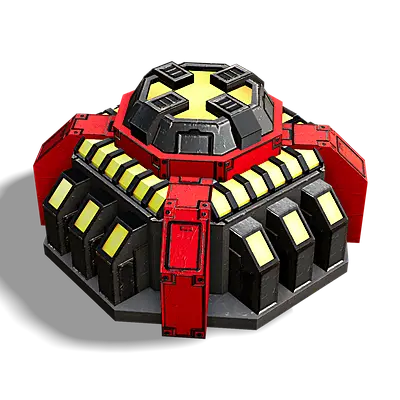
Overseer
T2
Plasma Shield
Cost
Metal
Metal needed to build this unit
energy
Energy needed to build this unit
Build time
Build time needed to build this unit
general stats
health
Starting Hitpoints
sight
Sight range to spot enemy units
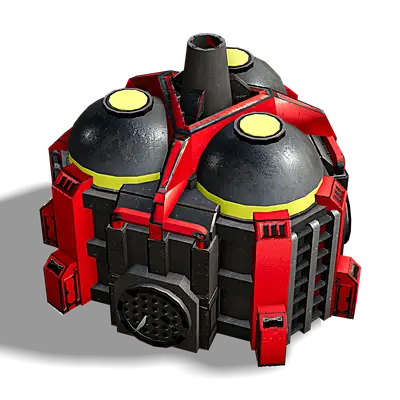
Fusion Reactor
T2
Produces 850 Energy
Cost
Metal
Metal needed to build this unit
energy
Energy needed to build this unit
Build time
Build time needed to build this unit
general stats
health
Starting Hitpoints
sight
Sight range to spot enemy units
Naval Fusion Reactor
T2
Produces 1220 Energy
Cost
Metal
Metal needed to build this unit
energy
Energy needed to build this unit
Build time
Build time needed to build this unit
general stats
health
Starting Hitpoints
sight
Sight range to spot enemy units
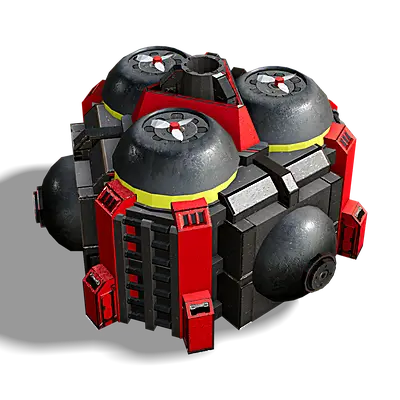
Advanced Fusion Reactor
T2
Produces 3000 Energy (Hazardous)
Cost
Metal
Metal needed to build this unit
energy
Energy needed to build this unit
Build time
Build time needed to build this unit
general stats
health
Starting Hitpoints
sight
Sight range to spot enemy units


