

Cortex
0
units
Thank you! Your submission has been received!
Oops! Something went wrong while submitting the form.
T3
T2
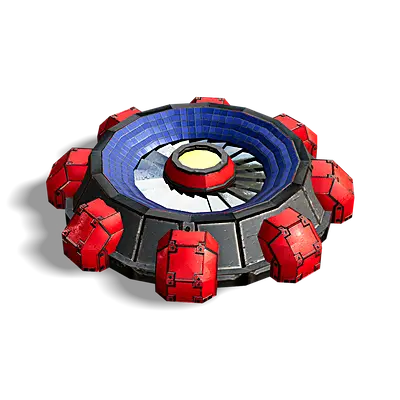
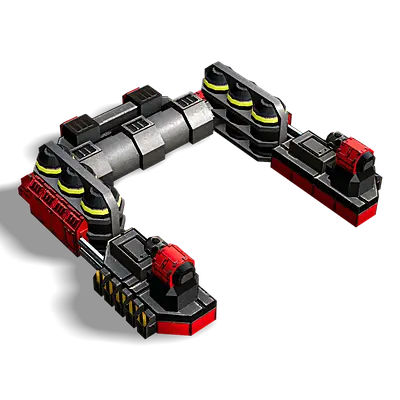
Advanced Solar Collector
Produces 80 Energy
T2
T3
T1
Metal
370
Energy
4000
Buildtime
8150
Energy Make
80
Hitpoints
1200
Radar Range
Speed
0
DPS
0
Weapon Range
0
Buildpower
0
T3
T2
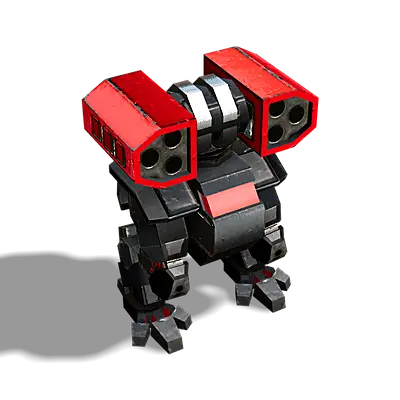
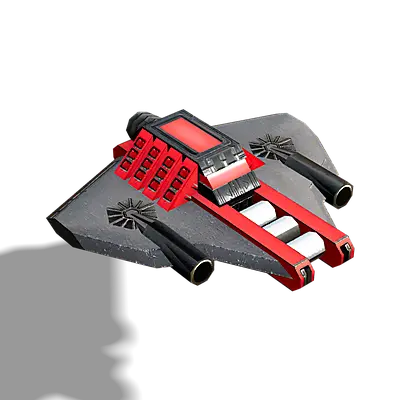
Aggravator
Rocket Bot - good vs. static defenses
T2
T3
T1
Metal
110
Energy
1150
Buildtime
1950
Energy Make
0
Hitpoints
740
Radar Range
Speed
47
DPS
41
Weapon Range
475
Buildpower
0
T3
T2
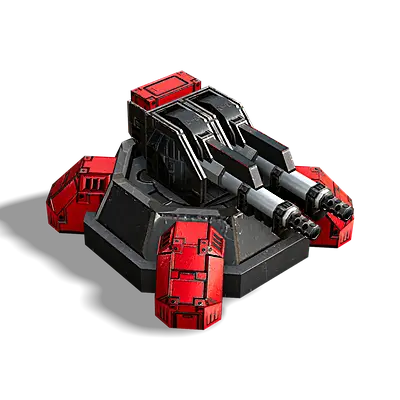
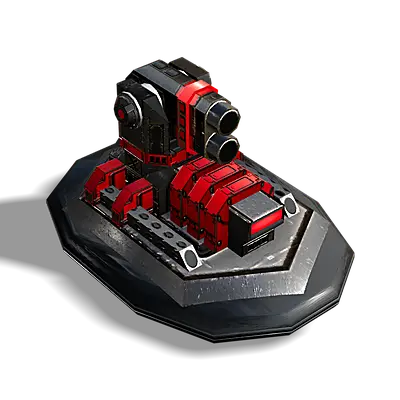
Agitator
Area Control Plasma Artillery
T2
T3
T1
Metal
1300
Energy
13500
Buildtime
17400
Energy Make
0
Hitpoints
3250
Radar Range
Speed
0
DPS
111
Weapon Range
1245
Buildpower
0
T3
T2
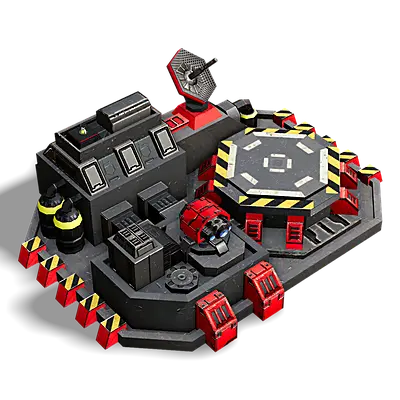
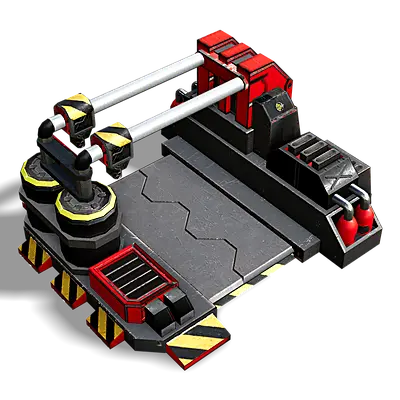
Aircraft Plant
Produces Tech 1 Aircraft
T2
T3
T1
Metal
630
Energy
1100
Buildtime
5380
Energy Make
0
Hitpoints
2150
Radar Range
510
Speed
0
DPS
0
Weapon Range
0
Buildpower
150
T3
T2
Amphibious Complex
Produces Amphibious / Underwater Units
T2
T3
T1
Metal
1200
Energy
5600
Buildtime
11400
Energy Make
0
Hitpoints
2800
Radar Range
Speed
0
DPS
0
Weapon Range
0
Buildpower
300
T3
T2
Bat
Seaplane Swarmer
T2
T3
T1
Metal
90
Energy
4600
Buildtime
6500
Energy Make
0
Hitpoints
220
Radar Range
Speed
315
DPS
240
Weapon Range
710
Buildpower
0
T3
T2

Beholder
Perimeter Camera
T2
T3
T1
Metal
32
Energy
850
Buildtime
750
Energy Make
0
Hitpoints
280
Radar Range
Speed
0
DPS
0
Weapon Range
0
Buildpower
0
T3
T2
Birdeater
Anti-Air Hovercraft
T2
T3
T1
Metal
250
Energy
4700
Buildtime
3650
Energy Make
0
Hitpoints
1120
Radar Range
Speed
88
DPS
85
Weapon Range
700
Buildpower
0
T3
T2
Bot Lab
Produces Tech 1 Bots
T2
T3
T1
Metal
470
Energy
1050
Buildtime
5000
Energy Make
0
Hitpoints
2900
Radar Range
Speed
0
DPS
0
Weapon Range
0
Buildpower
150
T3
T2
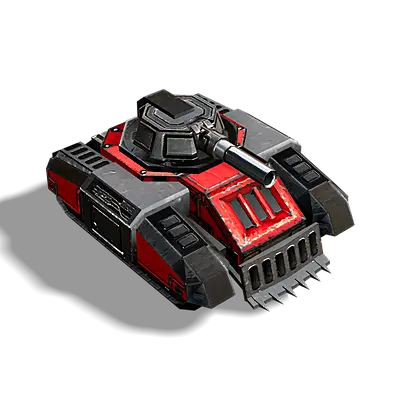
Brute
Medium Assault Tank
T2
T3
T1
Metal
235
Energy
2400
Buildtime
3500
Energy Make
0
Hitpoints
2000
Radar Range
Speed
72
DPS
83
Weapon Range
350
Buildpower
0

0
units
Cortex
Thank you! Your submission has been received!
Oops! Something went wrong while submitting the form.
T3
T2
Advanced Solar Collector
T2
T1
T3
Produces 80 Energy
370
Metal
4000
Energy
8150
Buildtime
80
Energy Make
1200
Hitpoints
Radar Range
0
Speed
0
DPS
0
Weapon Range
0
Buildpower
T3
T2
Aggravator
T2
T1
T3
Rocket Bot - good vs. static defenses
110
Metal
1150
Energy
1950
Buildtime
0
Energy Make
740
Hitpoints
Radar Range
47
Speed
41
DPS
475
Weapon Range
0
Buildpower
T3
T2
Agitator
T2
T1
T3
Area Control Plasma Artillery
1300
Metal
13500
Energy
17400
Buildtime
0
Energy Make
3250
Hitpoints
Radar Range
0
Speed
111
DPS
1245
Weapon Range
0
Buildpower
T3
T2
Aircraft Plant
T2
T1
T3
Produces Tech 1 Aircraft
630
Metal
1100
Energy
5380
Buildtime
0
Energy Make
2150
Hitpoints
510
Radar Range
0
Speed
0
DPS
0
Weapon Range
150
Buildpower
T3
T2
Amphibious Complex
T2
T1
T3
Produces Amphibious / Underwater Units
1200
Metal
5600
Energy
11400
Buildtime
0
Energy Make
2800
Hitpoints
Radar Range
0
Speed
0
DPS
0
Weapon Range
300
Buildpower
T3
T2
Bat
T2
T1
T3
Seaplane Swarmer
90
Metal
4600
Energy
6500
Buildtime
0
Energy Make
220
Hitpoints
Radar Range
315
Speed
240
DPS
710
Weapon Range
0
Buildpower
T3
T2
Beholder
T2
T1
T3
Perimeter Camera
32
Metal
850
Energy
750
Buildtime
0
Energy Make
280
Hitpoints
Radar Range
0
Speed
0
DPS
0
Weapon Range
0
Buildpower
T3
T2
Birdeater
T2
T1
T3
Anti-Air Hovercraft
250
Metal
4700
Energy
3650
Buildtime
0
Energy Make
1120
Hitpoints
Radar Range
88
Speed
85
DPS
700
Weapon Range
0
Buildpower
T3
T2
Bot Lab
T2
T1
T3
Produces Tech 1 Bots
470
Metal
1050
Energy
5000
Buildtime
0
Energy Make
2900
Hitpoints
Radar Range
0
Speed
0
DPS
0
Weapon Range
150
Buildpower
T3
T2
Brute
T2
T1
T3
Medium Assault Tank
235
Metal
2400
Energy
3500
Buildtime
0
Energy Make
2000
Hitpoints
Radar Range
72
Speed
83
DPS
350
Weapon Range
0
Buildpower
