

Armada
T3
T2
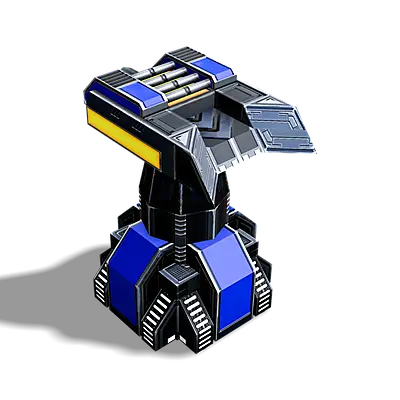
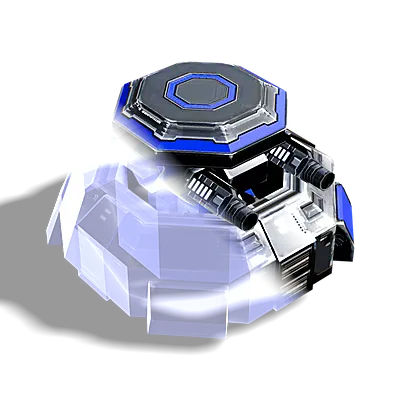
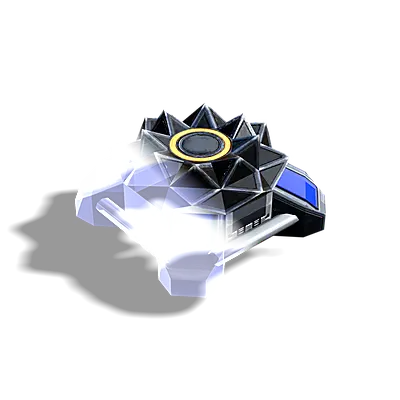
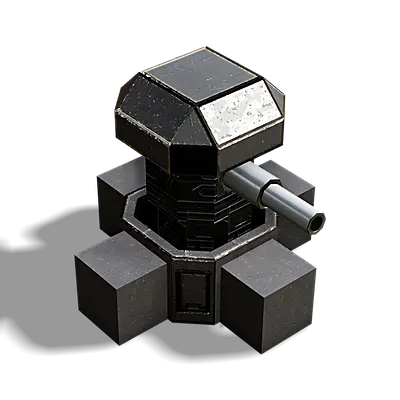
Anemone
Coastal Torpedo Launcher
T2
T3
T1
Metal
240
Energy
2200
Energy Make
0
Hitpoints
2200
Sight
617
Radar
Sonar
600
Jammer Range
Speed
0
DPS
150
Fire Range
600
Buildpower
0
T3
T2
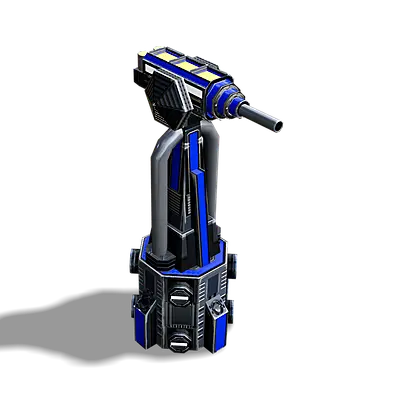
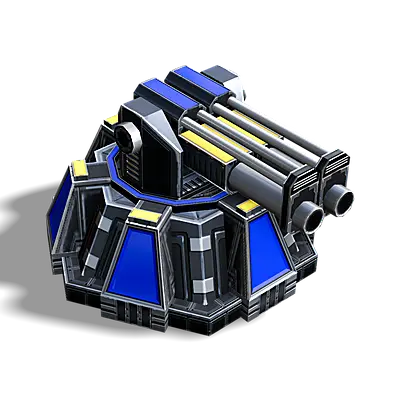
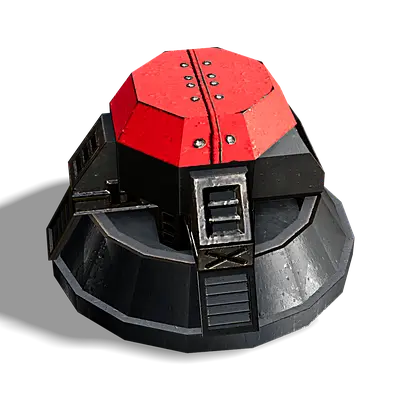
Beamer
Beam Laser Turret
T2
T3
T1
Metal
190
Energy
1500
Energy Make
0
Hitpoints
1430
Sight
475
Radar
Sonar
Jammer Range
Speed
0
DPS
266
Fire Range
490
Buildpower
0
T3
T2
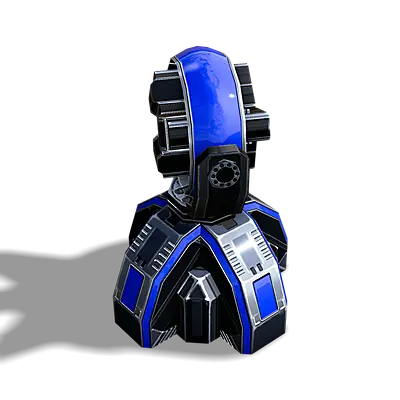
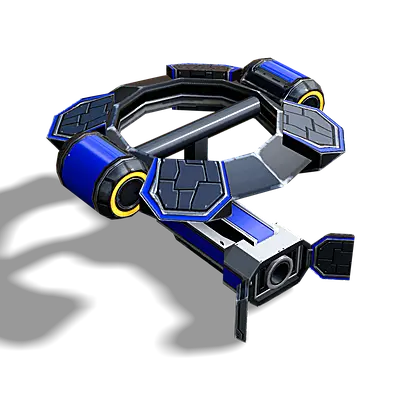
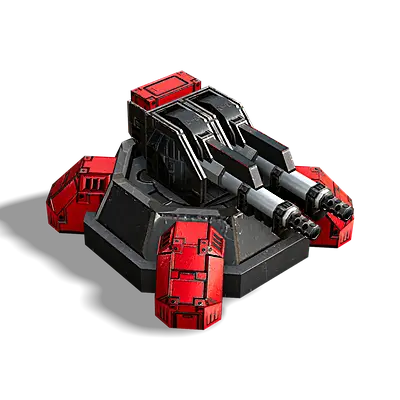
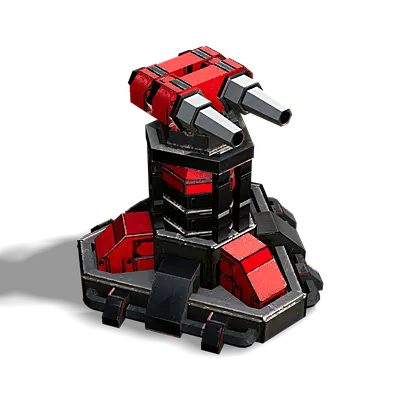
Chainsaw
Medium-Range Anti-Air Missile Battery
T2
T3
T1
Metal
750
Energy
7300
Energy Make
0
Hitpoints
4450
Sight
380
Radar
Sonar
Jammer Range
Speed
0
DPS
625
Fire Range
1125
Buildpower
0
T3
T2
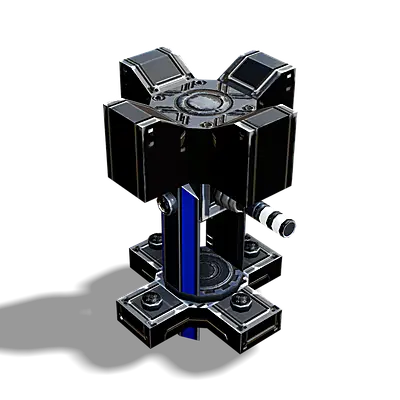
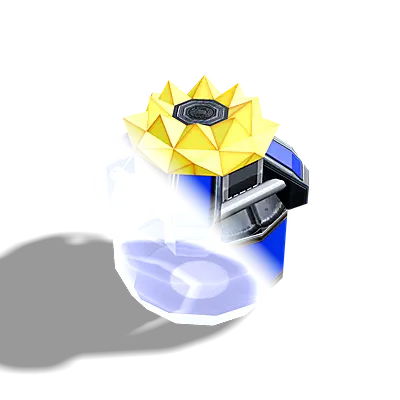
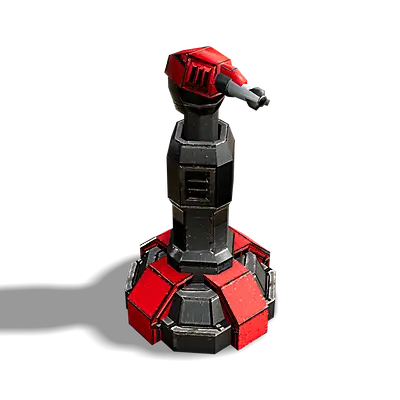
Dragon's Claw
Pop-up Lightning Turret
T2
T3
T1
Metal
340
Energy
1600
Energy Make
0
Hitpoints
1330
Sight
440
Radar
Sonar
Jammer Range
8
Speed
0
DPS
159
Fire Range
430
Buildpower
0
T3
T2
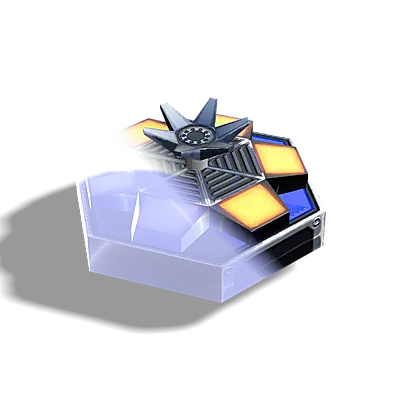
Ferret
Pop-Up Anti-Air Missile Battery
T2
T3
T1
Metal
360
Energy
5700
Energy Make
0
Hitpoints
1330
Sight
375
Radar
Sonar
Jammer Range
Speed
0
DPS
176
Fire Range
840
Buildpower
0
T3
T2
Gauntlet
Area Control Plasma Artillery
T2
T3
T1
Metal
1250
Energy
12500
Energy Make
0
Hitpoints
3050
Sight
455
Radar
Sonar
Jammer Range
Speed
0
DPS
105
Fire Range
1220
Buildpower
0
T3
T2
Harpoon
Offshore Torpedo Launcher
T2
T3
T1
Metal
170
Energy
1500
Energy Make
0
Hitpoints
1300
Sight
494
Radar
Sonar
400
Jammer Range
Speed
0
DPS
187
Fire Range
500
Buildpower
0
T3
T2
Heavy Mine
Heavy Mine, Naval Series
T2
T3
T1
Metal
32
Energy
1600
Energy Make
0
Hitpoints
11
Sight
78
Radar
Sonar
Jammer Range
Speed
0
DPS
0
Fire Range
0
Buildpower
0
T3
T2
Heavy Mine
Heavy Mine
T2
T3
T1
Metal
50
Energy
2800
Energy Make
0
Hitpoints
11
Sight
83
Radar
Sonar
Jammer Range
Speed
0
DPS
0
Fire Range
0
Buildpower
0
T3
T2
Light Mine
Light Mine
T2
T3
T1
Metal
7
Energy
270
Energy Make
0
Hitpoints
11
Sight
83
Radar
Sonar
Jammer Range
Speed
0
DPS
0
Fire Range
0
Buildpower
0

Cortex
T3
T2
Agitator
T2
T1
T3
Area Control Plasma Artillery
1300
Metal
13500
Energy
0
Energy Make
3250
Hitpoints
455
Sight
Radar
Sonar
Jammer Range
0
Speed
111
DPS
1245
Fire Range
0
Buildpower
T3
T2
Coral
T2
T1
T3
Floating Heavy Laser Tower
480
Metal
6200
Energy
0
Energy Make
4350
Hitpoints
630
Sight
Radar
Sonar
Jammer Range
0
Speed
231
DPS
630
Fire Range
0
Buildpower
T3
T2
Dragon's Maw
T2
T1
T3
Pop-up Flamethrower Turret
290
Metal
1550
Energy
0
Energy Make
1610
Hitpoints
422
Sight
Radar
Sonar
8
Jammer Range
0
Speed
320
DPS
410
Fire Range
0
Buildpower
T3
T2
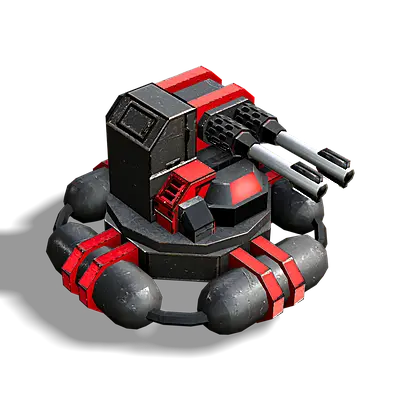
Eradicator
T2
T1
T3
Medium-Range Anti-Air Missile Battery
800
Metal
7900
Energy
0
Energy Make
4450
Hitpoints
380
Sight
Radar
Sonar
Jammer Range
0
Speed
625
DPS
1125
Fire Range
0
Buildpower
T3
T2
Exploiter
T2
T1
T3
Armed Metal Extractor
240
Metal
1900
Energy
0
Energy Make
1440
Hitpoints
455
Sight
Radar
Sonar
Jammer Range
0
Speed
161
DPS
435
Fire Range
0
Buildpower
T3
T2
Guard
T2
T1
T3
Light Laser Tower
90
Metal
700
Energy
0
Energy Make
650
Hitpoints
494
Sight
Radar
Sonar
Jammer Range
0
Speed
161
DPS
435
Fire Range
0
Buildpower
T3
T2
Heavy Mine
T2
T1
T3
Heavy Mine, Naval Series
32
Metal
1600
Energy
0
Energy Make
11
Hitpoints
71
Sight
Radar
Sonar
Jammer Range
0
Speed
0
DPS
0
Fire Range
0
Buildpower
T3
T2
Heavy Mine
T2
T1
T3
Heavy Mine
50
Metal
2800
Energy
0
Energy Make
11
Hitpoints
83
Sight
Radar
Sonar
Jammer Range
0
Speed
0
DPS
0
Fire Range
0
Buildpower
T3
T2
Jellyfish
T2
T1
T3
Coastal Torpedo Launcher
250
Metal
2200
Energy
0
Energy Make
2350
Hitpoints
611
Sight
Radar
600
Sonar
Jammer Range
0
Speed
150
DPS
600
Fire Range
0
Buildpower

T3
T2
Light Mine
T2
T1
T3
Light Mine
7
Metal
270
Energy
0
Energy Make
11
Hitpoints
83
Sight
Radar
Sonar
Jammer Range
0
Speed
0
DPS
0
Fire Range
0
Buildpower
