

Cortex
Defenses
Switch To


Light Mine
T1

Stealth

Cloak
Light Mine
Cost
Metal
Metal needed to build this unit
energy
Energy needed to build this unit
Build time
Build time needed to build this unit
general stats
health
Starting Hitpoints
sight
Sight range to spot enemy units
Medium Mine
T1
Stealth
Cloak
Medium Mine
Cost
Metal
Metal needed to build this unit
energy
Energy needed to build this unit
Build time
Build time needed to build this unit
general stats
health
Starting Hitpoints
sight
Sight range to spot enemy units

Heavy Mine
T1
Stealth
Cloak
Heavy Mine, Naval Series
Cost
Metal
Metal needed to build this unit
energy
Energy needed to build this unit
Build time
Build time needed to build this unit
general stats
health
Starting Hitpoints
sight
Sight range to spot enemy units
Heavy Mine
T1
Stealth
Cloak
Heavy Mine
Cost
Metal
Metal needed to build this unit
energy
Energy needed to build this unit
Build time
Build time needed to build this unit
general stats
health
Starting Hitpoints
sight
Sight range to spot enemy units
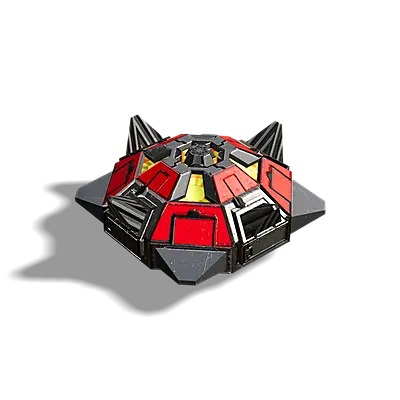
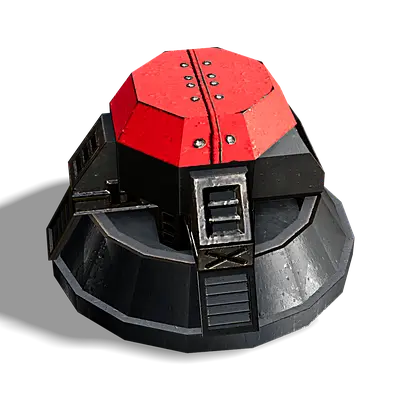
Thistle
T1
Light Anti-air Tower
Cost
Metal
Metal needed to build this unit
energy
Energy needed to build this unit
Build time
Build time needed to build this unit
general stats
health
Starting Hitpoints
sight
Sight range to spot enemy units
dps
Max. damage per second for all weapons
range
Max. weapon range
Slingshot
T1
Floating Anti-air Tower
Cost
Metal
Metal needed to build this unit
energy
Energy needed to build this unit
Build time
Build time needed to build this unit
general stats
health
Starting Hitpoints
sight
Sight range to spot enemy units
dps
Max. damage per second for all weapons
range
Max. weapon range
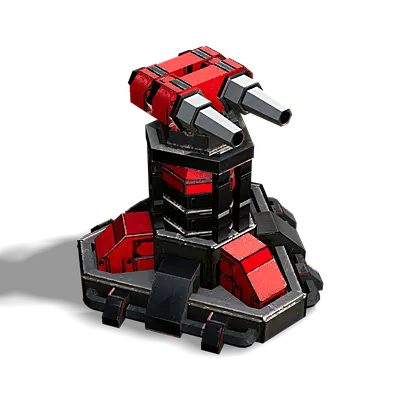
Guard
T1
Light Laser Tower
Cost
Metal
Metal needed to build this unit
energy
Energy needed to build this unit
Build time
Build time needed to build this unit
general stats
health
Starting Hitpoints
sight
Sight range to spot enemy units
dps
Max. damage per second for all weapons
range
Max. weapon range
Urchin
T1
Offshore Torpedo Launcher
Cost
Metal
Metal needed to build this unit
energy
Energy needed to build this unit
Build time
Build time needed to build this unit
general stats
health
Starting Hitpoints
sight
Sight range to spot enemy units
Sonar range
Sonar range
dps
Max. damage per second for all weapons
range
Max. weapon range
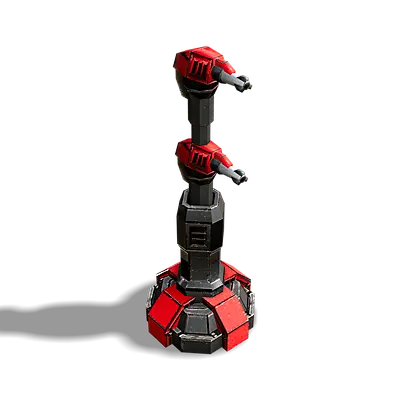
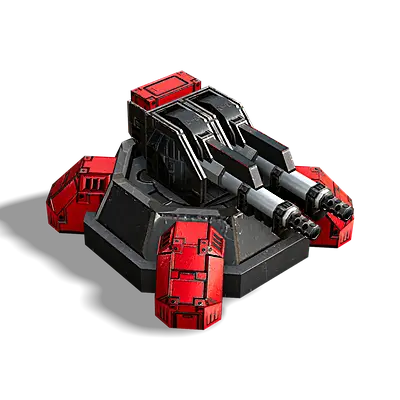
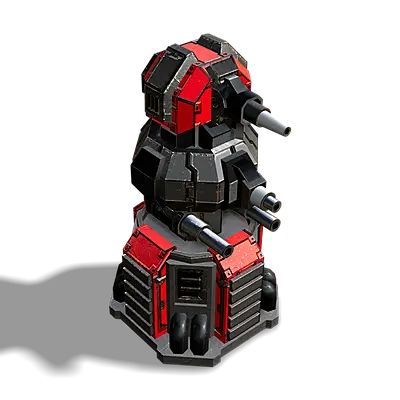
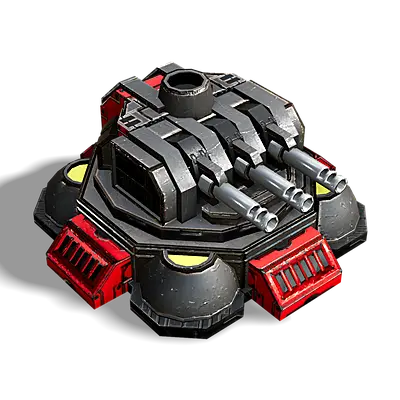
Twin Guard
T1
Anti-Swarm Double Guard
Cost
Metal
Metal needed to build this unit
energy
Energy needed to build this unit
Build time
Build time needed to build this unit
general stats
health
Starting Hitpoints
sight
Sight range to spot enemy units
dps
Max. damage per second for all weapons
range
Max. weapon range
Exploiter
T1
Armed Metal Extractor
Cost
Metal
Metal needed to build this unit
energy
Energy needed to build this unit
Build time
Build time needed to build this unit
general stats
health
Starting Hitpoints
sight
Sight range to spot enemy units
dps
Max. damage per second for all weapons
range
Max. weapon range
Jellyfish
T1
Coastal Torpedo Launcher
Cost
Metal
Metal needed to build this unit
energy
Energy needed to build this unit
Build time
Build time needed to build this unit
general stats
health
Starting Hitpoints
sight
Sight range to spot enemy units
Sonar range
Sonar range
dps
Max. damage per second for all weapons
range
Max. weapon range
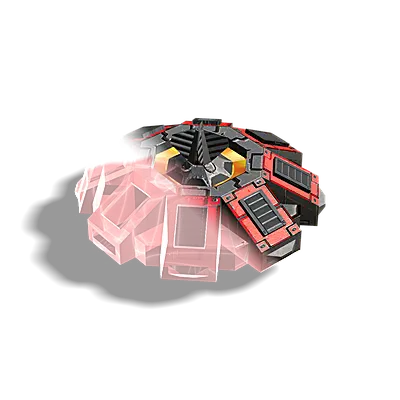
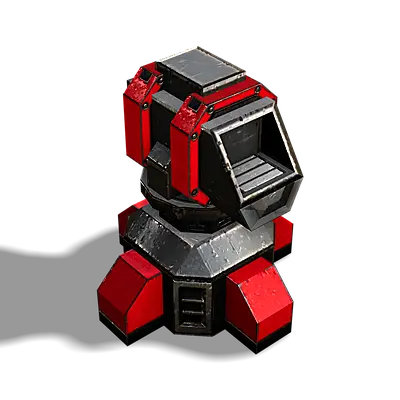
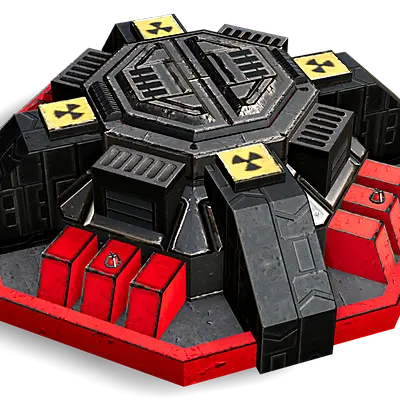
Dragon's Maw
T1

Jammer
Stealth
Pop-up Flamethrower Turret
Cost
Metal
Metal needed to build this unit
energy
Energy needed to build this unit
Build time
Build time needed to build this unit
general stats
health
Starting Hitpoints
sight
Sight range to spot enemy units
Jammer
Jammer range
dps
Max. damage per second for all weapons
range
Max. weapon range
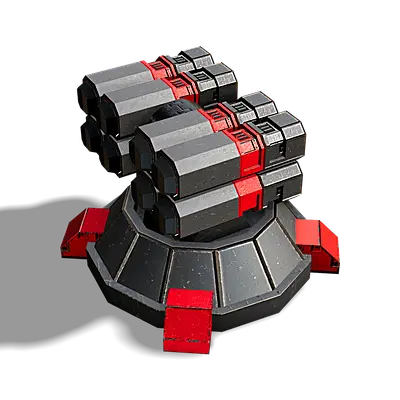
SAM
T1
Hardened Anti-Air Missile Battery
Cost
Metal
Metal needed to build this unit
energy
Energy needed to build this unit
Build time
Build time needed to build this unit
general stats
health
Starting Hitpoints
sight
Sight range to spot enemy units
dps
Max. damage per second for all weapons
range
Max. weapon range
Coral
T1
Floating Heavy Laser Tower
Cost
Metal
Metal needed to build this unit
energy
Energy needed to build this unit
Build time
Build time needed to build this unit
general stats
health
Starting Hitpoints
sight
Sight range to spot enemy units
dps
Max. damage per second for all weapons
range
Max. weapon range
Warden
T1
Area Control Laser Tower
Cost
Metal
Metal needed to build this unit
energy
Energy needed to build this unit
Build time
Build time needed to build this unit
general stats
health
Starting Hitpoints
sight
Sight range to spot enemy units
dps
Max. damage per second for all weapons
range
Max. weapon range
Eradicator
T1
Medium-Range Anti-Air Missile Battery
Cost
Metal
Metal needed to build this unit
energy
Energy needed to build this unit
Build time
Build time needed to build this unit
general stats
health
Starting Hitpoints
sight
Sight range to spot enemy units
dps
Max. damage per second for all weapons
range
Max. weapon range
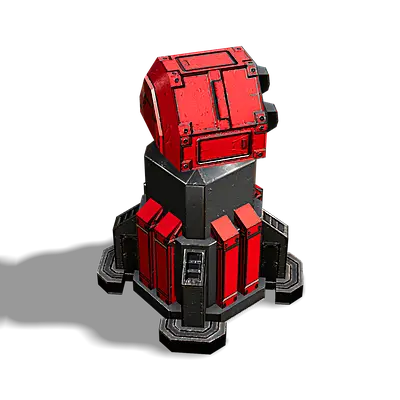
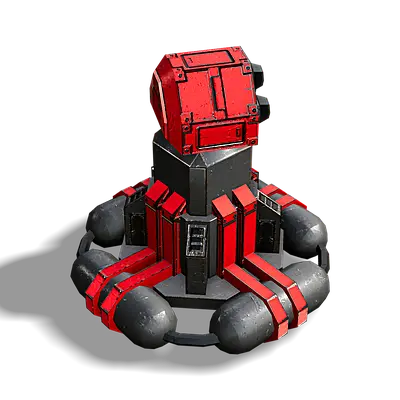
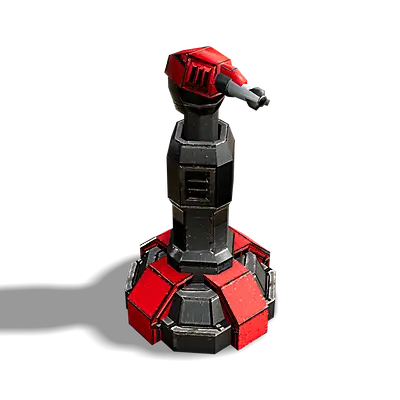
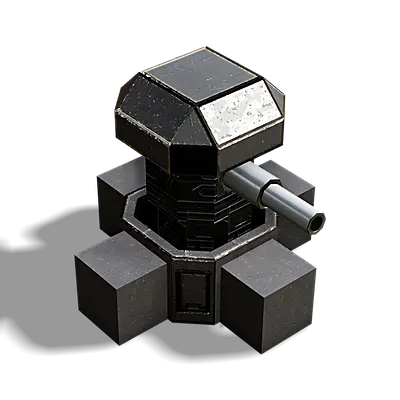
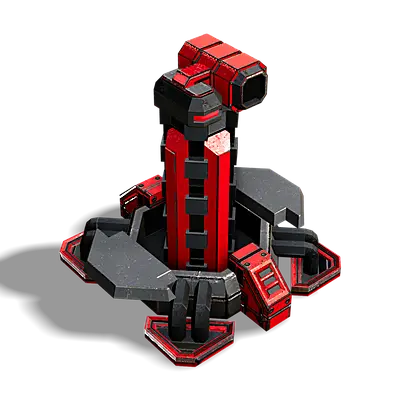
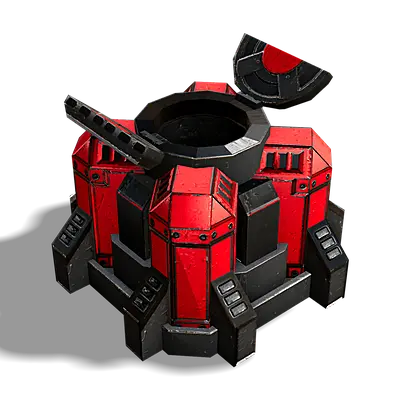
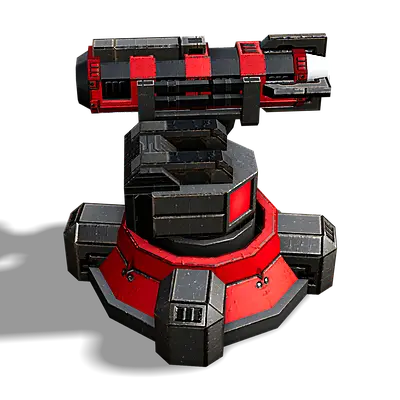
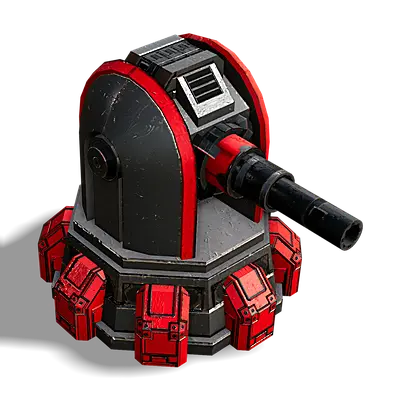
Agitator
T1
Area Control Plasma Artillery
Cost
Metal
Metal needed to build this unit
energy
Energy needed to build this unit
Build time
Build time needed to build this unit
general stats
health
Starting Hitpoints
sight
Sight range to spot enemy units
dps
Max. damage per second for all weapons
range
Max. weapon range
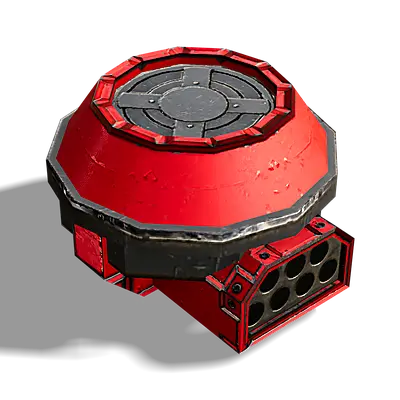
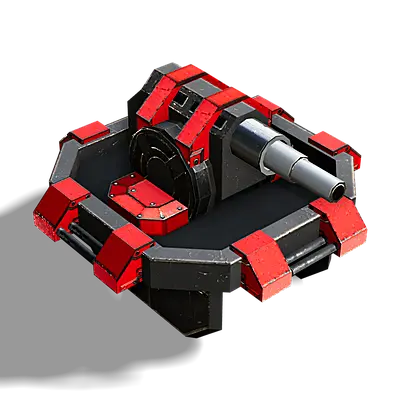
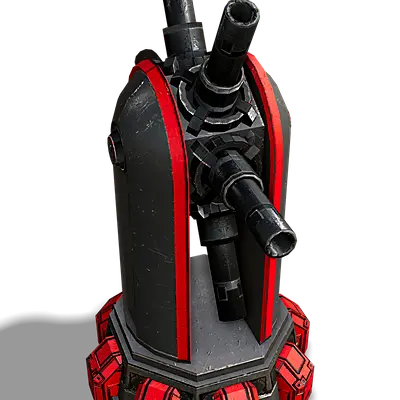
Scorpion
T2
Pop-up Sabot Battery
Cost
Metal
Metal needed to build this unit
energy
Energy needed to build this unit
Build time
Build time needed to build this unit
general stats
health
Starting Hitpoints
sight
Sight range to spot enemy units
dps
Max. damage per second for all weapons
range
Max. weapon range
Birdshot
T2
Anti-Air Flak Gun
Cost
Metal
Metal needed to build this unit
energy
Energy needed to build this unit
Build time
Build time needed to build this unit
general stats
health
Starting Hitpoints
sight
Sight range to spot enemy units
dps
Max. damage per second for all weapons
range
Max. weapon range
Naval Birdshot
T2
Anti-Air Flak Gun - Naval Series
Cost
Metal
Metal needed to build this unit
energy
Energy needed to build this unit
Build time
Build time needed to build this unit
general stats
health
Starting Hitpoints
sight
Sight range to spot enemy units
dps
Max. damage per second for all weapons
range
Max. weapon range

Lamprey
T2
Advanced Torpedo Launcher
Cost
Metal
Metal needed to build this unit
energy
Energy needed to build this unit
Build time
Build time needed to build this unit
general stats
health
Starting Hitpoints
sight
Sight range to spot enemy units
Sonar range
Sonar range
dps
Max. damage per second for all weapons
range
Max. weapon range
Catalyst
T2
Tactical Missile Launcher
Cost
Metal
Metal needed to build this unit
energy
Energy needed to build this unit
Build time
Build time needed to build this unit
general stats
health
Starting Hitpoints
sight
Sight range to spot enemy units
dps
Max. damage per second for all weapons
range
Max. weapon range
stockpile
Stockpile limit
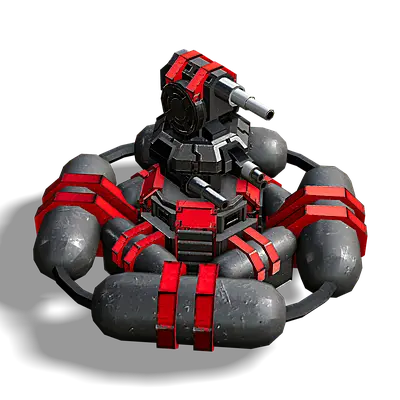
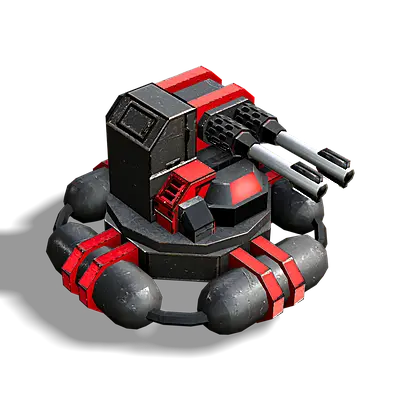
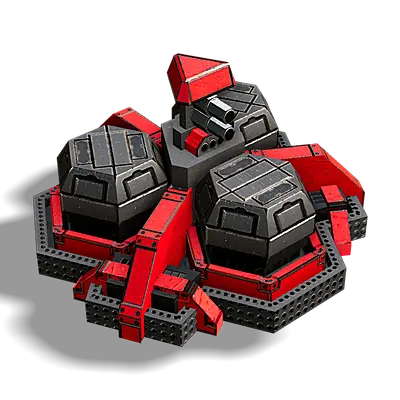
Devastator
T2
Floating Multi-Weapon Platform
Cost
Metal
Metal needed to build this unit
energy
Energy needed to build this unit
Build time
Build time needed to build this unit
general stats
health
Starting Hitpoints
sight
Sight range to spot enemy units
dps
Max. damage per second for all weapons
range
Max. weapon range
Screamer
T2
Long Range Anti-Air Tower
Cost
Metal
Metal needed to build this unit
energy
Energy needed to build this unit
Build time
Build time needed to build this unit
general stats
health
Starting Hitpoints
sight
Sight range to spot enemy units
dps
Max. damage per second for all weapons
range
Max. weapon range
stockpile
Stockpile limit
Advanced Exploiter
T2
Armed Advanced Metal Extractor
Cost
Metal
Metal needed to build this unit
energy
Energy needed to build this unit
Build time
Build time needed to build this unit
general stats
health
Starting Hitpoints
sight
Sight range to spot enemy units
dps
Max. damage per second for all weapons
range
Max. weapon range
Persecutor
T2
Pop-up Plasma Artillery
Cost
Metal
Metal needed to build this unit
energy
Energy needed to build this unit
Build time
Build time needed to build this unit
general stats
health
Starting Hitpoints
sight
Sight range to spot enemy units
dps
Max. damage per second for all weapons
range
Max. weapon range
Bulwark
T2
Energy Weapon
Cost
Metal
Metal needed to build this unit
energy
Energy needed to build this unit
Build time
Build time needed to build this unit
general stats
health
Starting Hitpoints
sight
Sight range to spot enemy units
Radar
Radar range
dps
Max. damage per second for all weapons
range
Max. weapon range
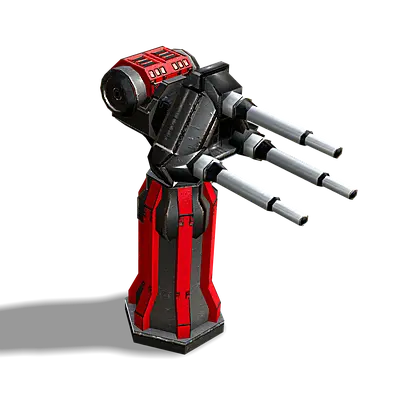
Cerberus
T2
Geothermal Plasma Battery
Cost
Metal
Metal needed to build this unit
energy
Energy needed to build this unit
Build time
Build time needed to build this unit
general stats
health
Starting Hitpoints
sight
Sight range to spot enemy units
dps
Max. damage per second for all weapons
range
Max. weapon range
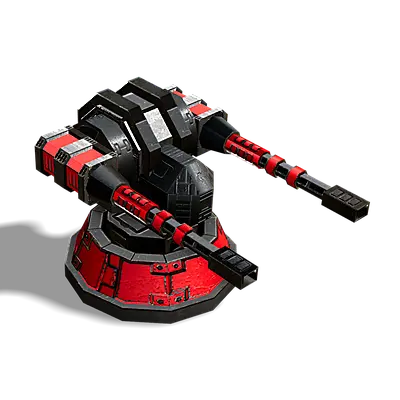
Basilisk
T2
Long Range Plasma Cannon
Cost
Metal
Metal needed to build this unit
energy
Energy needed to build this unit
Build time
Build time needed to build this unit
general stats
health
Starting Hitpoints
sight
Sight range to spot enemy units
dps
Max. damage per second for all weapons
range
Max. weapon range
Apocalypse
T2
Nuclear ICBM Launcher
Cost
Metal
Metal needed to build this unit
energy
Energy needed to build this unit
Build time
Build time needed to build this unit
general stats
health
Starting Hitpoints
sight
Sight range to spot enemy units
Radar
Radar range
dps
Max. damage per second for all weapons
range
Max. weapon range
stockpile
Stockpile limit
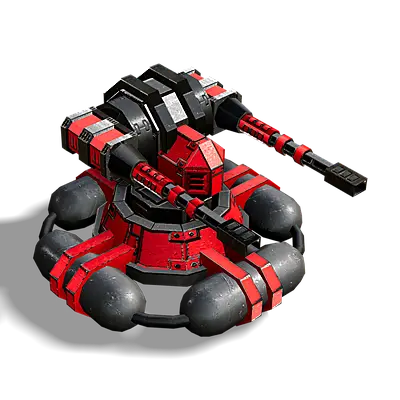
Calamity
T2
Rapid-Fire Long-Range Plasma Cannon
Cost
Metal
Metal needed to build this unit
energy
Energy needed to build this unit
Build time
Build time needed to build this unit
general stats
health
Starting Hitpoints
sight
Sight range to spot enemy units
dps
Max. damage per second for all weapons
range
Max. weapon range


