

Armada
0
units
Thank you! Your submission has been received!
Oops! Something went wrong while submitting the form.
T3
T2
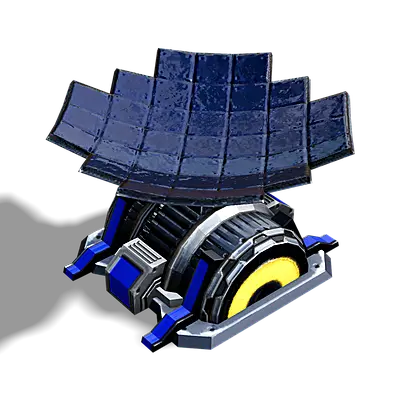
Advanced Solar Collector
Produces 80 Energy
T2
T3
T1
Metal
350
Energy
5000
Buildtime
7950
Energy Make
80
Hitpoints
1130
Radar Range
Speed
0
DPS
0
Weapon Range
0
Buildpower
0
T3
T2
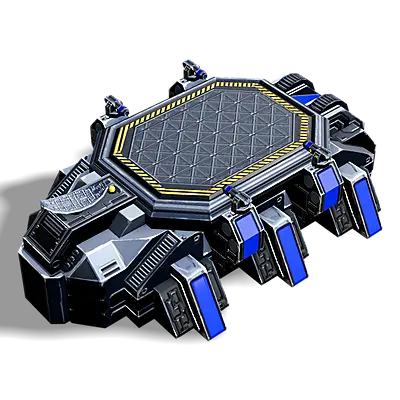
Aircraft Plant
Produces Tech 1 Aircraft
T2
T3
T1
Metal
650
Energy
1100
Buildtime
5450
Energy Make
0
Hitpoints
2050
Radar Range
510
Speed
0
DPS
0
Weapon Range
0
Buildpower
150
T3
T2
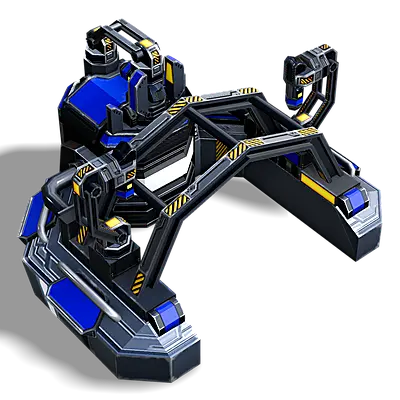
Amphibious Complex
Produces Amphibious / Underwater Units
T2
T3
T1
Metal
1200
Energy
5500
Buildtime
11100
Energy Make
0
Hitpoints
2650
Radar Range
Speed
0
DPS
0
Weapon Range
0
Buildpower
300
T3
T2
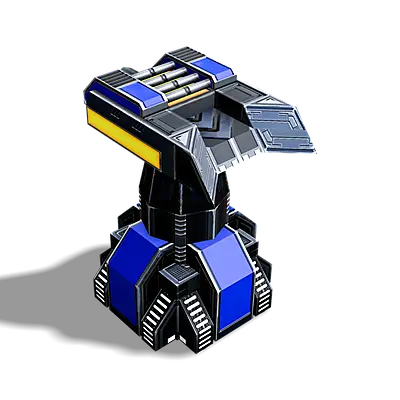
Anemone
Coastal Torpedo Launcher
T2
T3
T1
Metal
240
Energy
2200
Buildtime
6000
Energy Make
0
Hitpoints
2200
Radar Range
Speed
0
DPS
150
Weapon Range
600
Buildpower
0
T3
T2

Armada Commander
Commander
T2
T3
T1
Metal
2700
Energy
26000
Buildtime
75000
Energy Make
30
Hitpoints
3700
Radar Range
700
Speed
37
DPS
111498
Weapon Range
300
Buildpower
300
T3
T2
Banshee
Light Gunship
T2
T3
T1
Metal
135
Energy
2300
Buildtime
5050
Energy Make
0
Hitpoints
560
Radar Range
Speed
184
DPS
39
Weapon Range
350
Buildpower
0
T3
T2
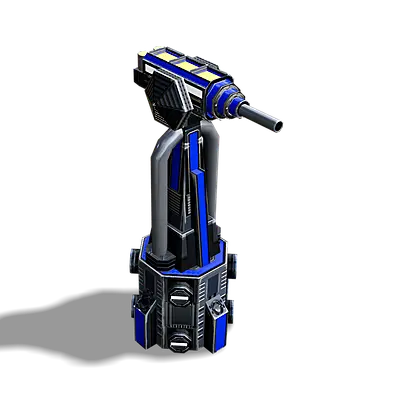
Beamer
Beam Laser Turret
T2
T3
T1
Metal
190
Energy
1500
Buildtime
4800
Energy Make
0
Hitpoints
1430
Radar Range
Speed
0
DPS
266
Weapon Range
490
Buildpower
0
T3
T2
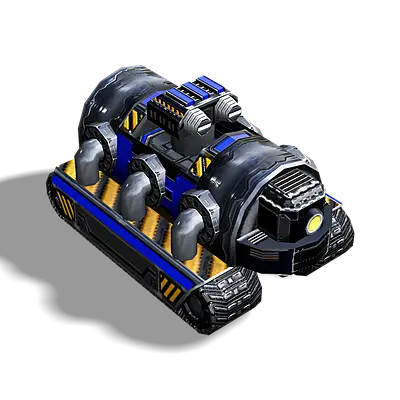
Beaver
Amphibious Construction Vehicle
T2
T3
T1
Metal
150
Energy
3100
Buildtime
6700
Energy Make
8
Hitpoints
1030
Radar Range
Speed
42
DPS
0
Weapon Range
0
Buildpower
80
T3
T2
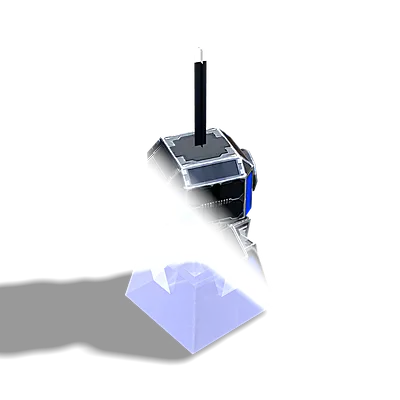
Beholder
Perimeter Camera
T2
T3
T1
Metal
32
Energy
850
Buildtime
750
Energy Make
0
Hitpoints
280
Radar Range
Speed
0
DPS
0
Weapon Range
0
Buildpower
0
T3
T2
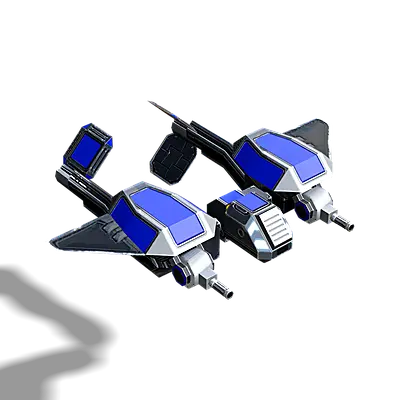
Blink
Scout
T2
T3
T1
Metal
52
Energy
1550
Buildtime
2800
Energy Make
0
Hitpoints
89
Radar Range
1140
Speed
375
DPS
0
Weapon Range
0
Buildpower
0

0
units
Armada
Thank you! Your submission has been received!
Oops! Something went wrong while submitting the form.
T3
T2
Advanced Solar Collector
T2
T1
T3
Produces 80 Energy
350
Metal
5000
Energy
7950
Buildtime
80
Energy Make
1130
Hitpoints
Radar Range
0
Speed
0
DPS
0
Weapon Range
0
Buildpower
T3
T2
Aircraft Plant
T2
T1
T3
Produces Tech 1 Aircraft
650
Metal
1100
Energy
5450
Buildtime
0
Energy Make
2050
Hitpoints
510
Radar Range
0
Speed
0
DPS
0
Weapon Range
150
Buildpower
T3
T2
Amphibious Complex
T2
T1
T3
Produces Amphibious / Underwater Units
1200
Metal
5500
Energy
11100
Buildtime
0
Energy Make
2650
Hitpoints
Radar Range
0
Speed
0
DPS
0
Weapon Range
300
Buildpower
T3
T2
Anemone
T2
T1
T3
Coastal Torpedo Launcher
240
Metal
2200
Energy
6000
Buildtime
0
Energy Make
2200
Hitpoints
Radar Range
0
Speed
150
DPS
600
Weapon Range
0
Buildpower
T3
T2
Armada Commander
T2
T1
T3
Commander
2700
Metal
26000
Energy
75000
Buildtime
30
Energy Make
3700
Hitpoints
700
Radar Range
37
Speed
111498
DPS
300
Weapon Range
300
Buildpower
T3
T2
Banshee
T2
T1
T3
Light Gunship
135
Metal
2300
Energy
5050
Buildtime
0
Energy Make
560
Hitpoints
Radar Range
184
Speed
39
DPS
350
Weapon Range
0
Buildpower
T3
T2
Beamer
T2
T1
T3
Beam Laser Turret
190
Metal
1500
Energy
4800
Buildtime
0
Energy Make
1430
Hitpoints
Radar Range
0
Speed
266
DPS
490
Weapon Range
0
Buildpower
T3
T2
Beaver
T2
T1
T3
Amphibious Construction Vehicle
150
Metal
3100
Energy
6700
Buildtime
8
Energy Make
1030
Hitpoints
Radar Range
42
Speed
0
DPS
0
Weapon Range
80
Buildpower
T3
T2
Beholder
T2
T1
T3
Perimeter Camera
32
Metal
850
Energy
750
Buildtime
0
Energy Make
280
Hitpoints
Radar Range
0
Speed
0
DPS
0
Weapon Range
0
Buildpower
T3
T2
Blink
T2
T1
T3
Scout
52
Metal
1550
Energy
2800
Buildtime
0
Energy Make
89
Hitpoints
1140
Radar Range
375
Speed
0
DPS
0
Weapon Range
0
Buildpower
