Armada
Buildings
Switch To


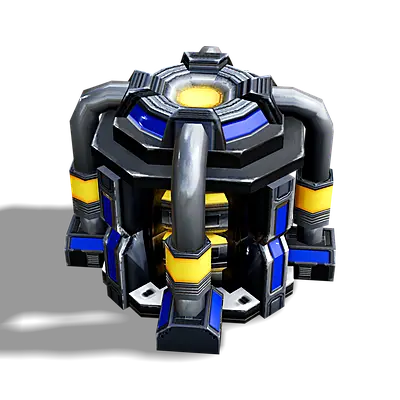
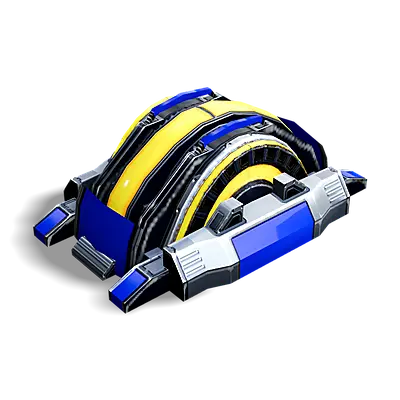
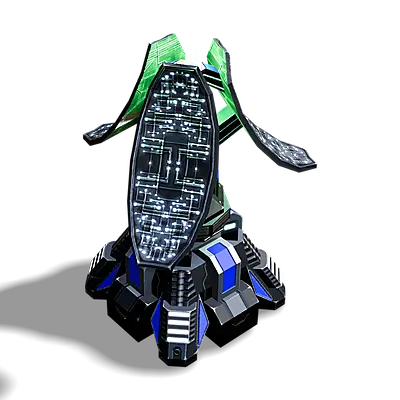
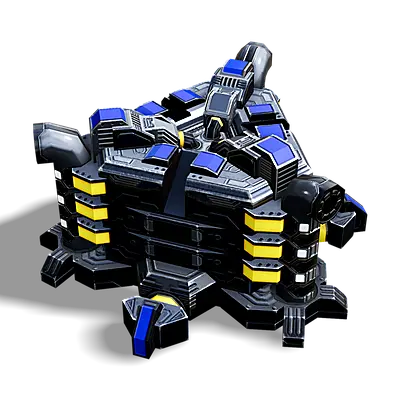
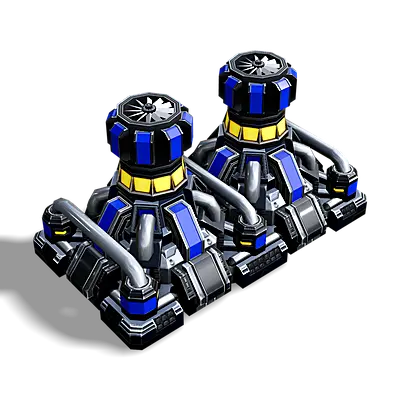
Naval Energy Converter
T1
Converts 70 energy into 1 metal per sec
Cost
Metal
Metal needed to build this unit
energy
Energy needed to build this unit
Build time
Build time needed to build this unit
general stats
health
Starting Hitpoints
sight
Sight range to spot enemy units

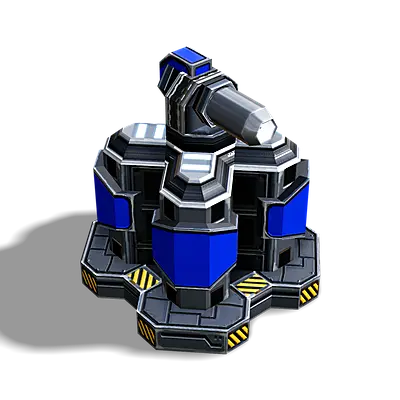
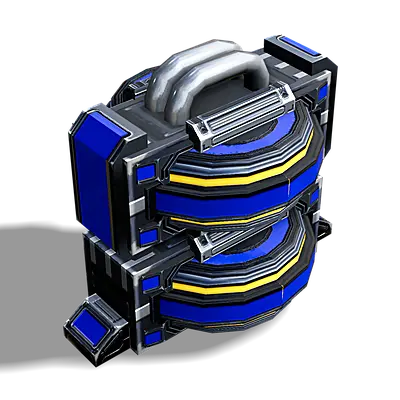
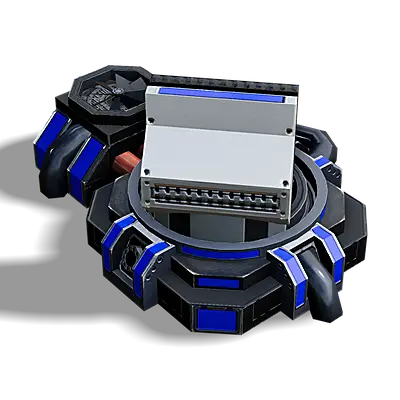
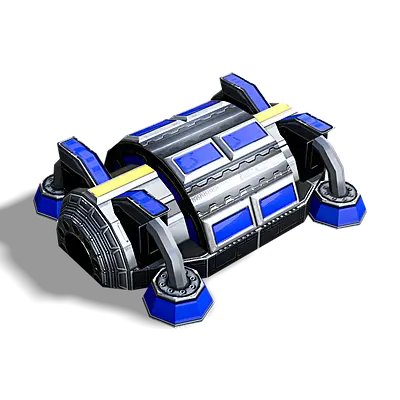
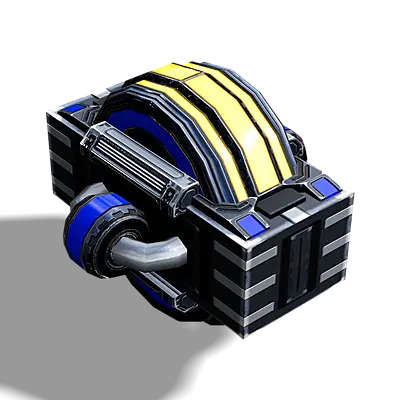
Energy Converter
T1
Converts 70 energy into 1 metal per sec
Cost
Metal
Metal needed to build this unit
energy
Energy needed to build this unit
Build time
Build time needed to build this unit
general stats
health
Starting Hitpoints
sight
Sight range to spot enemy units
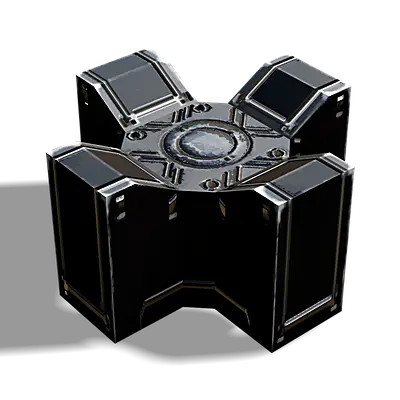
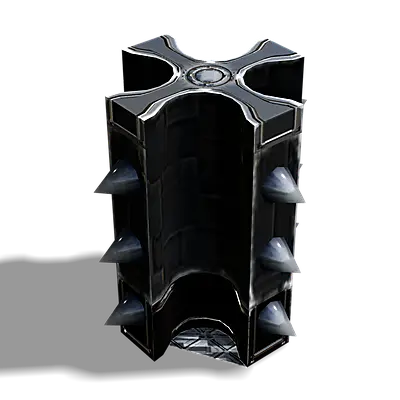
Dragon's Teeth
T1

Paralyze resistance
0
Fortification
Cost
Metal
Metal needed to build this unit
energy
Energy needed to build this unit
Build time
Build time needed to build this unit
general stats
health
Starting Hitpoints
sight
Sight range to spot enemy units
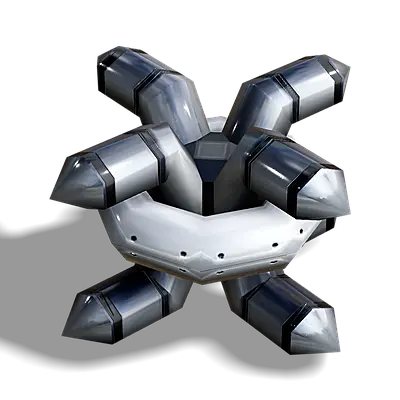
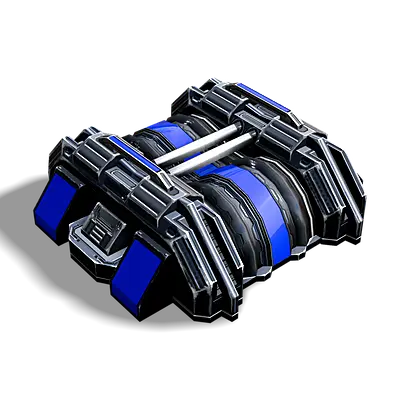
Shark's Teeth
T1
Naval Fortification
Cost
Metal
Metal needed to build this unit
energy
Energy needed to build this unit
Build time
Build time needed to build this unit
general stats
health
Starting Hitpoints
sight
Sight range to spot enemy units
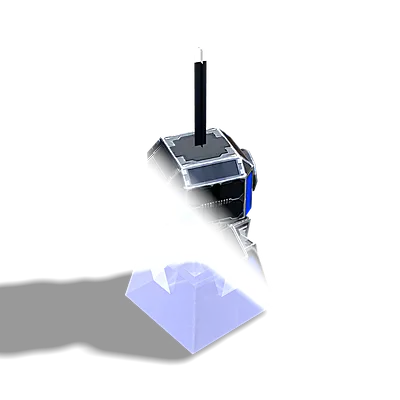
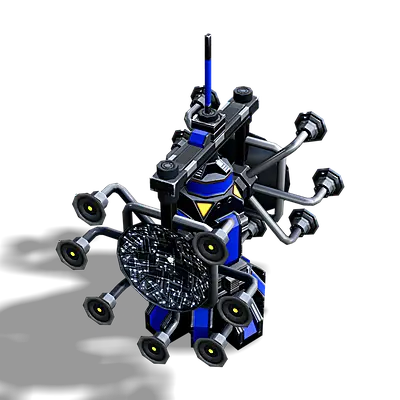
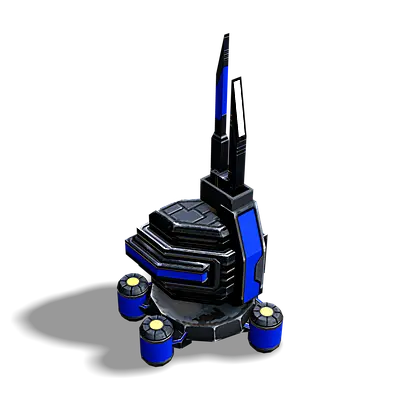
Beholder
T1

Stealth

Cloak
Perimeter Camera
Cost
Metal
Metal needed to build this unit
energy
Energy needed to build this unit
Build time
Build time needed to build this unit
general stats
health
Starting Hitpoints
sight
Sight range to spot enemy units