

Armada
T3
T2
Beaver
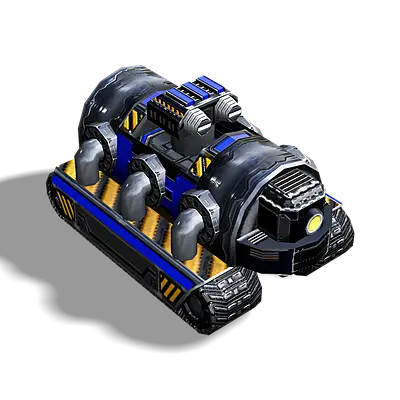
Amphibious Construction Vehicle
T2
T3
T1
Metal
150
Energy
3100
Energy Make
8
Hitpoints
1030
Sight
330
Radar
Sonar
Jammer Range
Speed
42
DPS
0
Fire Range
0
Buildpower
80
T3
T2
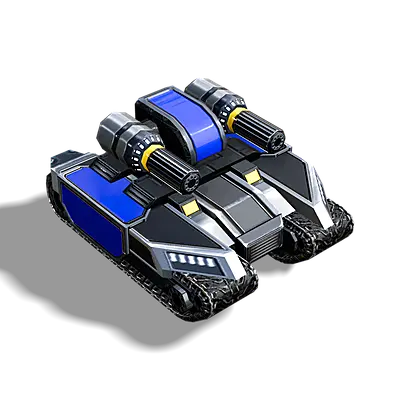
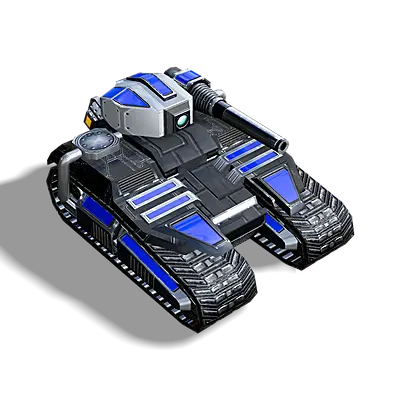
Blitz
Fast Assault Tank
T2
T3
T1
Metal
110
Energy
900
Energy Make
0
Hitpoints
730
Sight
350
Radar
Sonar
Jammer Range
Speed
101
DPS
90
Fire Range
180
Buildpower
0
T3
T2
Construction Vehicle
Tech 1 Constructor
T2
T3
T1
Metal
135
Energy
1950
Energy Make
10
Hitpoints
1380
Sight
330
Radar
50
Sonar
Jammer Range
Speed
54
DPS
0
Fire Range
0
Buildpower
90
T3
T2
Groundhog
Stealthy Minelayer / Minesweeper
T2
T3
T1
Metal
57
Energy
1100
Energy Make
0
Hitpoints
335
Sight
450
Radar
Sonar
Jammer Range
64
Speed
75
DPS
5
Fire Range
220
Buildpower
40
T3
T2
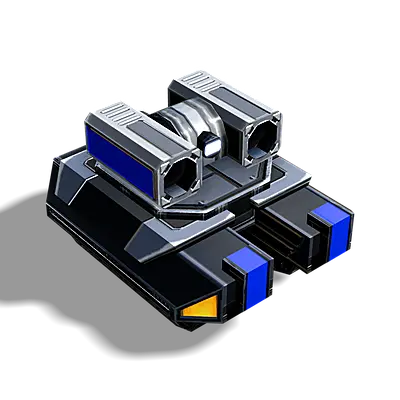
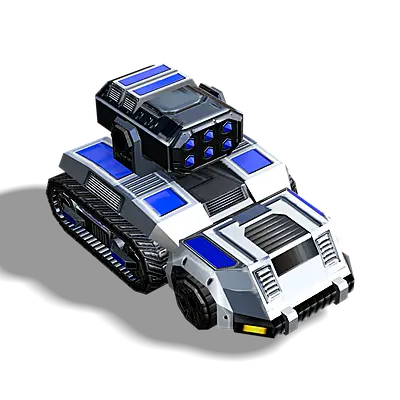
Janus
Twin Medium Rocket Launcher
T2
T3
T1
Metal
240
Energy
2600
Energy Make
0
Hitpoints
1030
Sight
330
Radar
Sonar
Jammer Range
Speed
54
DPS
88
Fire Range
380
Buildpower
0
T3
T2
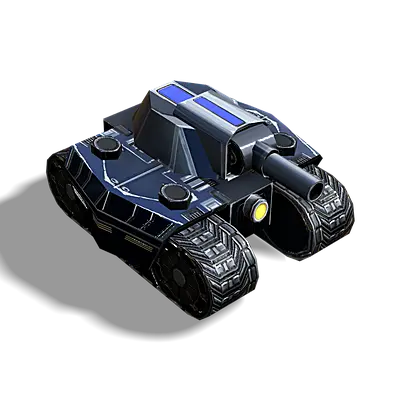
Pincer
Light Amphibious Tank
T2
T3
T1
Metal
200
Energy
2000
Energy Make
0
Hitpoints
1340
Sight
500
Radar
Sonar
180
Jammer Range
Speed
63
DPS
77
Fire Range
305
Buildpower
0
T3
T2
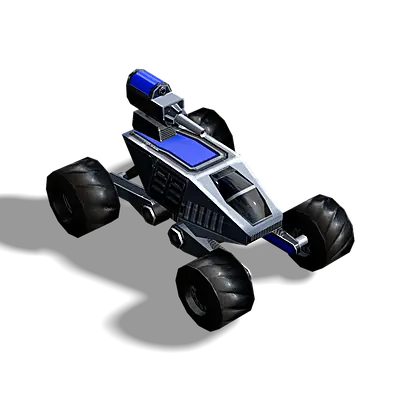
Rover
Light Scout Vehicle
T2
T3
T1
Metal
31
Energy
370
Energy Make
0
Hitpoints
105
Sight
635
Radar
Sonar
Jammer Range
Speed
168
DPS
35
Fire Range
180
Buildpower
0
T3
T2
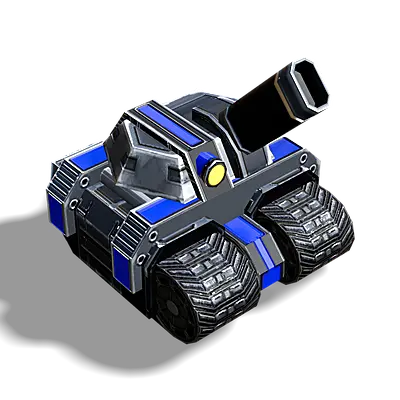
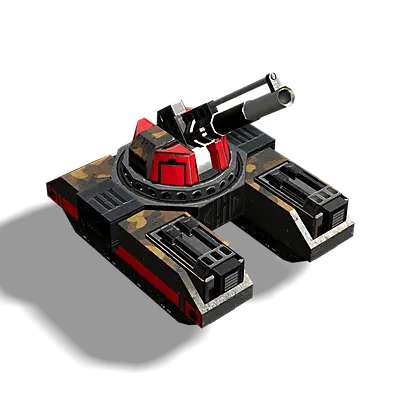
Shellshocker
Light Artillery Vehicle
T2
T3
T1
Metal
135
Energy
2200
Energy Make
0
Hitpoints
620
Sight
364
Radar
Sonar
Jammer Range
Speed
54
DPS
42
Fire Range
710
Buildpower
0
T3
T2
Stout
Medium Assault Tank
T2
T3
T1
Metal
225
Energy
2000
Energy Make
0
Hitpoints
1800
Sight
330
Radar
Sonar
Jammer Range
Speed
75
DPS
83
Fire Range
350
Buildpower
0
T3
T2
Whistler
Missile Truck
T2
T3
T1
Metal
150
Energy
2100
Energy Make
0
Hitpoints
820
Sight
620
Radar
Sonar
Jammer Range
Speed
55
DPS
74
Fire Range
700
Buildpower
0

Cortex
T3
T2
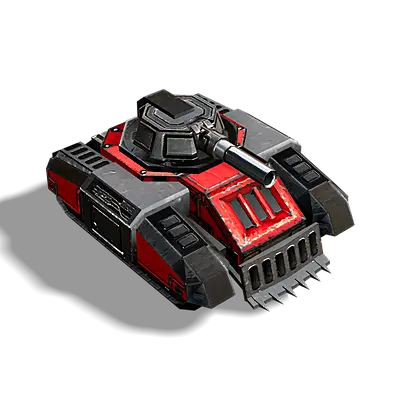
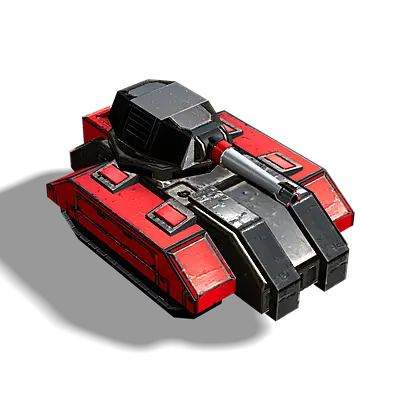
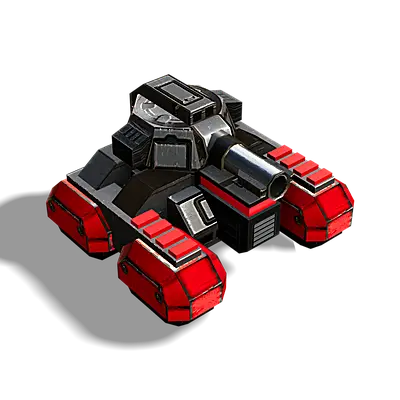
Brute
T2
T1
T3
Medium Assault Tank
235
Metal
2400
Energy
0
Energy Make
2000
Hitpoints
330
Sight
Radar
Sonar
Jammer Range
72
Speed
83
DPS
350
Fire Range
0
Buildpower
T3
T2
Construction Vehicle
T2
T1
T3
Tech 1 Constructor
145
Metal
2100
Energy
10
Energy Make
1430
Hitpoints
330
Sight
50
Radar
Sonar
Jammer Range
51
Speed
0
DPS
0
Fire Range
95
Buildpower
T3
T2
Garpike
T2
T1
T3
Light Amphibious Tank
220
Metal
2600
Energy
0
Energy Make
1420
Hitpoints
500
Sight
Radar
175
Sonar
Jammer Range
58
Speed
77
DPS
305
Fire Range
0
Buildpower
T3
T2
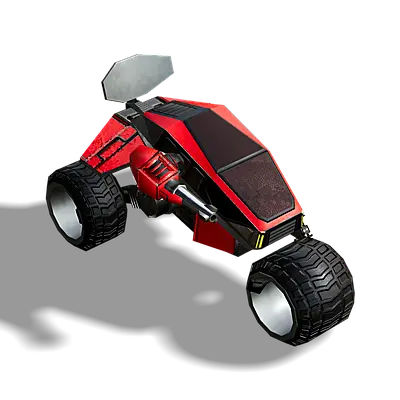
Incisor
T2
T1
T3
Light Tank
120
Metal
1100
Energy
0
Energy Make
820
Hitpoints
330
Sight
Radar
Sonar
Jammer Range
85
Speed
94
DPS
230
Fire Range
0
Buildpower
T3
T2
Lasher
T2
T1
T3
Missile Truck
155
Metal
2400
Energy
0
Energy Make
860
Hitpoints
620
Sight
Radar
Sonar
Jammer Range
52
Speed
73
DPS
700
Fire Range
0
Buildpower
T3
T2
Muskrat
T2
T1
T3
Amphibious Construction Vehicle
170
Metal
3500
Energy
8
Energy Make
1110
Hitpoints
330
Sight
Radar
Sonar
Jammer Range
40
Speed
0
DPS
0
Fire Range
85
Buildpower
T3
T2
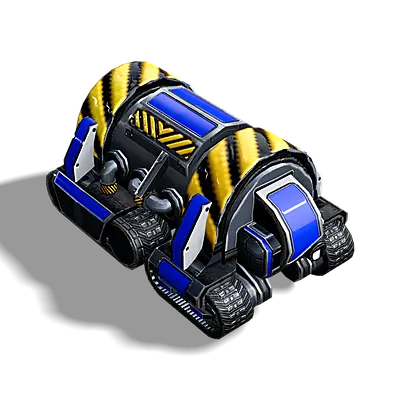
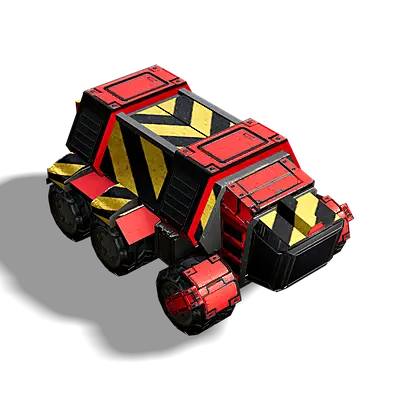
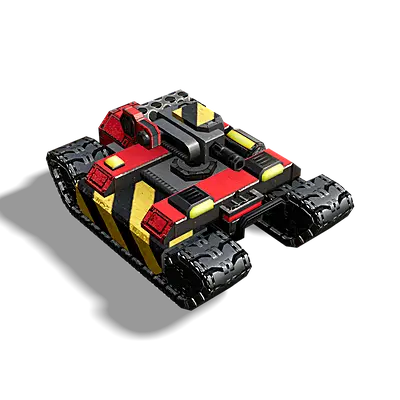
Pounder
T2
T1
T3
Anti-Swarm Tank
220
Metal
2600
Energy
0
Energy Make
1500
Hitpoints
330
Sight
Radar
Sonar
Jammer Range
40
Speed
106
DPS
315
Fire Range
0
Buildpower
T3
T2
Rascal
T2
T1
T3
Light Scout Vehicle
26
Metal
270
Energy
0
Energy Make
90
Hitpoints
600
Sight
Radar
Sonar
Jammer Range
153
Speed
32
DPS
180
Fire Range
0
Buildpower
T3
T2
Trapper
T2
T1
T3
Stealthy Minelayer / Minesweeper
65
Metal
1300
Energy
0
Energy Make
450
Hitpoints
450
Sight
Radar
Sonar
64
Jammer Range
69
Speed
5
DPS
220
Fire Range
40
Buildpower
T3
T2
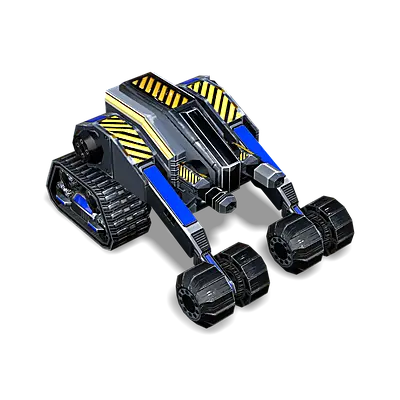
Wolverine
T2
T1
T3
Light Mobile Artillery
170
Metal
2500
Energy
0
Energy Make
750
Hitpoints
330
Sight
Radar
Sonar
Jammer Range
48
Speed
42
DPS
710
Fire Range
0
Buildpower
