Armada
Vehicles
Switch To


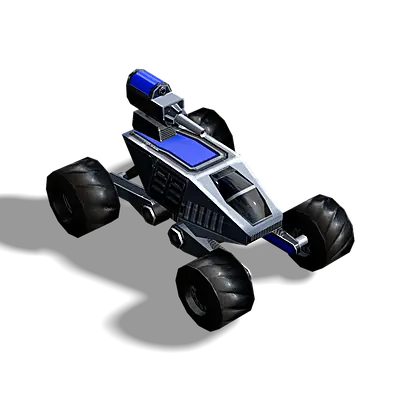
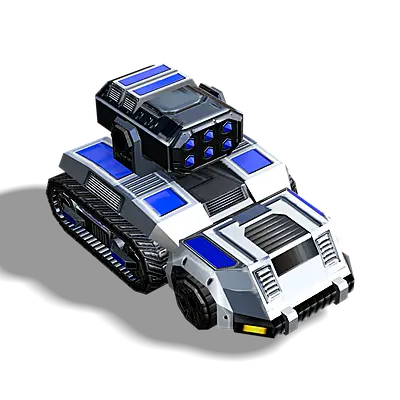
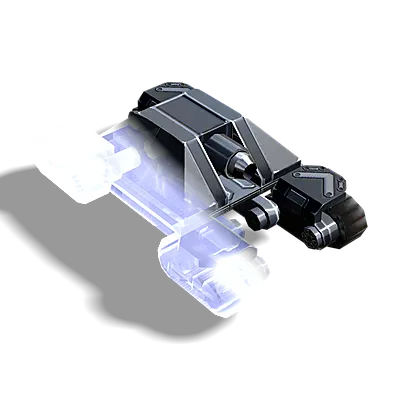
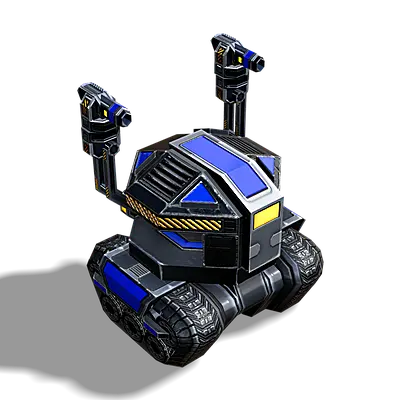
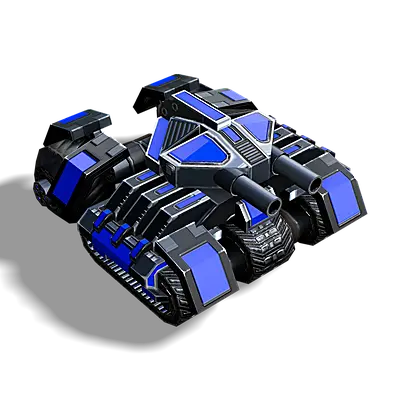
Rover
T1
Light Scout Vehicle
Cost
Metal
Metal needed to build this unit
energy
Energy needed to build this unit
Build time
Build time needed to build this unit
general stats
health
Starting Hitpoints
speed
Max. speed on default and flat terrain
sight
Sight range to spot enemy units
dps
Max. damage per second for all weapons
range
Max. weapon range
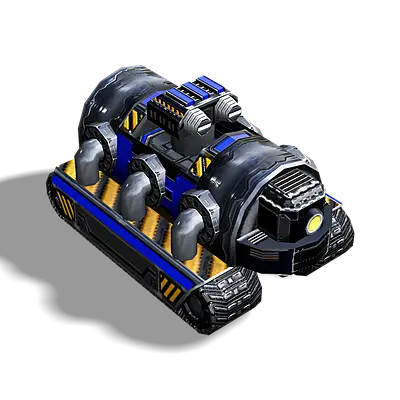
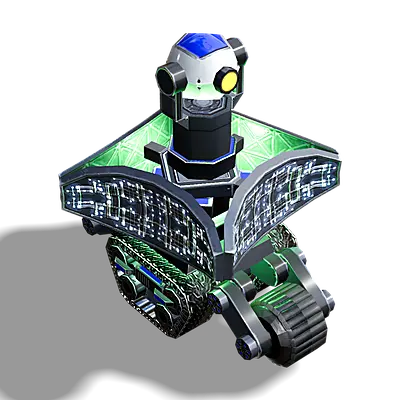
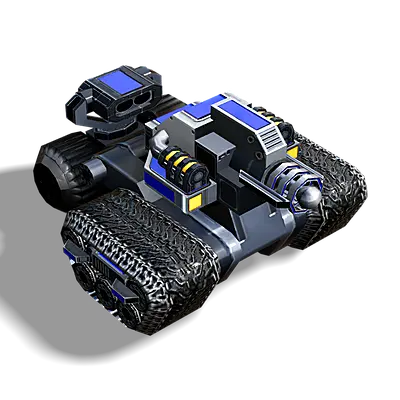
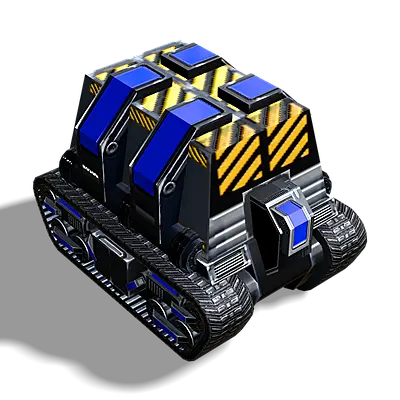
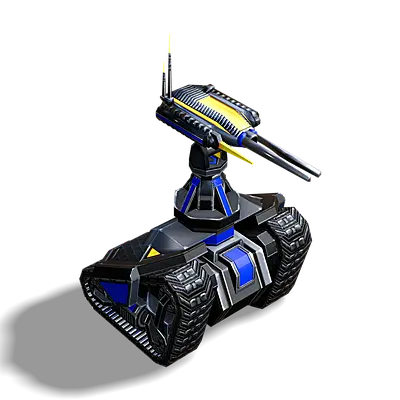
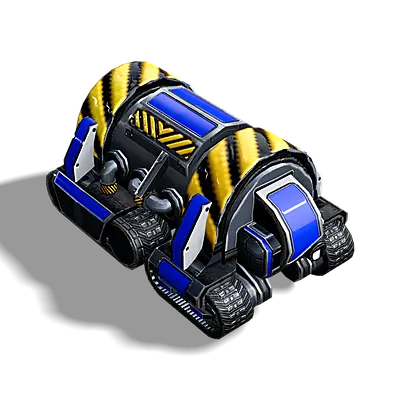
Groundhog
T1

Jammer

Stealth
Stealthy Minelayer / Minesweeper
Cost
Metal
Metal needed to build this unit
energy
Energy needed to build this unit
Build time
Build time needed to build this unit
general stats
health
Starting Hitpoints
speed
Max. speed on default and flat terrain
sight
Sight range to spot enemy units
Jammer
Jammer range
Buildpower
How fast this unit can construct and repair
dps
Max. damage per second for all weapons
range
Max. weapon range
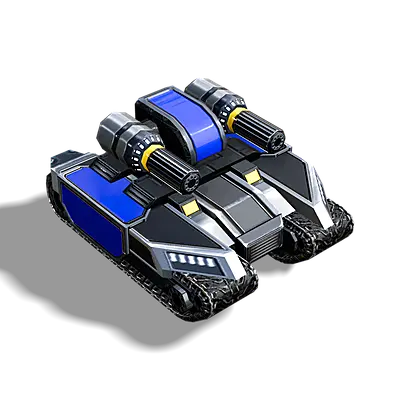
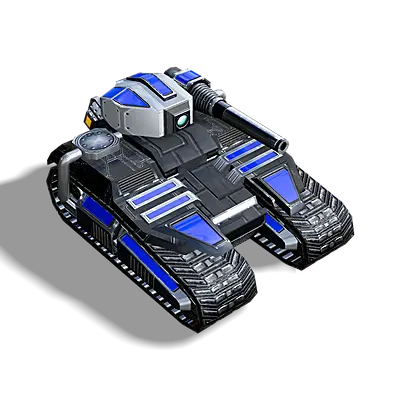
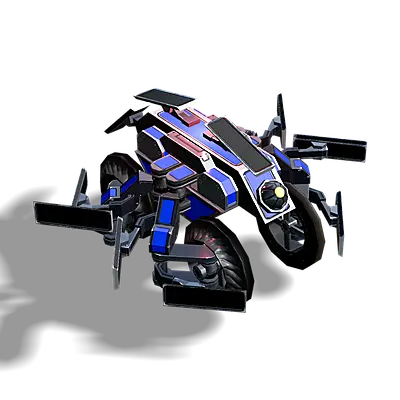
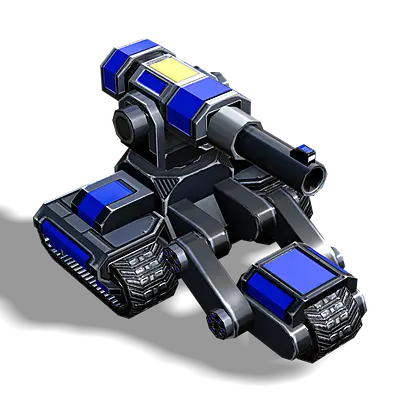
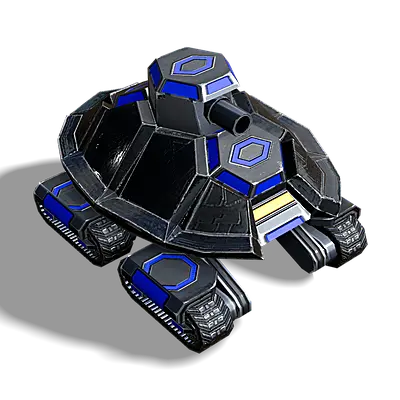
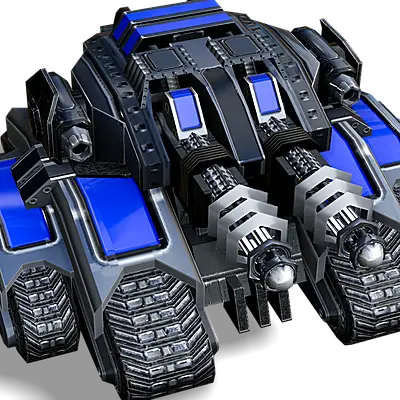
Blitz
T1
Fast Assault Tank
Cost
Metal
Metal needed to build this unit
energy
Energy needed to build this unit
Build time
Build time needed to build this unit
general stats
health
Starting Hitpoints
speed
Max. speed on default and flat terrain
sight
Sight range to spot enemy units
dps
Max. damage per second for all weapons
range
Max. weapon range
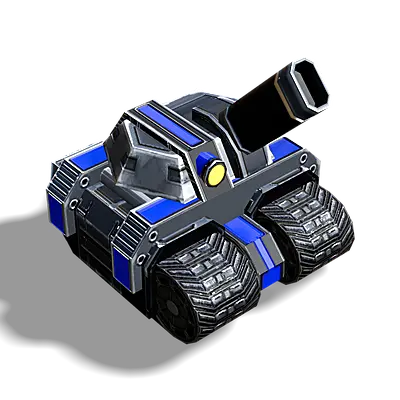
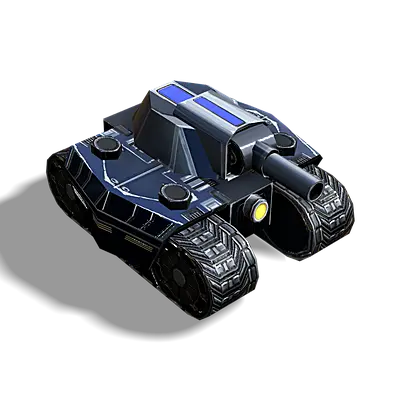
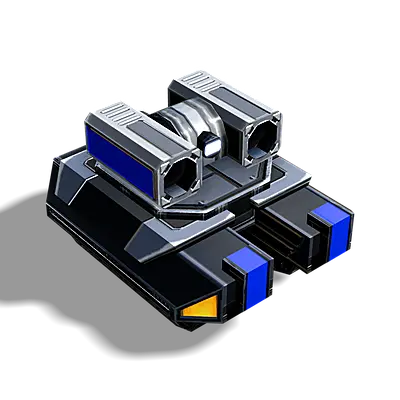
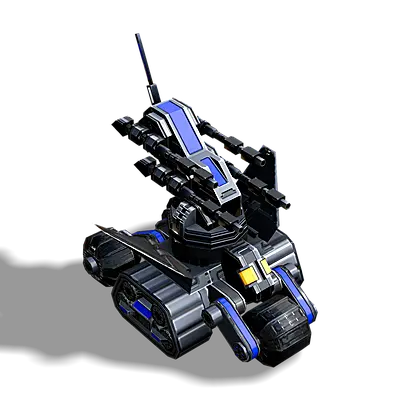
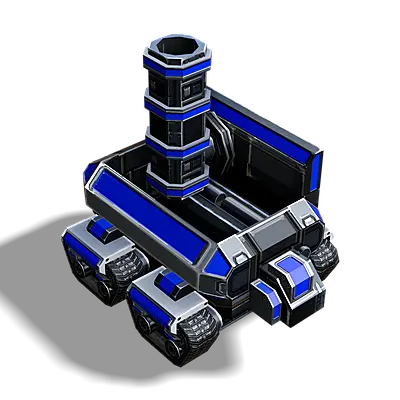
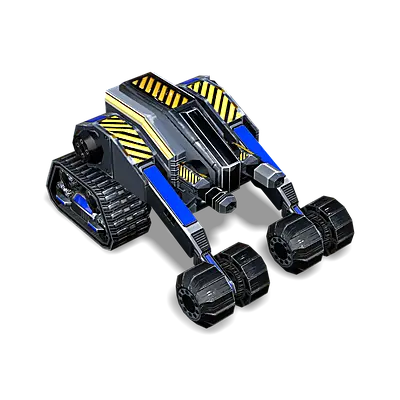
Shellshocker
T1
Light Artillery Vehicle
Cost
Metal
Metal needed to build this unit
energy
Energy needed to build this unit
Build time
Build time needed to build this unit
general stats
health
Starting Hitpoints
speed
Max. speed on default and flat terrain
sight
Sight range to spot enemy units
dps
Max. damage per second for all weapons
range
Max. weapon range
Construction Vehicle
T1
Tech 1 Constructor
Cost
Metal
Metal needed to build this unit
energy
Energy needed to build this unit
Build time
Build time needed to build this unit
general stats
health
Starting Hitpoints
speed
Max. speed on default and flat terrain
sight
Sight range to spot enemy units
Radar
Radar range
Buildpower
How fast this unit can construct and repair