

Cortex
SHIPS
Switch To


Supporter
T1
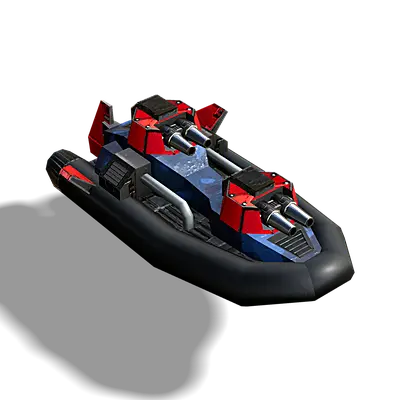
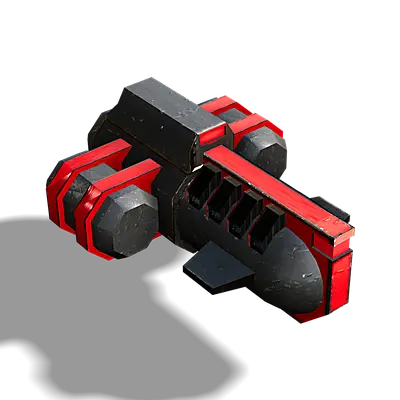
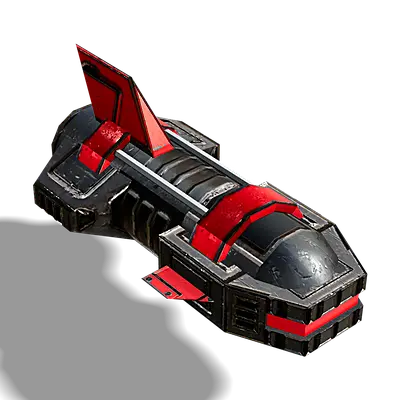
Light Gun Boat
Cost
Metal
Metal needed to build this unit
energy
Energy needed to build this unit
Build time
Build time needed to build this unit
general stats
health
Starting Hitpoints
speed
Max. speed on default and flat terrain
sight
Sight range to spot enemy units
dps
Max. damage per second for all weapons
range
Max. weapon range
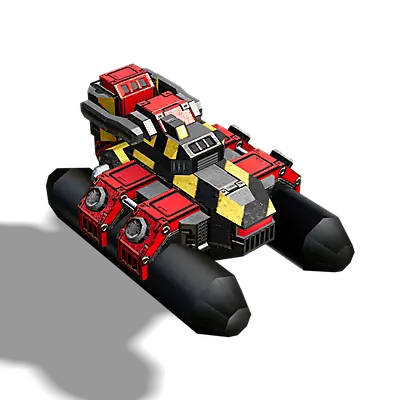
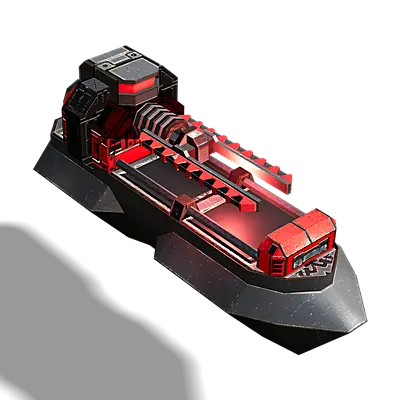
Construction Ship
T1
Tech 1 Constructor
Cost
Metal
Metal needed to build this unit
energy
Energy needed to build this unit
Build time
Build time needed to build this unit
general stats
health
Starting Hitpoints
speed
Max. speed on default and flat terrain
sight
Sight range to spot enemy units
Buildpower
How fast this unit can construct and repair
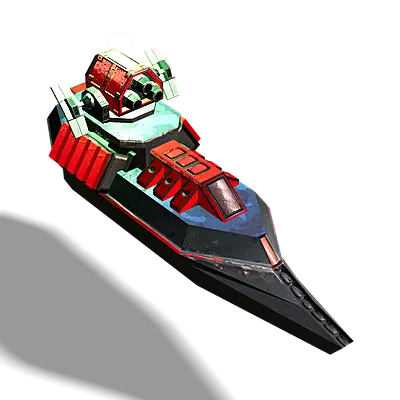
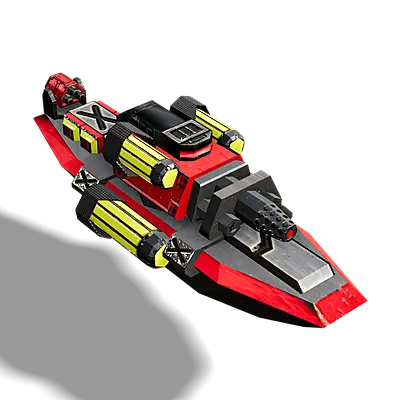
Herring
T1
Missile Corvette / Light Anti Air / Sonar
Cost
Metal
Metal needed to build this unit
energy
Energy needed to build this unit
Build time
Build time needed to build this unit
general stats
health
Starting Hitpoints
speed
Max. speed on default and flat terrain
sight
Sight range to spot enemy units
Radar
Radar range
Sonar range
Sonar range
dps
Max. damage per second for all weapons
range
Max. weapon range
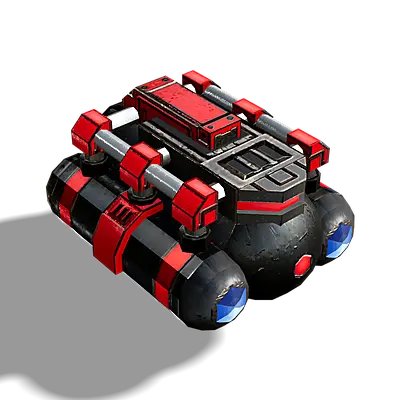
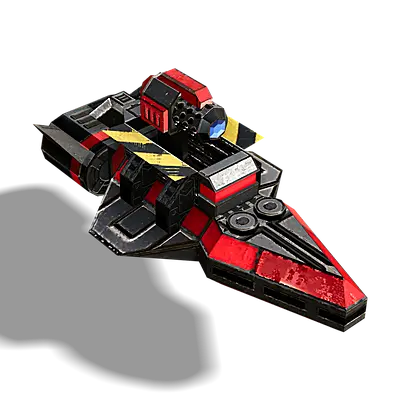
Death Cavalry
T1

Resurrector
Resurrection Sub
Cost
Metal
Metal needed to build this unit
energy
Energy needed to build this unit
Build time
Build time needed to build this unit
general stats
health
Starting Hitpoints
speed
Max. speed on default and flat terrain
sight
Sight range to spot enemy units
Sonar range
Sonar range
Buildpower
How fast this unit can construct and repair

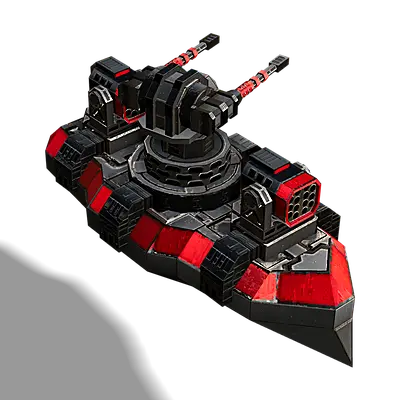
Riptide
T1
Assault Frigate
Cost
Metal
Metal needed to build this unit
energy
Energy needed to build this unit
Build time
Build time needed to build this unit
general stats
health
Starting Hitpoints
speed
Max. speed on default and flat terrain
sight
Sight range to spot enemy units
dps
Max. damage per second for all weapons
range
Max. weapon range
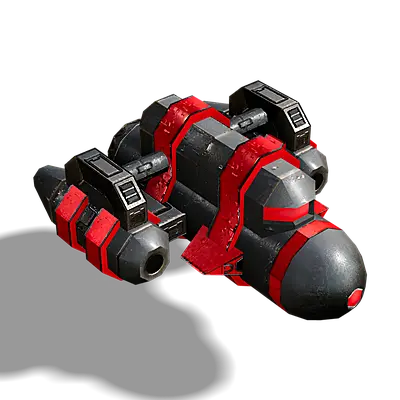
Orca
T1
Submarine
Cost
Metal
Metal needed to build this unit
energy
Energy needed to build this unit
Build time
Build time needed to build this unit
general stats
health
Starting Hitpoints
speed
Max. speed on default and flat terrain
sight
Sight range to spot enemy units
Sonar range
Sonar range
dps
Max. damage per second for all weapons
range
Max. weapon range

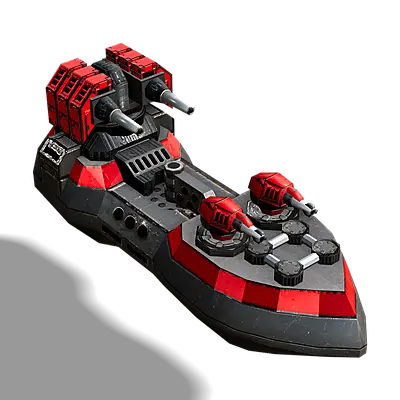
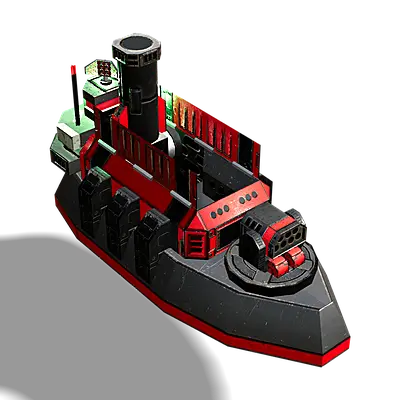
Oppressor
T1
Destroyer
Cost
Metal
Metal needed to build this unit
energy
Energy needed to build this unit
Build time
Build time needed to build this unit
general stats
health
Starting Hitpoints
speed
Max. speed on default and flat terrain
sight
Sight range to spot enemy units
Sonar range
Sonar range
dps
Max. damage per second for all weapons
range
Max. weapon range

Pathfinder
T2
Naval Engineer
Cost
Metal
Metal needed to build this unit
energy
Energy needed to build this unit
Build time
Build time needed to build this unit
general stats
health
Starting Hitpoints
speed
Max. speed on default and flat terrain
sight
Sight range to spot enemy units
Buildpower
How fast this unit can construct and repair
Phantasm
T2

Jammer
Radar Jammer Ship
Cost
Metal
Metal needed to build this unit
energy
Energy needed to build this unit
Build time
Build time needed to build this unit
general stats
health
Starting Hitpoints
speed
Max. speed on default and flat terrain
sight
Sight range to spot enemy units
Jammer
Jammer range
Brimstone
T2
Anti-Swarm Ship
Cost
Metal
Metal needed to build this unit
energy
Energy needed to build this unit
Build time
Build time needed to build this unit
general stats
health
Starting Hitpoints
speed
Max. speed on default and flat terrain
sight
Sight range to spot enemy units
Radar
Radar range
dps
Max. damage per second for all weapons
range
Max. weapon range
Advanced Construction Sub
T2
Tech 2 Constructor
Cost
Metal
Metal needed to build this unit
energy
Energy needed to build this unit
Build time
Build time needed to build this unit
general stats
health
Starting Hitpoints
speed
Max. speed on default and flat terrain
sight
Sight range to spot enemy units
Radar
Radar range
Buildpower
How fast this unit can construct and repair
Predator
T2
Fast Assault Submarine
Cost
Metal
Metal needed to build this unit
energy
Energy needed to build this unit
Build time
Build time needed to build this unit
general stats
health
Starting Hitpoints
speed
Max. speed on default and flat terrain
sight
Sight range to spot enemy units
Sonar range
Sonar range
dps
Max. damage per second for all weapons
range
Max. weapon range
Arrow Storm
T2
Anti-Air Ship
Cost
Metal
Metal needed to build this unit
energy
Energy needed to build this unit
Build time
Build time needed to build this unit
general stats
health
Starting Hitpoints
speed
Max. speed on default and flat terrain
sight
Sight range to spot enemy units
dps
Max. damage per second for all weapons
range
Max. weapon range
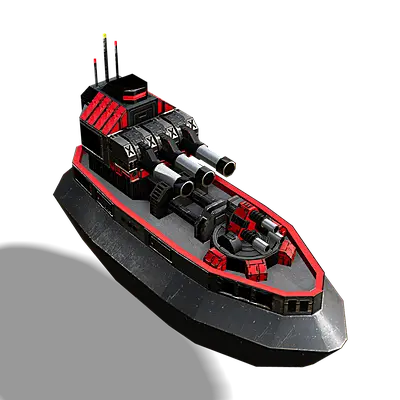
Buccaneer
T2
Cruiser
Cost
Metal
Metal needed to build this unit
energy
Energy needed to build this unit
Build time
Build time needed to build this unit
general stats
health
Starting Hitpoints
speed
Max. speed on default and flat terrain
sight
Sight range to spot enemy units
Sonar range
Sonar range
dps
Max. damage per second for all weapons
range
Max. weapon range
Oasis
T2
Mobile Anti-Nuke, Generator, and Radar/Sonar
Cost
Metal
Metal needed to build this unit
energy
Energy needed to build this unit
Build time
Build time needed to build this unit
general stats
health
Starting Hitpoints
speed
Max. speed on default and flat terrain
sight
Sight range to spot enemy units
Radar
Radar range
Sonar range
Sonar range
Buildpower
How fast this unit can construct and repair
stockpile
Stockpile limit
Kraken
T2

Stealth
Long-Range Battle Submarine
Cost
Metal
Metal needed to build this unit
energy
Energy needed to build this unit
Build time
Build time needed to build this unit
general stats
health
Starting Hitpoints
speed
Max. speed on default and flat terrain
sight
Sight range to spot enemy units
Sonar range
Sonar range
dps
Max. damage per second for all weapons
range
Max. weapon range
Messenger
T2
Cruise Missile Ship
Cost
Metal
Metal needed to build this unit
energy
Energy needed to build this unit
Build time
Build time needed to build this unit
general stats
health
Starting Hitpoints
speed
Max. speed on default and flat terrain
sight
Sight range to spot enemy units
Radar
Radar range
dps
Max. damage per second for all weapons
range
Max. weapon range
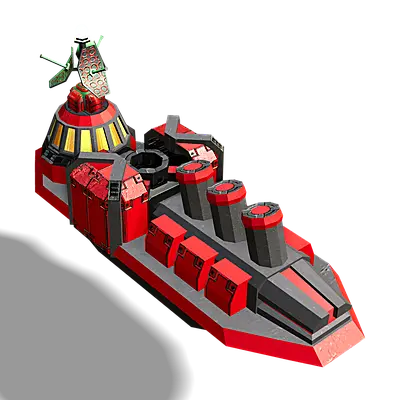
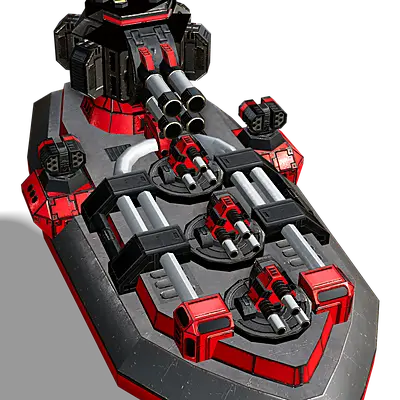
Despot
T2
Battleship
Cost
Metal
Metal needed to build this unit
energy
Energy needed to build this unit
Build time
Build time needed to build this unit
general stats
health
Starting Hitpoints
speed
Max. speed on default and flat terrain
sight
Sight range to spot enemy units
dps
Max. damage per second for all weapons
range
Max. weapon range
Black Hydra
T2

Paralyze resistance
0
Flagship
Cost
Metal
Metal needed to build this unit
energy
Energy needed to build this unit
Build time
Build time needed to build this unit
general stats
health
Starting Hitpoints
speed
Max. speed on default and flat terrain
sight
Sight range to spot enemy units
Radar
Radar range
dps
Max. damage per second for all weapons
range
Max. weapon range


