

Armada
Defenses
Switch To


Light Mine
T1

Stealth

Cloak
Light Mine
Cost
Metal
Metal needed to build this unit
energy
Energy needed to build this unit
Build time
Build time needed to build this unit
general stats
health
Starting Hitpoints
sight
Sight range to spot enemy units

Medium Mine
T1
Stealth
Cloak
Medium Mine
Cost
Metal
Metal needed to build this unit
energy
Energy needed to build this unit
Build time
Build time needed to build this unit
general stats
health
Starting Hitpoints
sight
Sight range to spot enemy units

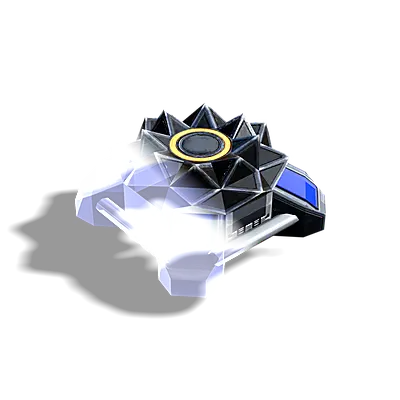
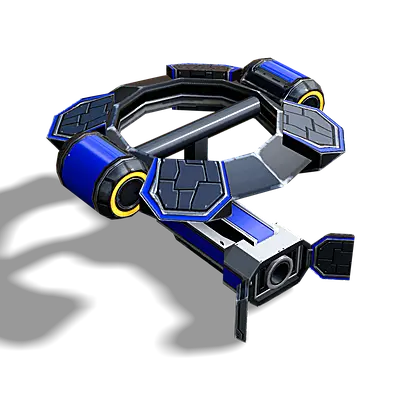
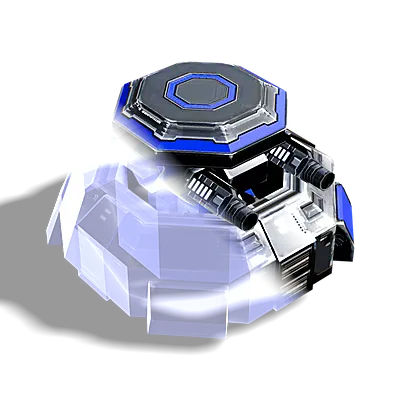
Heavy Mine
T1
Stealth
Cloak
Heavy Mine, Naval Series
Cost
Metal
Metal needed to build this unit
energy
Energy needed to build this unit
Build time
Build time needed to build this unit
general stats
health
Starting Hitpoints
sight
Sight range to spot enemy units
Heavy Mine
T1
Stealth
Cloak
Heavy Mine
Cost
Metal
Metal needed to build this unit
energy
Energy needed to build this unit
Build time
Build time needed to build this unit
general stats
health
Starting Hitpoints
sight
Sight range to spot enemy units
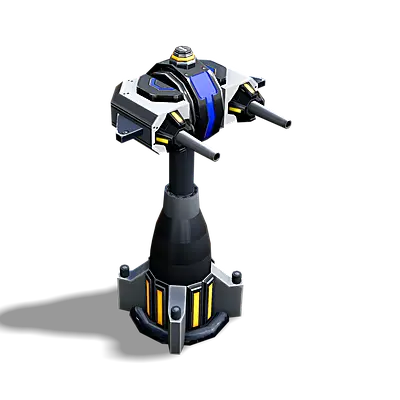
Nettle
T1
Light Anti-air Tower
Cost
Metal
Metal needed to build this unit
energy
Energy needed to build this unit
Build time
Build time needed to build this unit
general stats
health
Starting Hitpoints
sight
Sight range to spot enemy units
dps
Max. damage per second for all weapons
range
Max. weapon range
Sentry
T1
Light Laser Tower
Cost
Metal
Metal needed to build this unit
energy
Energy needed to build this unit
Build time
Build time needed to build this unit
general stats
health
Starting Hitpoints
sight
Sight range to spot enemy units
dps
Max. damage per second for all weapons
range
Max. weapon range
Naval Nettle
T1
Floating Anti-air Tower
Cost
Metal
Metal needed to build this unit
energy
Energy needed to build this unit
Build time
Build time needed to build this unit
general stats
health
Starting Hitpoints
sight
Sight range to spot enemy units
dps
Max. damage per second for all weapons
range
Max. weapon range
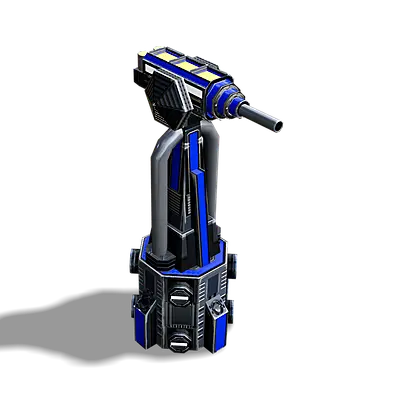
Harpoon
T1
Offshore Torpedo Launcher
Cost
Metal
Metal needed to build this unit
energy
Energy needed to build this unit
Build time
Build time needed to build this unit
general stats
health
Starting Hitpoints
sight
Sight range to spot enemy units
Sonar range
Sonar range
dps
Max. damage per second for all weapons
range
Max. weapon range
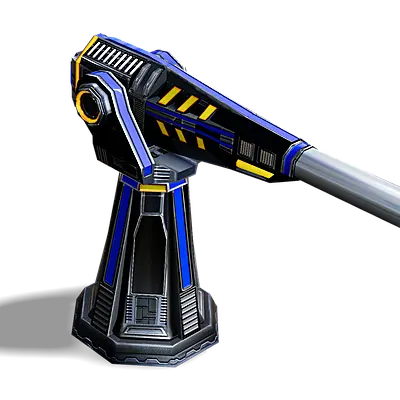
Beamer
T1
Beam Laser Turret
Cost
Metal
Metal needed to build this unit
energy
Energy needed to build this unit
Build time
Build time needed to build this unit
general stats
health
Starting Hitpoints
sight
Sight range to spot enemy units
dps
Max. damage per second for all weapons
range
Max. weapon range
Anemone
T1
Coastal Torpedo Launcher
Cost
Metal
Metal needed to build this unit
energy
Energy needed to build this unit
Build time
Build time needed to build this unit
general stats
health
Starting Hitpoints
sight
Sight range to spot enemy units
Sonar range
Sonar range
dps
Max. damage per second for all weapons
range
Max. weapon range
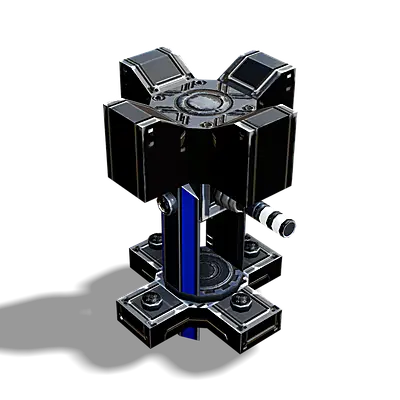
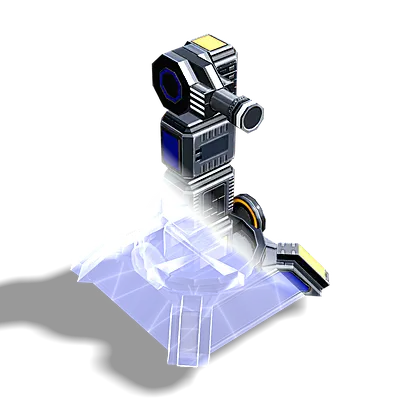
Dragon's Claw
T1

Jammer
Stealth
Pop-up Lightning Turret
Cost
Metal
Metal needed to build this unit
energy
Energy needed to build this unit
Build time
Build time needed to build this unit
general stats
health
Starting Hitpoints
sight
Sight range to spot enemy units
Jammer
Jammer range
dps
Max. damage per second for all weapons
range
Max. weapon range
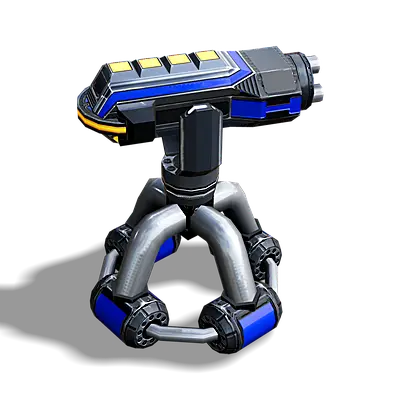
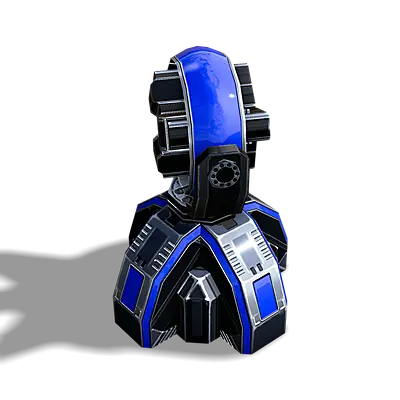
Ferret
T1
Cloak
Pop-Up Anti-Air Missile Battery
Cost
Metal
Metal needed to build this unit
energy
Energy needed to build this unit
Build time
Build time needed to build this unit
general stats
health
Starting Hitpoints
sight
Sight range to spot enemy units
dps
Max. damage per second for all weapons
range
Max. weapon range
Overwatch
T1
Area Control Laser Tower
Cost
Metal
Metal needed to build this unit
energy
Energy needed to build this unit
Build time
Build time needed to build this unit
general stats
health
Starting Hitpoints
sight
Sight range to spot enemy units
dps
Max. damage per second for all weapons
range
Max. weapon range
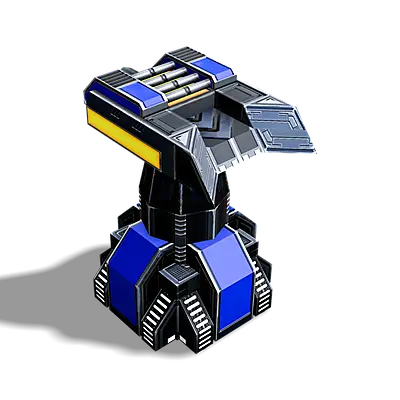
Manta
T1
Floating Heavy Laser Tower
Cost
Metal
Metal needed to build this unit
energy
Energy needed to build this unit
Build time
Build time needed to build this unit
general stats
health
Starting Hitpoints
sight
Sight range to spot enemy units
dps
Max. damage per second for all weapons
range
Max. weapon range
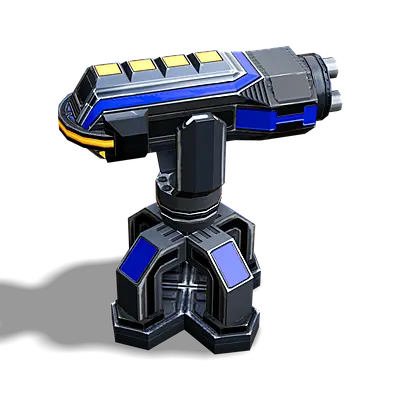
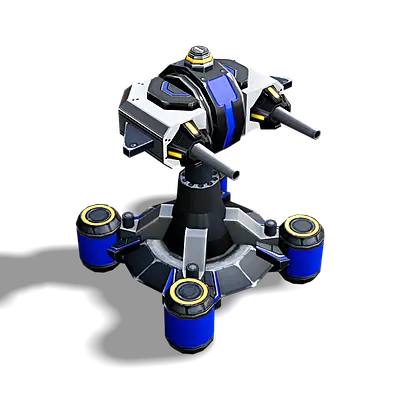
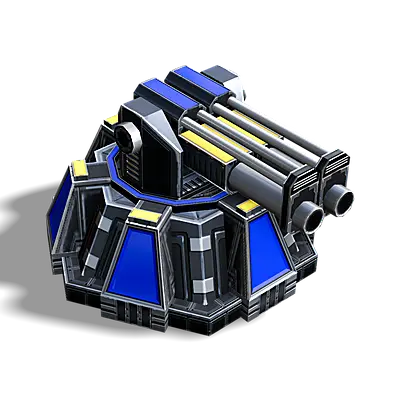
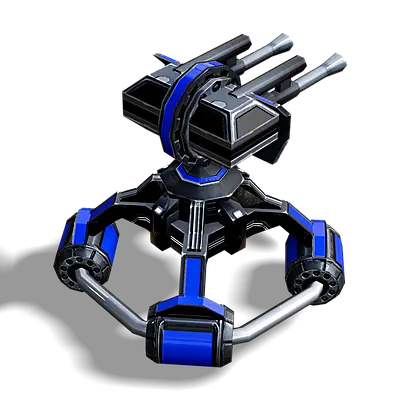
Chainsaw
T1
Medium-Range Anti-Air Missile Battery
Cost
Metal
Metal needed to build this unit
energy
Energy needed to build this unit
Build time
Build time needed to build this unit
general stats
health
Starting Hitpoints
sight
Sight range to spot enemy units
dps
Max. damage per second for all weapons
range
Max. weapon range
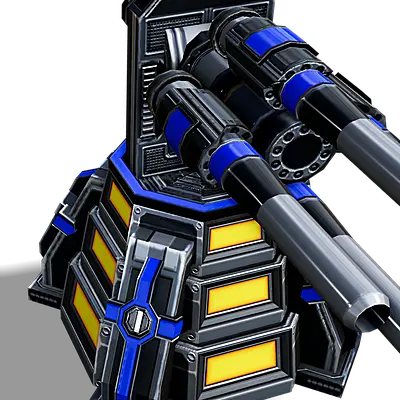
Gauntlet
T1
Area Control Plasma Artillery
Cost
Metal
Metal needed to build this unit
energy
Energy needed to build this unit
Build time
Build time needed to build this unit
general stats
health
Starting Hitpoints
sight
Sight range to spot enemy units
dps
Max. damage per second for all weapons
range
Max. weapon range
Pit Bull
T2
Cloak
Pop-up Gauss Cannon
Cost
Metal
Metal needed to build this unit
energy
Energy needed to build this unit
Build time
Build time needed to build this unit
general stats
health
Starting Hitpoints
sight
Sight range to spot enemy units
dps
Max. damage per second for all weapons
range
Max. weapon range
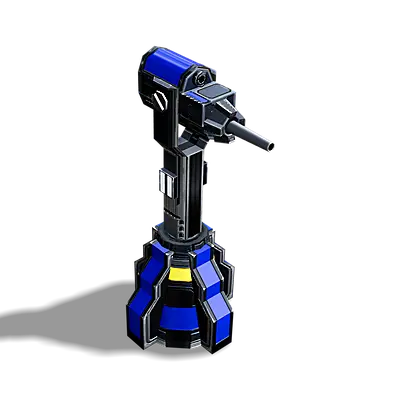
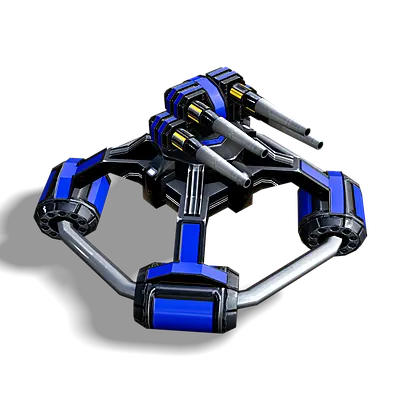
Arbalest
T2
Anti-Air Flak Gun
Cost
Metal
Metal needed to build this unit
energy
Energy needed to build this unit
Build time
Build time needed to build this unit
general stats
health
Starting Hitpoints
sight
Sight range to spot enemy units
dps
Max. damage per second for all weapons
range
Max. weapon range
Naval Arbalest
T2
Anti-Air Flak Gun - Naval Series
Cost
Metal
Metal needed to build this unit
energy
Energy needed to build this unit
Build time
Build time needed to build this unit
general stats
health
Starting Hitpoints
sight
Sight range to spot enemy units
dps
Max. damage per second for all weapons
range
Max. weapon range
Moray
T2
Advanced Torpedo Launcher
Cost
Metal
Metal needed to build this unit
energy
Energy needed to build this unit
Build time
Build time needed to build this unit
general stats
health
Starting Hitpoints
sight
Sight range to spot enemy units
Sonar range
Sonar range
dps
Max. damage per second for all weapons
range
Max. weapon range
Gorgon
T2
Floating Rapid-fire Plasma Tower
Cost
Metal
Metal needed to build this unit
energy
Energy needed to build this unit
Build time
Build time needed to build this unit
general stats
health
Starting Hitpoints
sight
Sight range to spot enemy units
dps
Max. damage per second for all weapons
range
Max. weapon range
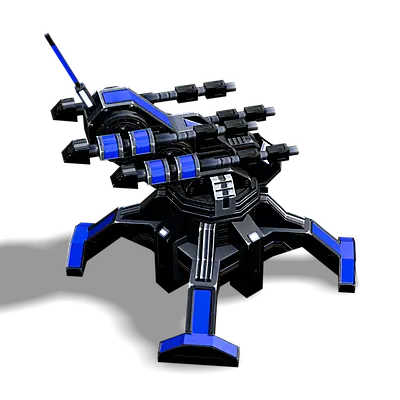
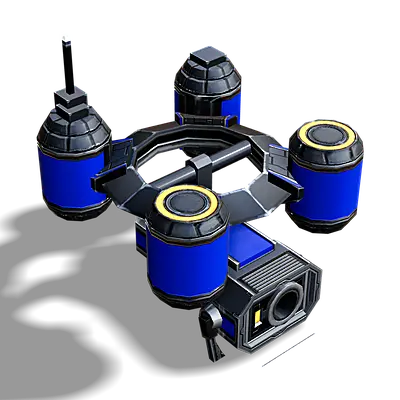
Mercury
T2
Long Range Anti-Air Tower
Cost
Metal
Metal needed to build this unit
energy
Energy needed to build this unit
Build time
Build time needed to build this unit
general stats
health
Starting Hitpoints
sight
Sight range to spot enemy units
dps
Max. damage per second for all weapons
range
Max. weapon range
stockpile
Stockpile limit
Rattlesnake
T2
Cloak
Cloakable Pop-up Plasma Artillery
Cost
Metal
Metal needed to build this unit
energy
Energy needed to build this unit
Build time
Build time needed to build this unit
general stats
health
Starting Hitpoints
sight
Sight range to spot enemy units
dps
Max. damage per second for all weapons
range
Max. weapon range

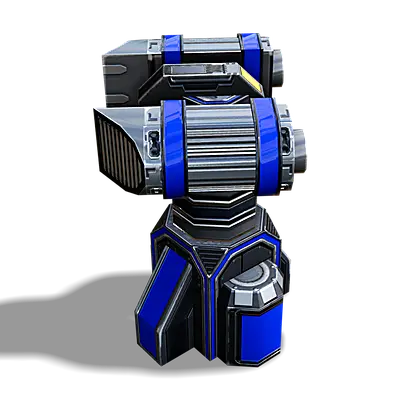
Pulsar
T2
Tachyon Accelerator
Cost
Metal
Metal needed to build this unit
energy
Energy needed to build this unit
Build time
Build time needed to build this unit
general stats
health
Starting Hitpoints
sight
Sight range to spot enemy units
Radar
Radar range
dps
Max. damage per second for all weapons
range
Max. weapon range
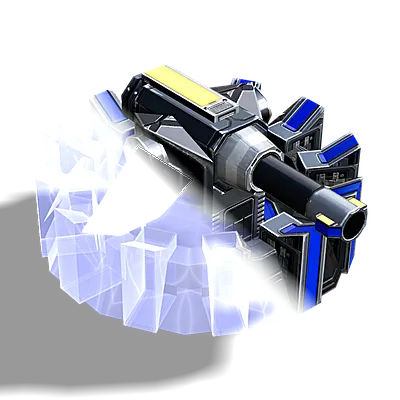
Basilica
T2
Long Range Plasma Cannon
Cost
Metal
Metal needed to build this unit
energy
Energy needed to build this unit
Build time
Build time needed to build this unit
general stats
health
Starting Hitpoints
sight
Sight range to spot enemy units
dps
Max. damage per second for all weapons
range
Max. weapon range

Armageddon
T2
Nuclear ICBM Launcher
Cost
Metal
Metal needed to build this unit
energy
Energy needed to build this unit
Build time
Build time needed to build this unit
general stats
health
Starting Hitpoints
sight
Sight range to spot enemy units
Radar
Radar range
dps
Max. damage per second for all weapons
range
Max. weapon range
stockpile
Stockpile limit
Ragnarok
T2
Rapid-Fire Long-Range Plasma Cannon
Cost
Metal
Metal needed to build this unit
energy
Energy needed to build this unit
Build time
Build time needed to build this unit
general stats
health
Starting Hitpoints
sight
Sight range to spot enemy units
dps
Max. damage per second for all weapons
range
Max. weapon range


