Commands used in this guide
A full explanation about all units and structures regarding sea warfare, including ships, hovercraft, amphibious units, defenses and seaplanes.
Basics
Naval Basics
Different layers
- Ships float on the surface of the sea, and can be targeted by most weapons.
- Hovercraft hover above the sea surface, meaning they cannot be targeted by torpedoes and depth charges.
- Submarines and amphibious units (except the Platypus) move below the water, with the latter on the sea floor. They can only be seen with sonar and targeted by torpedoes, depth charges, or the Commander laser. However, submerged units can be damaged by explosions, if they reach far enough below the water. Subs have a special 'armor class' that somewhat limits this potential damage in most cases—this can be seen by selecting the attacking unit and pressing "I" (by legacy keybinds) for its weapon info.
Water depth
Naval maps will typically have a combination of sea and land areas, and each unit type can move in different areas. Submarines, battleships, and flagships can only move in water with a depth of at least 17. Land units will have trouble moving in water deeper than 17.
A land unit can only fire if its weapon is above the water level.
Hovercraft can move on water and land, but cannot climb steep slopes. Amphibious units, however, can climb the same slopes as bots. The only amphibious units that can fire while underwater are Commanders and Ducks.
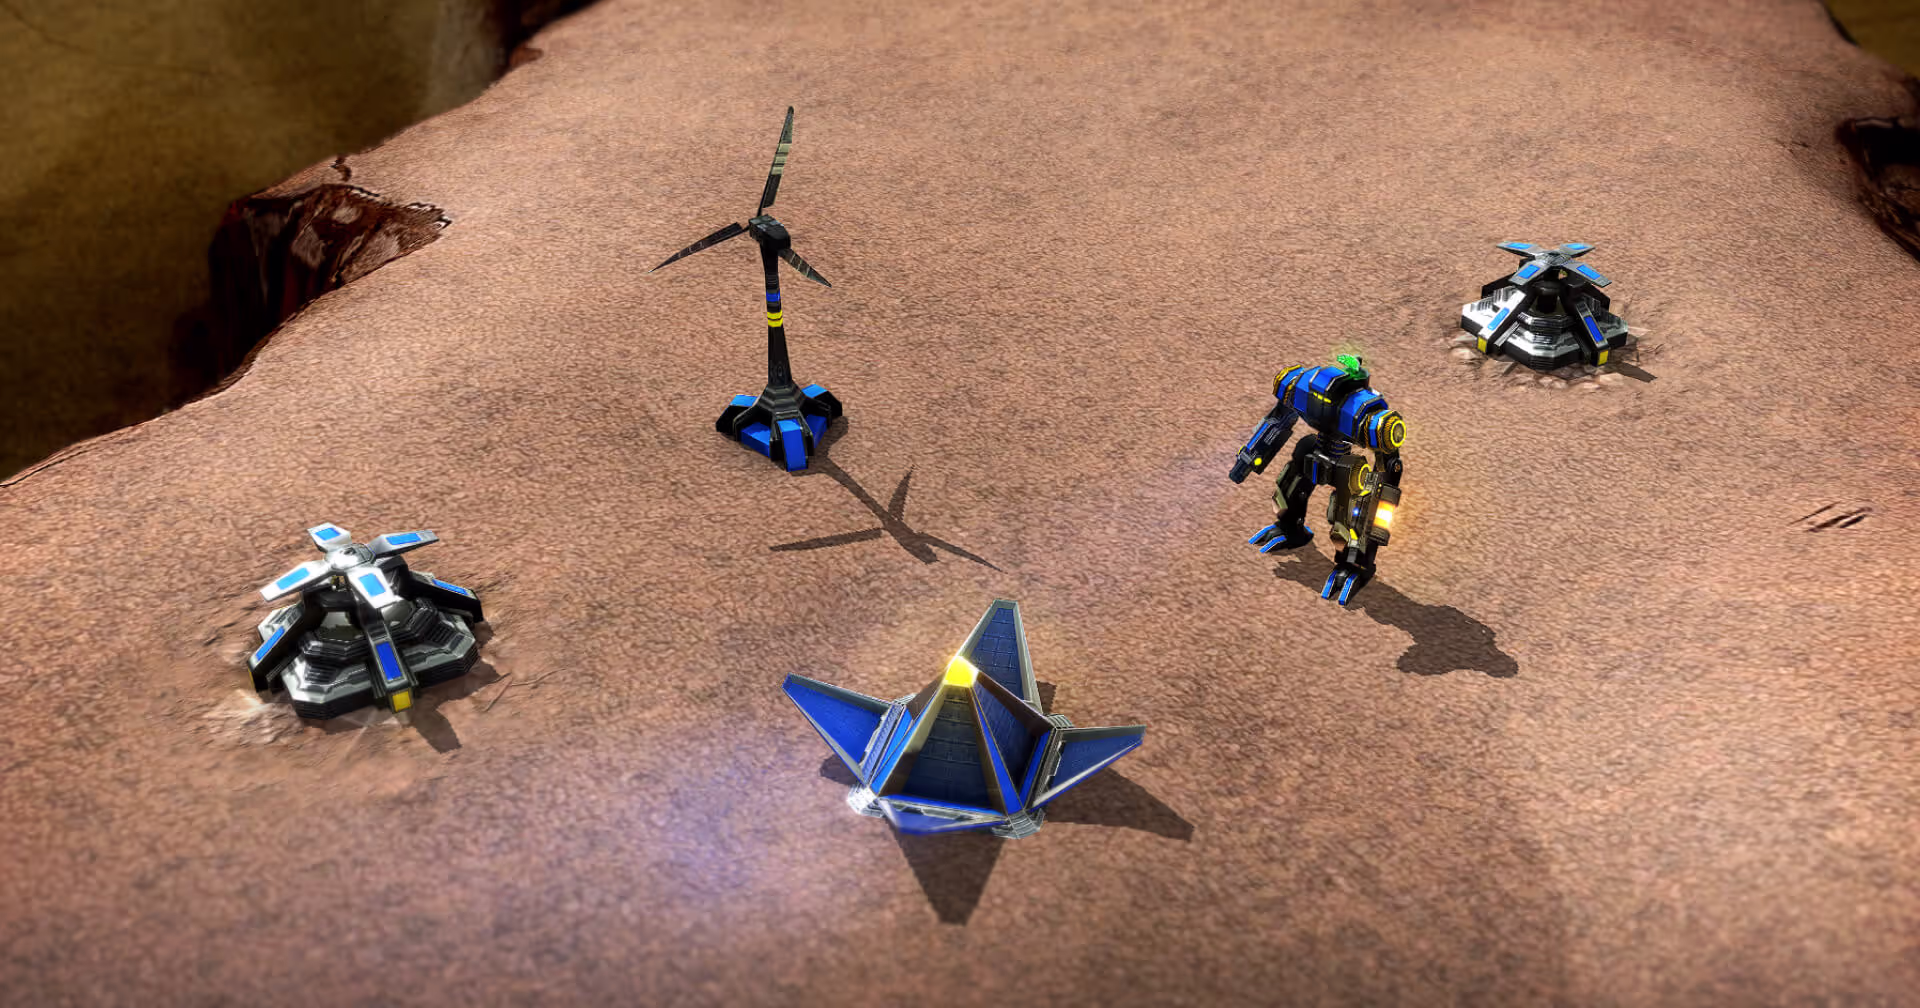
Sea economy
Shipyards and hovercraft platforms (and associated constructors) have more buildpower than their land counterparts. A player focusing on sea can expand their base and economy with fewer construction units, and can afford to move their commander out from their base earlier on. Some sea buildings are underwater, most notably metal extractors, which makes them difficult to raid.
There are 2 main sources of energy available during T1 on the water—Tidal Generators, and Geothermals—with the latter functioning the same on both land and sea (although it is underwater). Tidal Generators, however, are a little special, combining both the wind's cheapness and the solar's static energy production (without its ability to close). The efficiency of Tidal Generators varies for each map, with most maps producing an average of 15 energy per tidal. During the T2 Phase, underwater fusion reactors are unlocked that make 1,200 energy. Another option in the meantime is building:
T2 support ships which produce 300 E/s, letting you make your sea economy mobile.
General naval combat
Ships have a high metal cost and a relatively low energy cost.
Ship battles typically involve fewer units than land battles, meaning each loss has a greater impact. The range on ships tends to be longer, but their slow acceleration and turn rates can make it difficult to dodge projectiles.
Repairing ships is very efficient due to their large health coupled with the high build power of the constructors.
Reclaiming fallen ships is very important as ships usually leave intact wreckages, because they sink to the sea floor when destroyed, thus leaving them protected from incoming fire.
Sea Intel
- Sea units tend to have a slightly larger line of sight than land units, making up for having fewer of them.
- Underwater buildings and units are difficult to detect, as sonar is included on fewer units and at a lower range than normal vision.
- The floating radar includes sonar with medium range.
- Any unit or building that has an underwater weapon includes a sonar, usually with a bit lower range than the weapon's max range.
- Submarines have medium-range sonar.
- Amphibious units usually have very short-range sonar.
- The arm T1 ship Skater and the Cortex T1 ship Herring have sonar and high LoS.
- Hovercraft AA has short-range sonar.
- The T2 support ships available to both factions provide good sonar.
- The T2 construction sub can build a advanced sonar installation with a high range, and also an advanced radar on land.
- Seaplanes and T2 air have radar/sonar planes, and T2 torpedo planes have their own sonar.
Commander
Effective use of your commander can turn the tide in naval matches.
The commander walks on the sea floor, making it difficult to attack. It uses its laser to fire at any enemy units in range, including subs and hovers, making the commander effective at protecting the area around it, whether that is your early base or frontline ships. The commander can defeat a single enemy sub, but will take a lot of damage doing so. The commander will lose by a small margin to a destroyer, but any support can help swing the matchup in the commander's favor.
The commander's high build power makes it great for repairing ships, reclaiming wreckages, and building. Its ability to walk on land lets you get metal spots otherwise inaccessible by ships. If you are being overwhelmed in a team game, use your commander as a walking nuke to take out the enemy fleet.

T1 Naval
Light ships
Arm has 2 light ships—the Dolphin corvette, specializing in close combat; and the Skater scout boat, which has several support roles.
The Dolphin is fast, sturdy, and deadly, but has a low sight range and is defenseless vs. subs. A group of them can surround and take out larger ships or defenses, or the sea base of an unprepared opponent. Early combat on a mostly open map is likely to revolve around Dolphins before larger ships can effectively use their higher range to get an advantage. (Dolphins can still be useful in mid-/late-game if you can use a large group of them to flank the opponent.)
The Skater can provide vital intel with its high line of sight and short range sonar, and it has stealth (no radar signature) which makes it possible to scout the edges of the opponent's base without them seeing your unit. The Skater is equipped with a light laser, which lets it take out unprotected targets, but it loses cost for cost against other combat ships.
The Skater also has an anti-air turret, so mixing a few into your fleet can protect you from the dreaded Shuriken.
Cortex has the Supporter as its light ship. It's cheaper and faster than the Dolphin, but is weaker overall. It has a larger LoS than the Dolphin, but less than the Skater. Supporters are effective early on for surrounding and destroying enemy ships, but start to lose effectiveness against large fleets. They're best suited for hunting down vulnerable construction units, or swarming heavier ships caught out of formation.
Support ships
Cortex has the Herring for its support ship, which fires tracking missile at targets with a low damage and high range, similar to the Whistler and Lasher in T1 vehicles. It has a smaller secondary anti-air turret and a high LoS. Adding a few to support your fleet gives you vision, anti-air (AA), and some extra ranged damage to help with battles of attrition. Herrings can also be useful for poking at enemy land units from a safe range before you can afford destroyers.
Frigates
The Assault Frigates for Armada and Cortex have similar stats, but the Ellysaw has 2 turrets instead of 1 larger turret on the Riptide, and the Ellysaw's front turret cannot fire backwards, giving it a significant disadvantage on defense.
Frigates have enough range and speed to skirmish well, and enough health to be able to brute force through light defenses, and can afford to take a few shots from a destroyer while moving into range.
Frigates can even be used against T2 ships in a brute force attack, but will falter vs. Cruisers.
On a map that has a mix of land and sea, frigates can be used to skirmish with units near the shore before building Destroyers.
Submarines
Armada and Cortex each have a submarine, with Armada's being specialized for raiding and Cortex's for direct combat. Armada's Eel is faster and cheaper, but has a slow fire rate, which makes it great for raiding enemy underwater metal extractors. Cortex's Orca is more expensive, but fires faster, has more health, and a better turn rate. Two Cortex subs will trade evenly with 3 Armada subs.
Submarines can be effective at raiding since they are difficult to detect, can attack under water buildings, and most units won't be able to target them. Sneaking one behind the enemy frontline and to their base can deal a lot of damage against an unprepared opponent, but subs cannot power through defenses very effectively.
The basic torpedo launcher will trade evenly with the Cortex sub. It's possible to pair a sub with a support ship to kill the torp launcher from outside its sonar range. The Armada Skater can also be useful for finding a route to send your subs to attack from.
Attacking an enemy fleet with one sub can be useful for getting incremental value and forcing them away if they have no destroyers or subs. Attacking with a group of subs can be highly effective if you can quickly take out the enemy destroyers or subs leaving the enemy fleet defenseless. If you cannot overwhelm, then added subs against a fleet with enemy destroyers will provide very little value, as destroyers can fire their depth charge and main cannon simultaneously.
On maps where land units walk through shallow water, subs can attack them without being attacked back, which can be great for taking control of a key passage.
Destroyers
Destroyers are the largest T1 ship and have a high range plasma cannon with decent AoE (Area of Effect) damage, and an anti-sub depth charge. The Armada destroyer is slightly cheaper, faster, and its turret has a faster fire rate and turn speed. The Cortex destroyer's main cannon hits harder and with higher AoE, but its slow turret makes it weak in close combat. In long range battles of attrition, the Cortex destroyer has the advantage, but Armada's better mobility and lower cost makes it more effective early on.
If destroyers have LoS, they can destroy torpedo launchers from out of range, and they have a slight range advantage against floating HLTs and depth charge turrets. However, these defenses have a lot of health, and the range advantage is small enough that the destroyer has to get into position and not maneuver, making it an easy target for a counterattack. Destroyers are also highly effective against land units, as they can outrange and easily kite all non-artillery units, and are more cost-effective than T1 artillery vehicles.

Resurrection Submarines
Resurrection subs can provide players a lot of value in a game, as most ships leave a whole wreck on death. Being underwater makes them difficult to target, but units that can target them destroy them quickly. Resurrection subs are much slower than the land counterpart—keep them away from subs and destroyers!
Defenses
Torpedo Launchers and depth charge launchers are your primary options for early defense, with depth charge launchers being more effective but only buildable on land. Building one of these defenses early on can help protect your base from an early rush. Depth charge launchers can help turn a shoreline or an island into a defensible position, and an elevated depth charge tower can even outrange a destroyer. Neither of these defenses can target hovercraft, so to defend against them you will need to intercept them with ships or rely on floating defenses.
Floating Heavy Laser Towers (FHLTs) have more health than the land version, with similar power. FHLTs will effectively destroy light ships and assault frigates, but are outranged by destroyers.
Sea constructors are also capable of building a few land defenses. The T1 ship constructor can build a lightning/flamethrower turret and a Gauntlet/Agitator, which can be used to either get a foothold on a shoreline, or to turn an island into a defensive outpost.
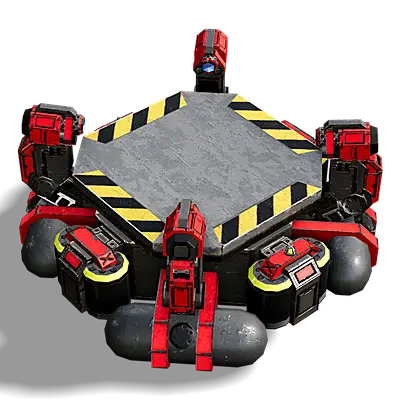
Hovercraft
Hovercraft are an expensive but versatile starting option for maps that have a mix of land and sea terrain.
The starting hovercraft platform is expensive and has a high energy cost, so it's best to get at least 3 metal extractors and a group of windmills or tidal generators before building one.
- A hovercraft start can get early value from an early hover constructor and from an early raid with fast attack hovercraft
- Construction hovercraft are expensive, but also fast, durable, and have a lot of buildpower, which is great for fast expansion to areas that are otherwise difficult to access.
- Fast attack hovercraft are only slightly slower than land scouts, but have more health and a stronger weapon. A few of these can be used to attack from unexpected angles and take out defenseless buildings, and a larger group of these can overwhelm light defenses.
Alternatively, you can build a hovercraft platform later in the game as a way to switch from land or sea game plans. This type of strategy can make good use of hover tanks, which are the main combat units used for skirmishing with other land or sea units, with enough health and damage to take out light defenses.
A midgame hover strategy can also make use of hovercraft rocket launchers, which can bombard static targets at range from unexpected angles, and attack while moving. Cortex also has the Halberd, a slow, short-ranged hovercraft with high health and DPS, closer to T2. This unit can defend your other units or push through enemy units.
T2 Naval
Cruisers
Cruisers are the base unit for a T2 fleet, with strong weapons vs. smaller ships and hovers, a large amount of health, and an anti-sub weapon. Cruisers have a decent but not overwhelming matchup against every type of T1 ship, so they will win against an equal cost T1 fleet but lose against larger T1 fleets.
- The Armada cruiser is faster and has a gauss cannon
- The Cortex cruiser has more health and a heavy laser
Anti-Swarm Ship
Armada's Maelstrom and Cortex's Brimstone are a direct upgrade to the Dolphin and Supporter, respectively. They both feature radar and a light AA missile launcher. In the early T2 stage of the game, they are best used to attack the enemy economy while also trading well with T1 ships, hovers, or other mass swarms of units. Groups of these units also do well against T2 ships if they are allowed to close in and surround them. However, they are almost as expensive as Destroyers.
Fast Assault Submarines
Fast assault subs are a general upgrade to T1 subs in most regards, with a higher speed, more health, and a faster fire rate with a tracking torpedo. They cost more than T1 subs, and have a lower range. These subs are effective at getting in close to take out targets, especially other subs, but will likely get into range of the enemy's anti-sub weapons while doing so. They have enough health to take some hits, but lose slightly cost for cost against cruisers and trade evenly with destroyers. These subs can also be effective at raiding due to their high speed, but it can be difficult to find an opening at the stage of the game.
The fast assault subs have a long sonar range, which lets them find and chase down underwater targets, such as enemy subs.
The Armada Barracuda is larger and more expensive than the Cortex Predator (730m vs 950m, 1450 health vs 2100). The Barracuda can win against a torpedo launcher while the Predator trades with one. The Barracuda can take 3 shots from a battle-sub while the Predator takes 2.
Battle Submarines
Battle submarines have a long range and deal a lot of damage with each shot, but have a very long reload time. They have a decent amount of health, so it will usually take several units to kill one, which can be challenging if there are other ships or defenses that can protect it. They don't have a long sonar, and they have enough LoS to outrange a torp launcher, but they work best when given vision with other units.
A battle-sub can destroy a T1 sub in 1 shot, a frigate in 2 shots, a destroyer in 3 shots, and a cruiser in 4 shots.
Missile ships
Missile ships specialize in bombarding land bases, with a long-range cruise missile that splits apart into cluster bombs hitting the area around its target, which is enough to outrange most land units and defenses and all sea defenses. This unit also has long-range AA, which is enough to keep a single gunship from taking it out, but additional AA support is needed to fend off anything larger. Missile ships also have their own radar, but with less range than its missiles.
This unit is fragile, so expect it to be a priority target for enemy attacks.
Battleships
Battleships have a longer range than cruisers, and are great at taking out anything on the surface with their high DPS cannons, but lack protection against subs or air units.
- The Armada battleship is slightly faster and has 2 main cannons, and is better at long-range bombardment and kiting.
- The Cortex battleship has 1 heavier main cannon, a heavy laser, and more health. The extra durability and laser makes it more difficult to take out at close range.
Cruisers can win against a battleship if they get in close and surround it, so it's not a good idea to send a battleship on its own without support if you can't take advantage of its range.
Battleships can easily destroy land targets if moved near the shore.
Flagships
Flagships are the largest sea unit, and have a variety of weapons.
The Armada Epoch has 2 main cannons for bombarding targets at massive range, and the Cortex Black Hydra has 1 larger set of cannons.
The Epoch has smaller cannons for closer-range battles that can all fire at once when the ship is facing forward, and the black hydra has heavy lasers that can all fire at once when the ship is facing to the side. The Epoch is slightly faster and cheaper, and the Black Hydra has slightly more health.
Both flagships have their own radar, and light AA to fend off small groups of air units, but need extra support to stop a large air attack. Flagships have no anti-sub weapons, so bring some T2 subs or cruisers along to protect them. When bombarding land targets at range, the Black Hydra has enough firepower to break through one plasma deflector, and the epoch can barely break through two.
Support Ships
T2 support ships act as general support ships for a T2 fleet, providing an anti-nuke, a portable fusion producing 300E/s, a long range radar, a mid range sonar, and a large LoS. It is almost always worth building one of these late game to support your fleet and base.

Constructors
T2 sea has 2 constructors: the construction sub, which focuses on T2 economy buildings; and the naval engineer, which can build a variety of T1 ships, a few T1 buildings, various naval defenses (including mines), and a few land buildings including a T1 metal extractor, and advanced radar. Both constructors can build all of the T2 naval defenses. The naval engineer is cheap, making it very effective at assisting other builders and useful for reclaiming and repairing. The Armada naval engineer can also build Platypus, which allow for a land invasion without having to build a amphibious or hover factory.
Defenses
For T2 sea defenses, both factions have an advanced torpedo launcher and a heavy floating defense: Kraken for Armada, and Devastator for Cortex.
Advanced Torpedo Launchers aren't just stronger—their shots also track enemies, making them perfect at catching faster enemies.
The Kraken and Devastator are highly effective against surface ships, especially T1 fleets and cruisers.
Rushing out one of these defenses after getting to T2 can help you survive while you build up a T2 fleet. These can also be an effective but expensive option to defend against a large hover attack.
Amphibious Units
The T2 bot lab for Armada has the Platypus, which swims on the sea surface and acts like a hovercraft, with similar cost-effectiveness. These can be useful for a surprise invasion from a coastline or an attack on an enemy sea base.
The T2 bot lab for Cortex has the Duck, which moves as an amphibious unit but has an underwater torpedo launcher. It's sturdier than subs, which makes them difficult to kill, but they have a long reload time which limits the amount of damage they will deal. These can be effective in small amounts to raid an sea player, as they are difficult to detect and can take out underwater metal extractors. A player with an overwhelming economy can build a large group of these to completely remove a weaker sea player from the game.
Seaplanes
Ship, hover, plane and amphibious constructors can build a seaplane platform. Seaplanes consist of constructors, fighters, gunships (standard and torpedo), bombers, and radar/sonar scouts. They can land underwater, hiding them from view and attack.
Seaplane torpedo gunships effectively deal with subs and amphibious targets, but don't have the range (or power) of torpedo bombers.
Seaplane attack gunships are sturdy, and deadly vs. surface targets.
Radar/sonar seaplanes offer amazing intel gathering potential outside of T2 air, especially for its sonar, which T1 air scouts do not have.
T3 Units
Each faction's T3 gantry has access to a T3 hovercraft, which is similar in strength and cost to a T2 heavy tank, and is an effective late game option for (re)claiming sea territory. T3 hovers possess anti-sub weapons, but cannot be hit by torpedoes themselves.
The T3 gantry's heaviest units, the Titan and Juggernaut, are amphibious and tall enough that their main weapons are usually above water.
These units can even face down a flagship at less cost because they can close in, negating the flagship's biggest advantage, its long-range plasma cannons.

tiny.avif)
.avif)